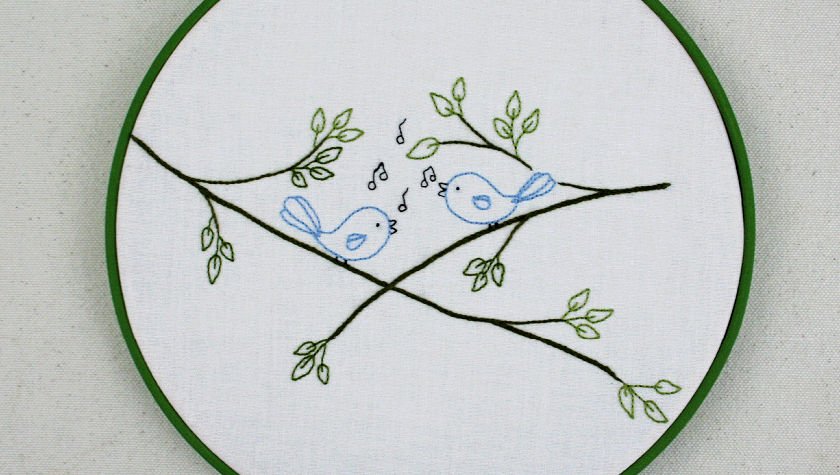
One of the things I love most about spring is the return of the songbirds. Hearing them sing and seeing them flit from tree to bush in the yard always brings a feeling of joy and hope. I’ve designed this Songbird Embroidery Hoop Art with that in mind.
You’ll only be using the most basic of embroidery stitches; the backstitch, stem stitch and straight stitch.
It’s a fun beginner friendly project while at the same time being an easy, relaxing project for the more advance embroiderer.
Songbirds Embroidery Hoop Art Instructions
Materials required:
- 12” X 12” square of light colored fabric
- Embroidery floss in your choice of colors
- Wood embroidery hoop (if using one to frame the piece)
- Acrylic Craft Paint (optional)
Begin by printing off the Songbirds Embroidery Pattern (scroll down for the link.)
Remember to have your printer set to 100% or no scaling otherwise the pattern won’t print out to the correct size.
Trace the pattern on to your fabric using a light source of some kind.
A brightly lit window works great for designs like this that don’t take long to trace.
However, due to shoulder issues from an injury, for the past several years I’ve been using a Huion lightbox and it has turned out to be one of the best craft room purchases I’ve made.
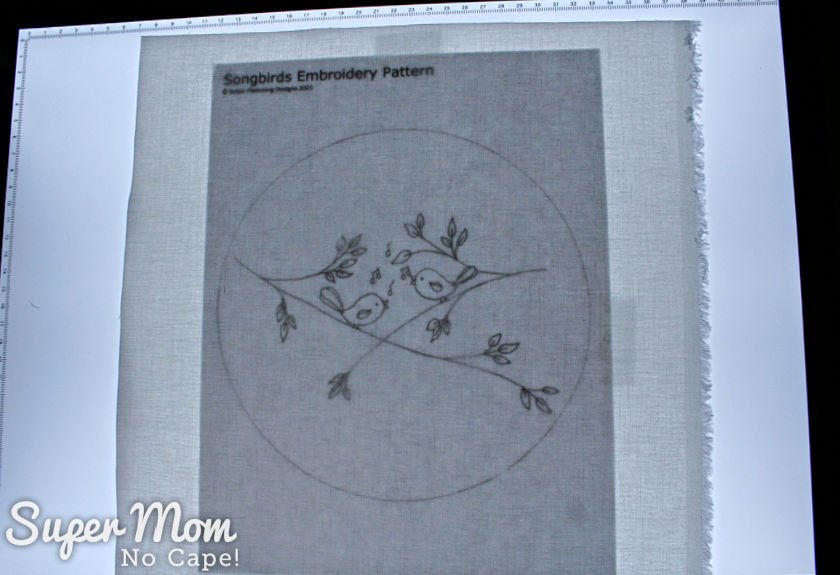
The advantage of a lightbox is that I can sit down to trace patterns on a level surface.
Plus it has a cool feature in that it remembers the last light setting I used. If I have to stop tracing half way through for some reason, when I come back I just tap the on button and the light automatically returns to the same level.
Once you’ve got the embroidery pattern traced, embroider in floss colors of your choice.
If you want to use the same colors that I used for mine, I’ve listed them below.
Please note: All elements of the design are completed using two strands of floss unless otherwise indicated.
For the branches:
You’ll want to stitch the branches first in stem stitch.
Stitch two lines stitched side by side in DMC 3011 for the two thicker branches and a single row for the thinner branches.
For the little blue birds:
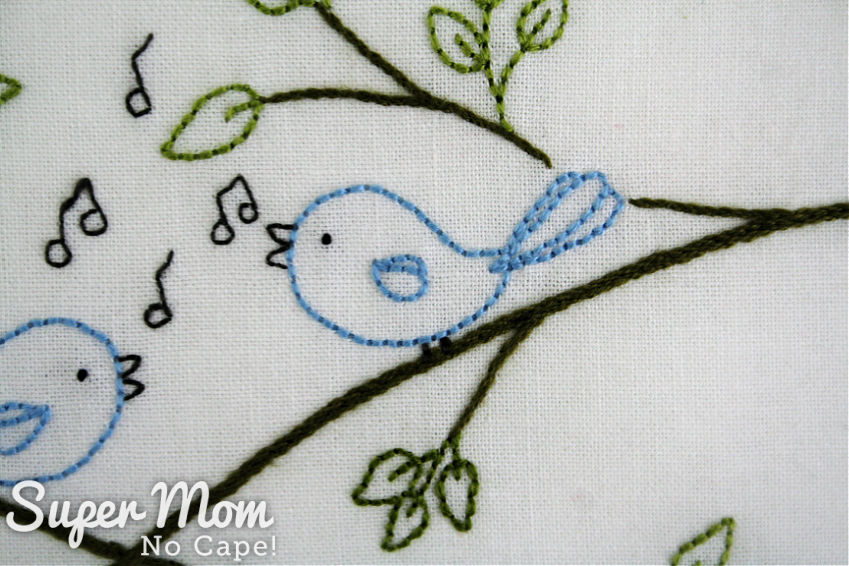
Stitch their feathers using DMC 3755 Baby Blue.
Their beaks and feet are backstitched using a single strand of DMC 844 Ultra Dark Beaver Gray.
Each eye is created with two straight stitches worked on top of each other using a single strand.
Song notes:
The song notes they are singing are worked in a single strand of backstitch using the same DMC 844 floss.
 Leaves:
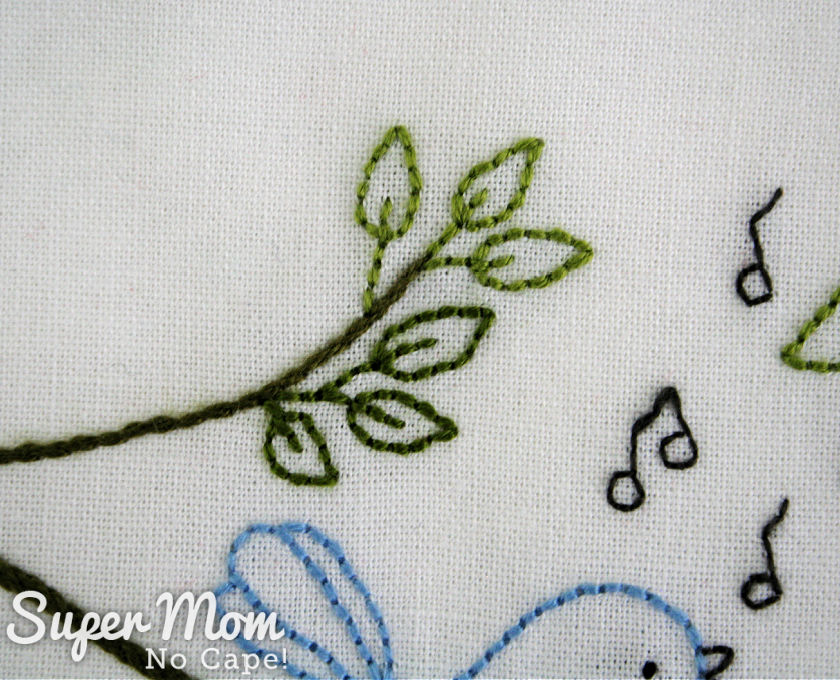
The leaves are backstitched using two different colors.
For the leaves that the sun is shining on, using DMC 471 Very Light Avocado Green. Embroider the leaves that are in shadow (below the branches) using DMC 580 Dark Moss Green.
Before framing, your finished Songbird Embroidery will look like this.
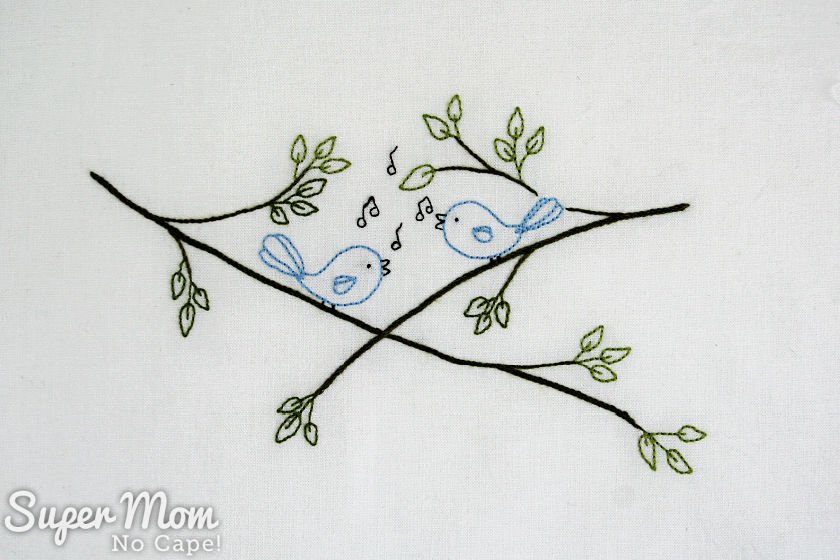
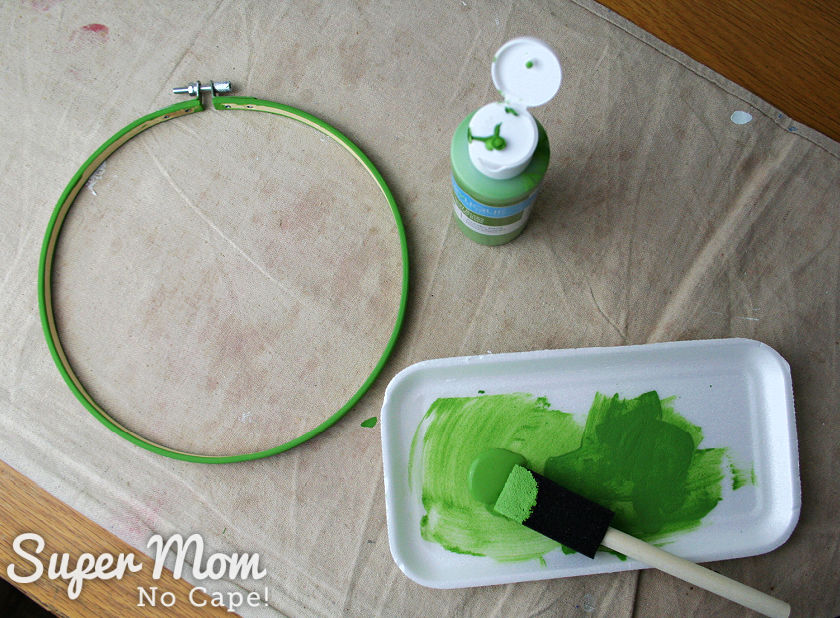
If desired, paint your wood embroidery hoop in a color to match the brighter leaves.
Note: It can take up to 3 coats to get good coverage.
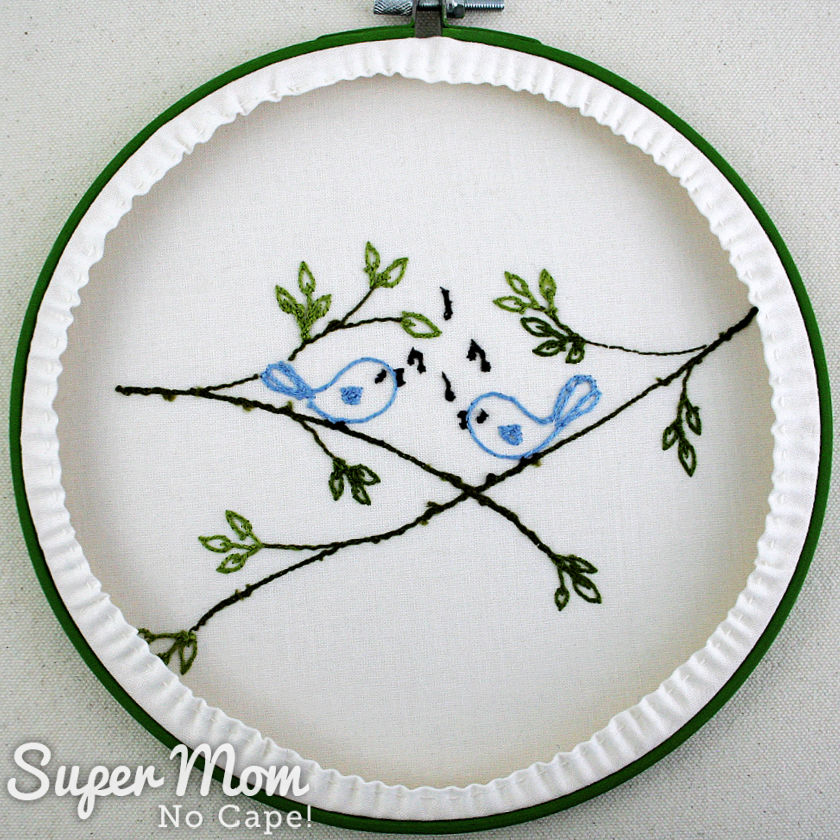
For instructions on how to cut your finished embroidery and frame it using the embroidery hoop, please check out my Owain Owl Embroidery Pattern.
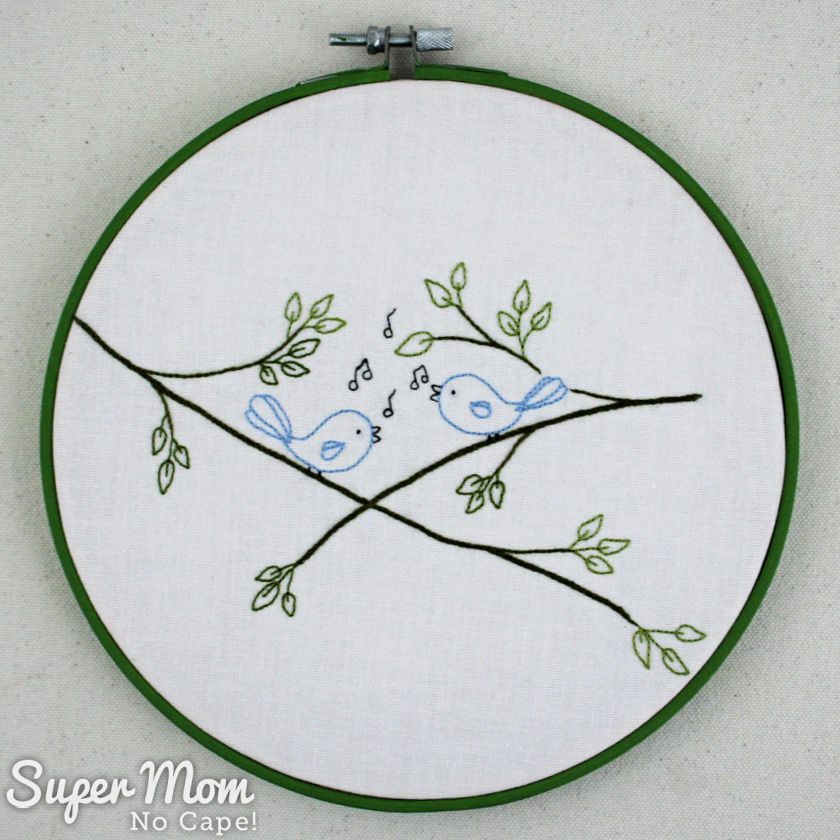
Your completed Songbird Embroidery Hoop Art is now ready to hang.
The PDF pattern for these sweet little bluebird is available in my pattern shop. Click the link below to be taken there now.
If you stitch these cute little songbirds, please post a photo somewhere on social media and tag me so I can come see. I’m @supermomnocape on Instragram, @1SuperMomNoCape on Twitter and @1SuperMomNoCape on Facebook.
Be sure to save this post to your favorite Pinterest board by clicking on the button underneath this post.
And of course, I’d love it if you share it on Facebook and Twitter as well.




4 Comments
Kathleen Kingsbury
May 26, 2021 10:37 amThis is the sweetest pattern! Thank you for sharing.
Super Mom No Cape
June 3, 2021 10:32 amThank you Kathleen. I’m glad you like it.
Mary
May 26, 2021 9:57 amThat’s really cute. The embroidery is beautiful and I love the green hoop with it.
Super Mom No Cape
June 3, 2021 10:31 amThank you so much, Mary.
Comments are closed.