Quilt As You Go (aka QAYG) stockings are a great way to use up all the Christmas fabric scraps you have leftover from other holiday sewing projects.
Each of the stockings in this post were made using my Quilt As You Go Stocking Tutorial.
It has complete step-by-step instructions with lots of photos so even if you’ve never quilted before you’ll finish with a beautiful stocking that you’ll be proud to hang up year after year.
And after you’ve made one, you’ll want to make more to give to family and friends.
When making QAYG stockings, I like to quilt both sides of the stockings, with their own unique combination of fabrics.
It seems everyone has their own opinion as to which direction a stocking should face. Should the toe face left or should it face right?
By quilting both sides, each person can choose which way to hang their stocking.
Since posting the tutorial, I’ve made three more stockings to show you just how pretty they turn out using different colors and combinations of fabrics.
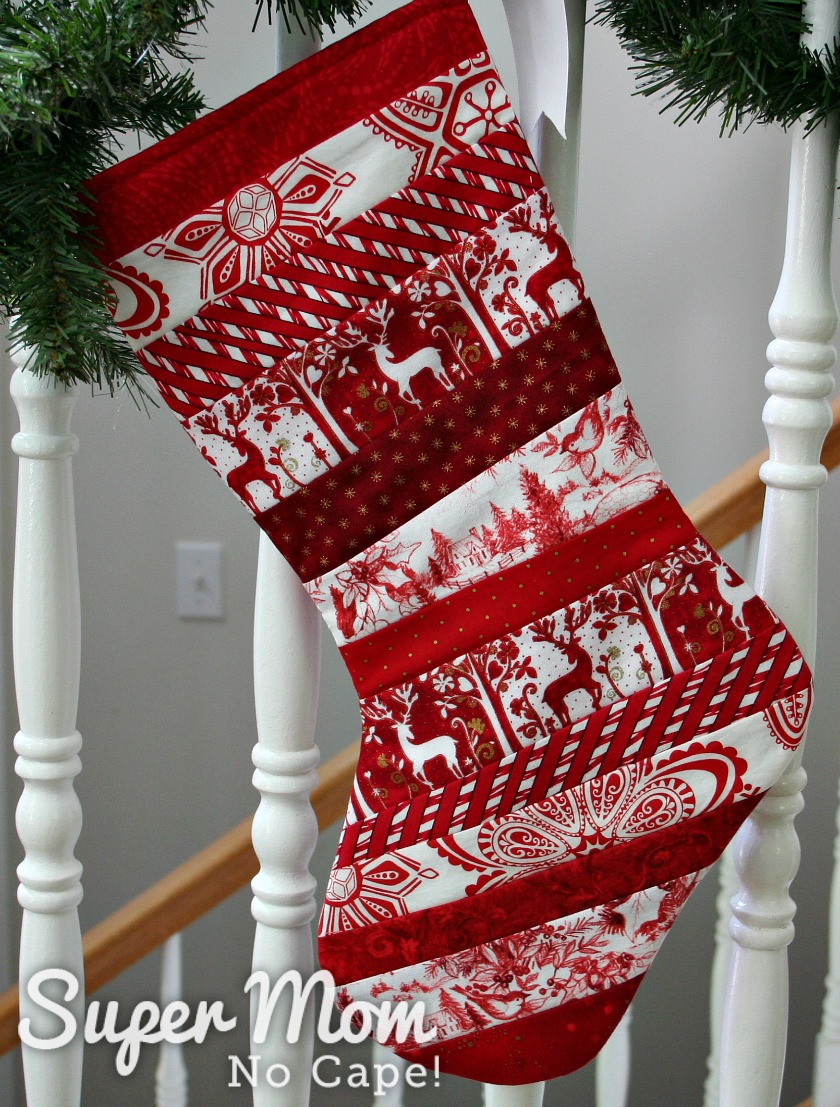
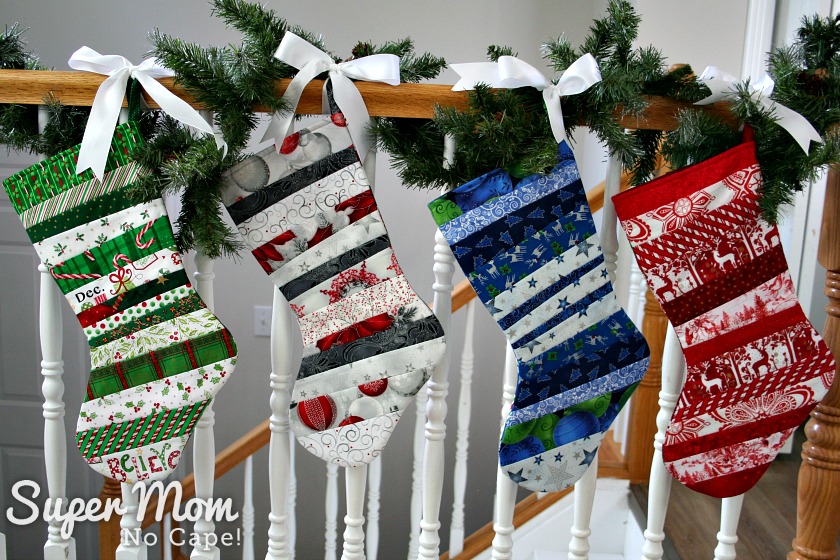
A variety of red and red and white prints were used to create the stocking pictured below.
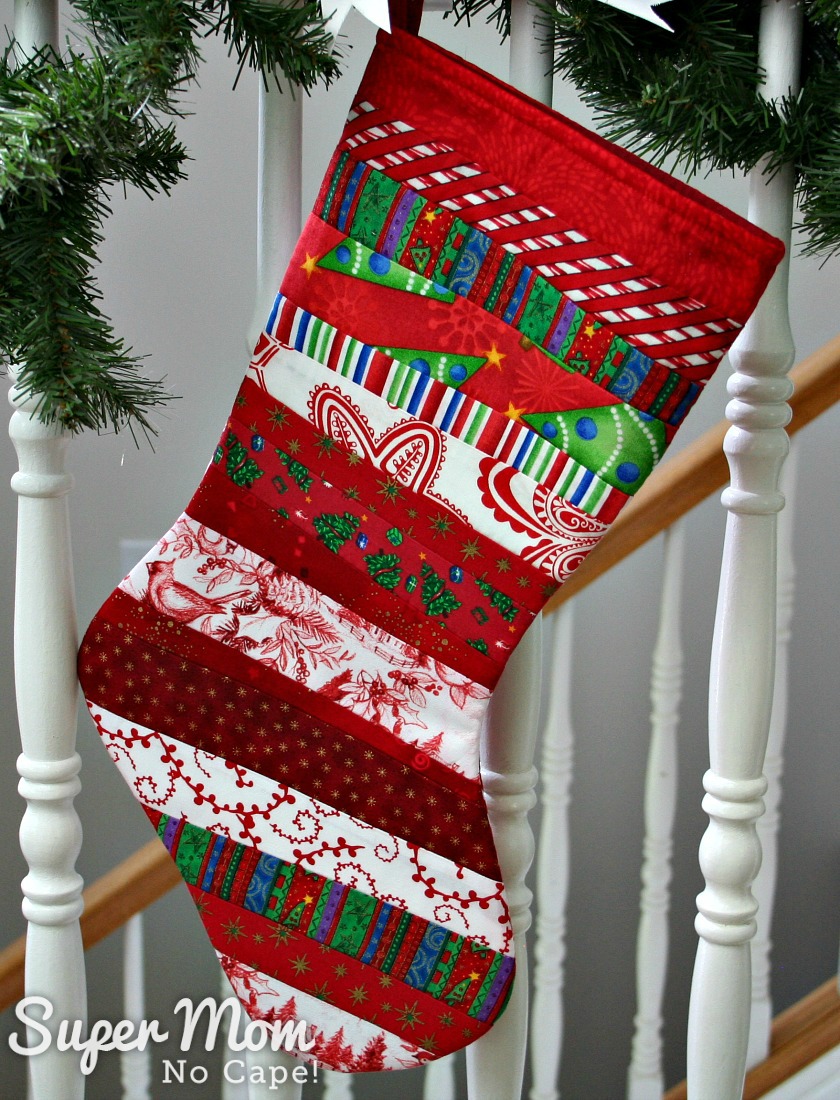
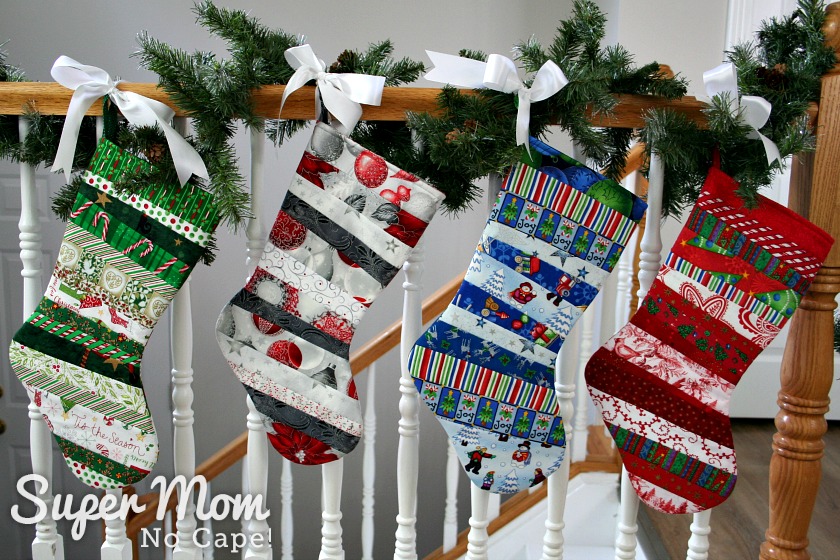
The reverse side of the stocking has several of those same prints with the addition of some fun striped fabrics and still others with Christmas trees and stars.
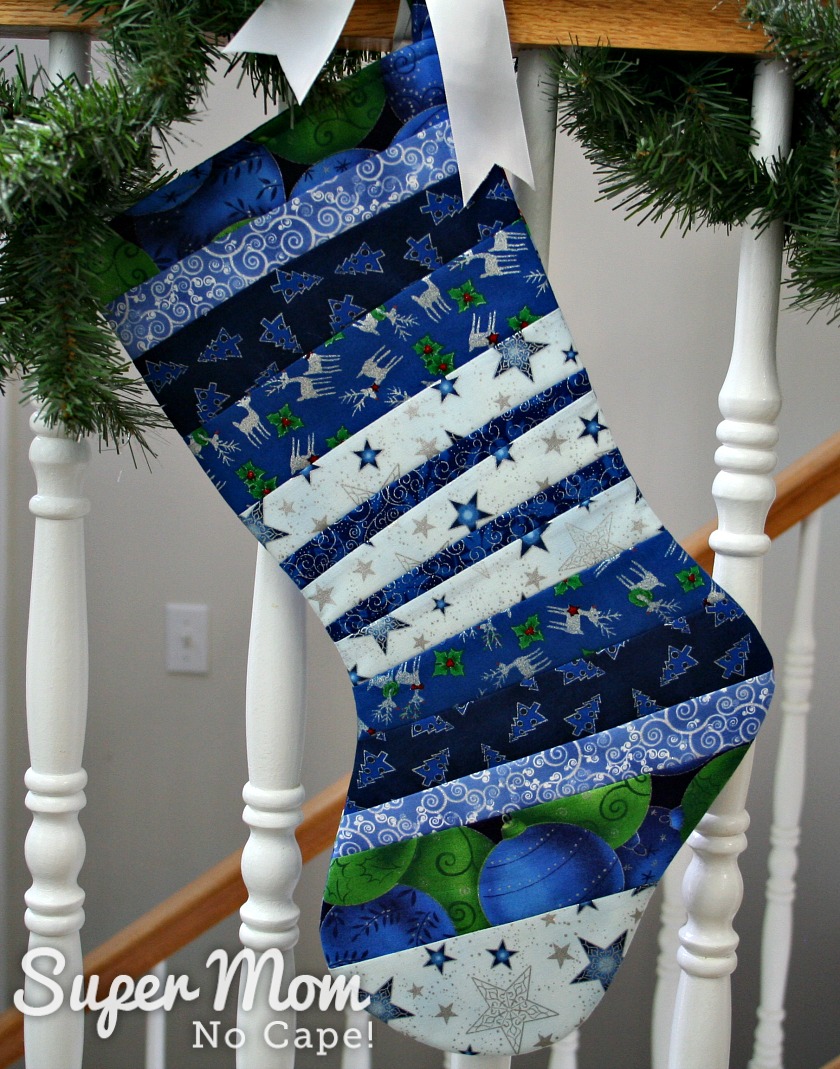
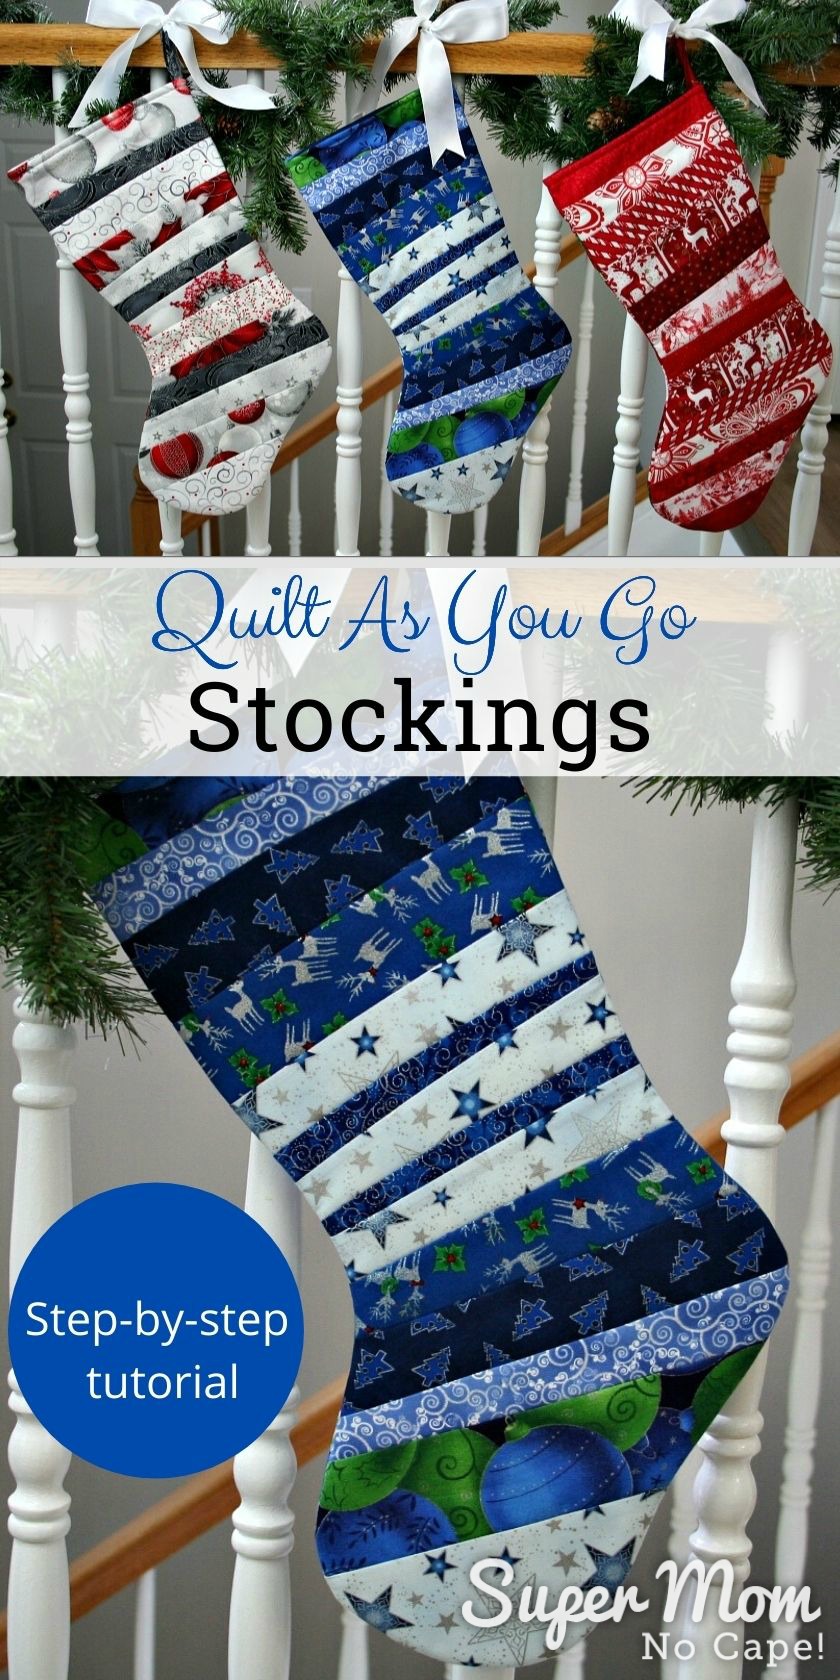
Various shades of blue fabric with silver accents are featured on one side of the stocking below.
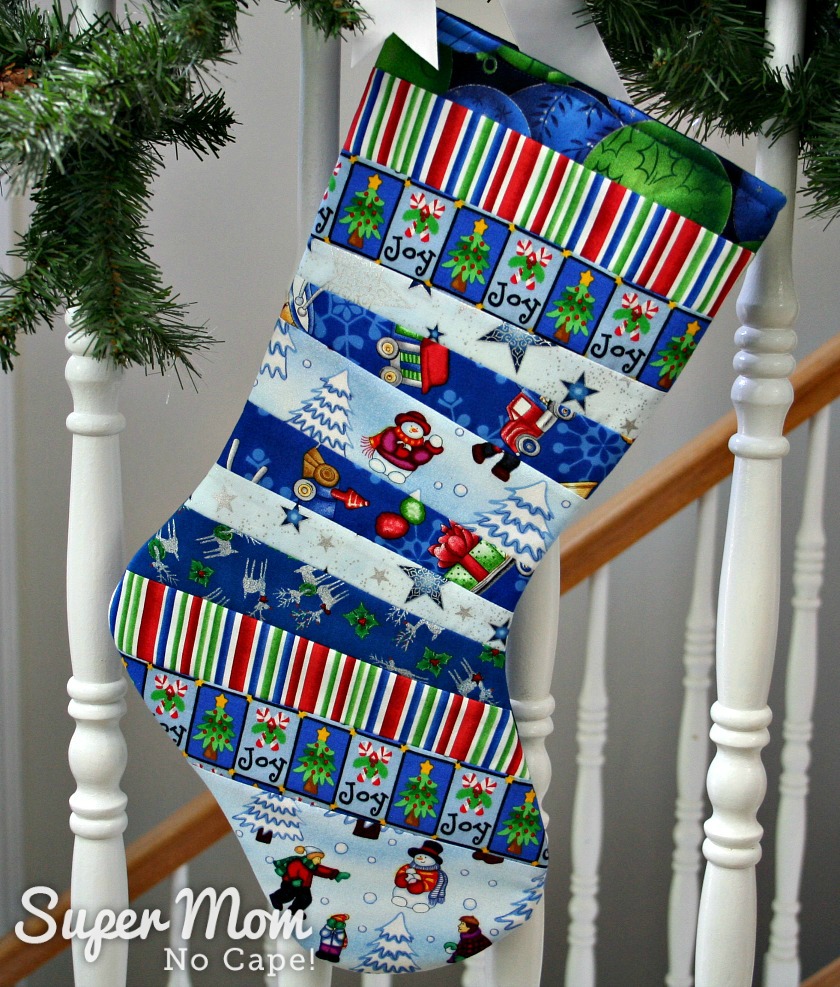
While the other side has lots of fun prints making this a stocking a child could grow with. When they’re little, this second side could be facing out.
Then as they grow older they could turn it around and have the more grown up side facing out.
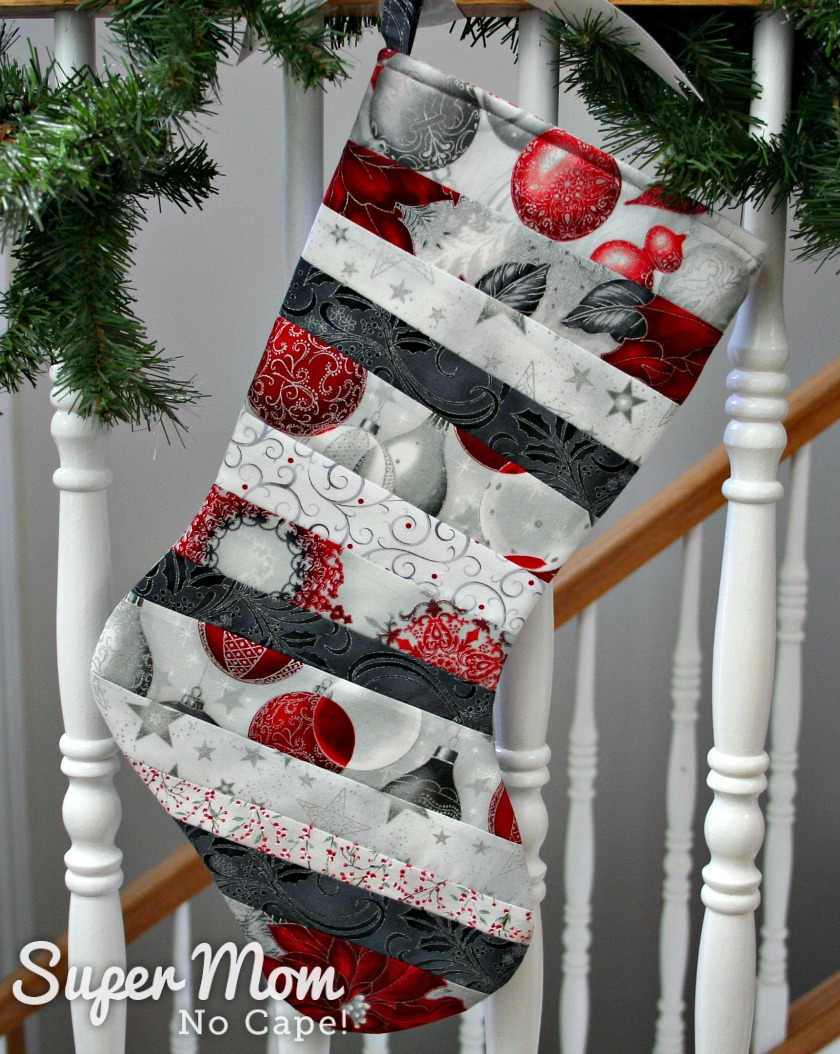
Both sides of this silver and red stocking use the same eight fabrics on each side but arranged in a different order.
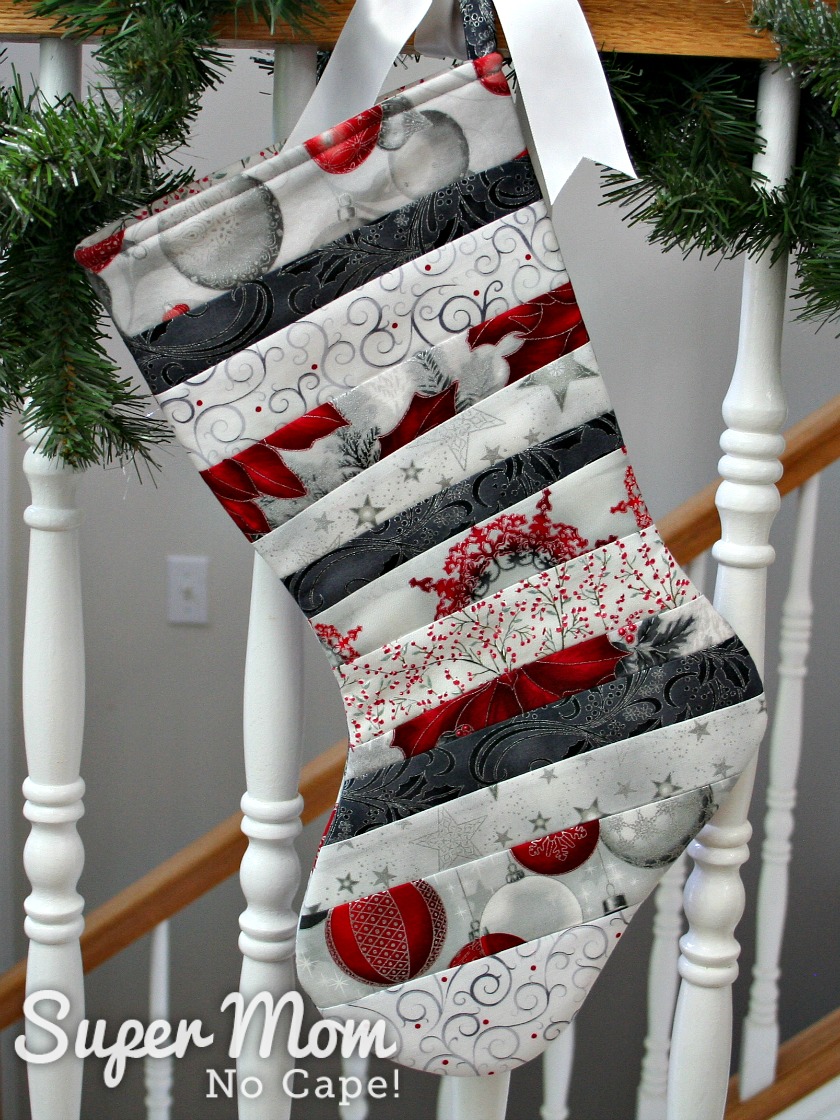
It would be difficult to decide which way to hang this one as both sides are so pretty!
Don’t they look festive all hanging side by side.
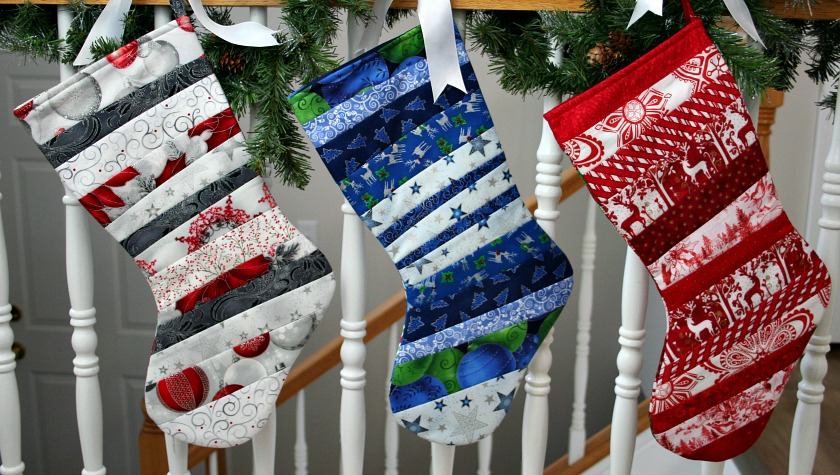
I think you can agree that no matter which way they’re hung, they’d make a beautiful addition to your holiday decor and could be customized to each individual’s taste.
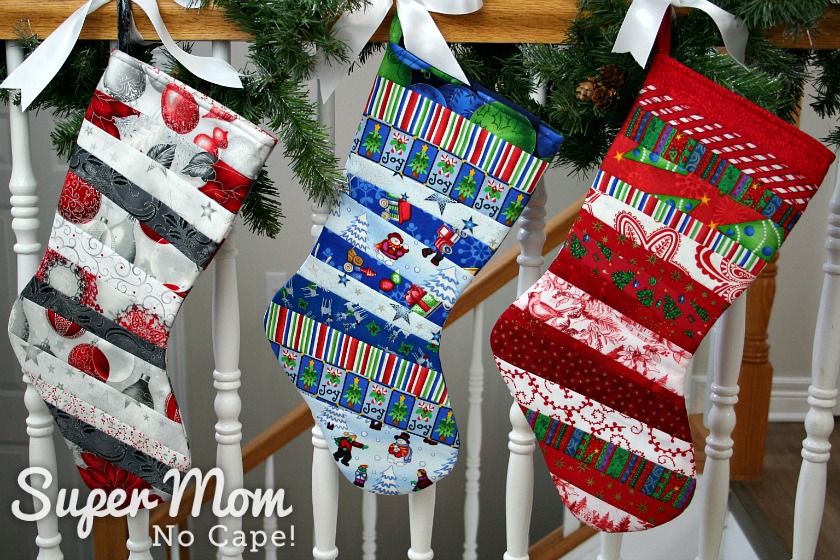
Here you can see them along side the green stocking made in the Quilt As You Go Stocking Tutorial.
And once again facing the other direction.
Are you ready to try making your own beautiful stockings from scraps?
You wouldn’t even have to use Christmas fabric.
Make them in the recipient’s favorite colors or in novelty prints of their hobby of choice.
I’d love to see how you get creative with your scraps making stockings. So please take a photo (unless it’s a secret gift,) post it on your favorite social media and tag me so I can have a look and comment. I’m @supermomnocape on Instragram, @1SuperMomNoCape on Twitter and @1SuperMomNoCape on Facebook.
Be sure to save this to your favorite Pinterest board by clicking on the share button underneath this post.
And of course, I’d love it if you shared it on Facebook and Twitter as well.



4 Comments
Heidi
October 20, 2020 6:46 pmThis is THE BEST tutorial out there! I’ve been sewing for 25 years and learned something EPIC today (the way you basted, pressed and trimmed around the lining opening! Game changer!) Thank you for the tutorial and I’m excited to share
a pic of our new stockings.
Super Mom No Cape
October 22, 2020 3:25 amThank you so much Heidi. What a lovely comment. I always love hearing that I’ve be able to offer a new tip to make sewing an item easier. I can wait to see a pic of your new stockings!
Rachel
July 23, 2020 3:18 pmThey are charming!
Super Mom No Cape
July 27, 2020 5:48 pmThanks so much Rachel!
Comments are closed.