Have you ever seen a craft that you did as a child and find yourself wishing that you had an excuse to make that craft again?
That’s what happened that led to the creation of this Painted Maple Leaf Table Runner.
Debbie from One Little Project posted a really fun Chalk Stenciled Pumpkin. Ooohhh how I wanted to get out some paper and chalk and play!
Well… it just so happened that I’ve been wanting a new fall table runner for our dining room table.
I had some canvas left over from when Dave and I made the pressing surface for the new custom designed pressing station he built for me (sewing room tour coming soon,) I had some DecoArt Crafter’s Acrylic Paint and looking out the window to the backyard there was a tree full of maple leaves.
Hmmm, I wondered, could I get the same effect with paint as Debbie did with chalk. So the experiments began. You may have seen some of those posted on Instagram @supermomnocape.
It turned out that it is definitely possible to get the same effect with paint. And I’m going to show you how to do it!
Painted Maple Leaf Table Runner Tutorial
Materials needed:
Heavy weight unbleached canvas (<affiliate link)
Note: It comes in 58″ widths so purchase the amount you need to make whatever size table runner you want to make plus extra to allow for seam allowances and shrinkage. Unbleached canvas shrinks a lot! I would recommend buying at least an extra 3 inches.
Matching thread
Acrylic Craft Paint in Yellow, Orange and Red – I used DecoArt in Bright Yellow, Pure Pumpkin and Deep Red.
Fabric Painting Medium (optional)
Three sponge brushes (<affiliate link)
Tray for putting the paint in – No need for anything fancy… I used a clean lid from a cottage cheese container
Several maple leaves – gather them from a tree in your yard or neighborhood
To begin, wash the canvas in hot water and dry on hot so that it shrinks as much as it’s going to shrink. Take it out of the dryer immediately to avoid it getting wrinkled. Then give the canvas a good pressing.
Cutting instructions:
Fold the canvas in half so the selvages meet.
Fold in half again, so that the selvages meet the first fold.
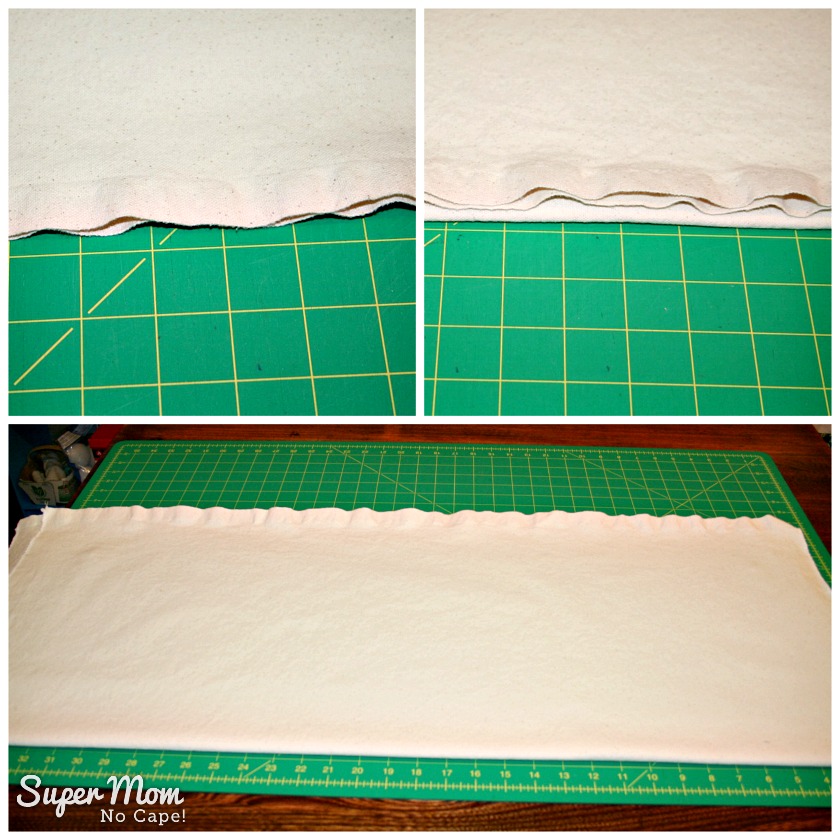
Square up one side of the folded canvas:
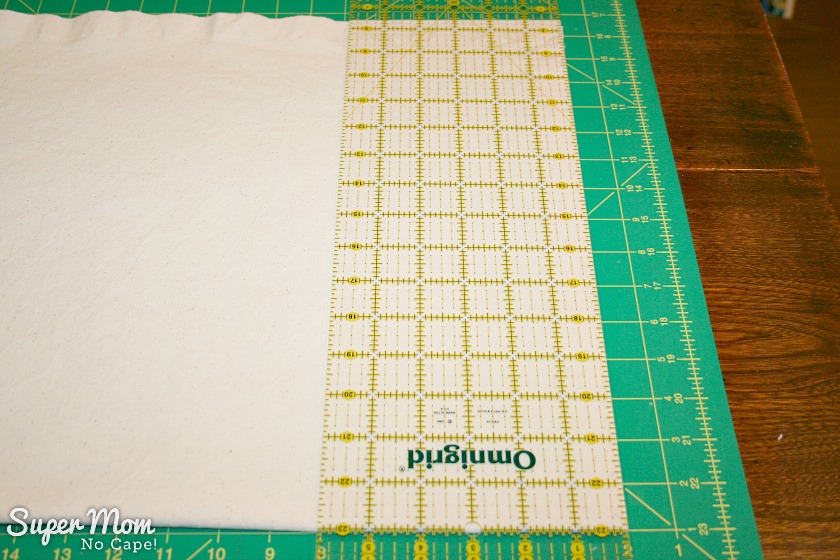
Move the cut side to the edge of your cutting mat, making sure that the double fold stays square along the horizontal measuring line and the cut edge is square along the first vertical measuring line as pictured below:
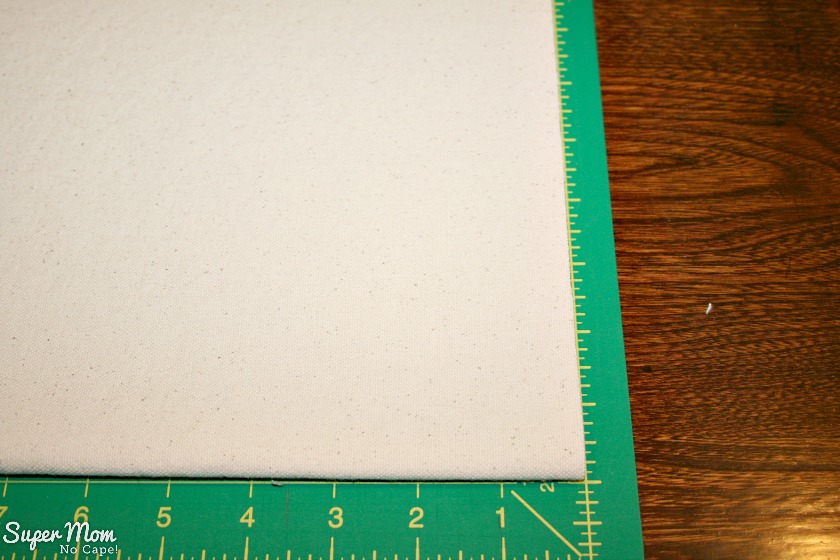
Cut the canvas to the width you want your finished table runner plus 2 inches to allow for hemming.
I wanted my table runner to be 26″ wide so I cut my canvas at 28″.
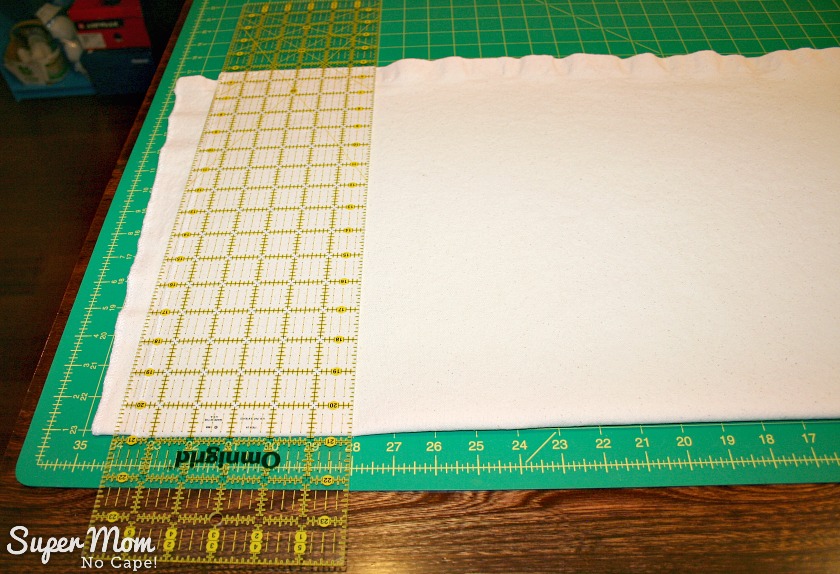
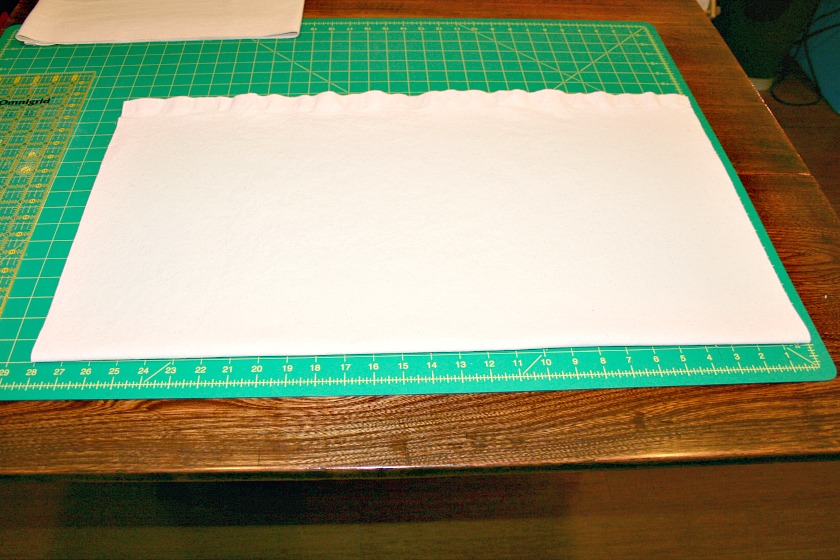
The next step is to cut the canvas to whatever length you want you table runner to be. Trim off the selvages and cut to desired length.
The 60″ length was the perfect size for my table, so there was no need for me to cut it. I also liked the look of the slightly ruffly edge so I left the selvages on.
To hem the table runner:
Press under 1/2″ along the longest edge.
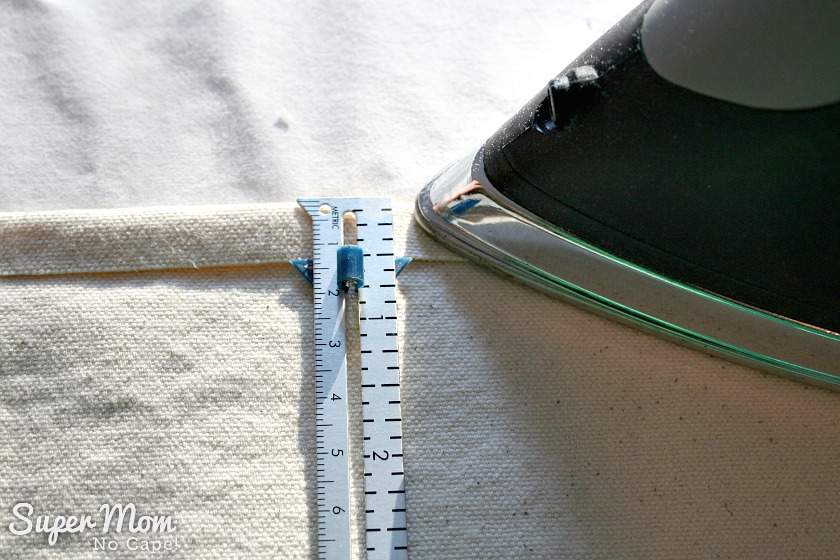
Press under 1/2″ again to create a nice crisp finished hem.
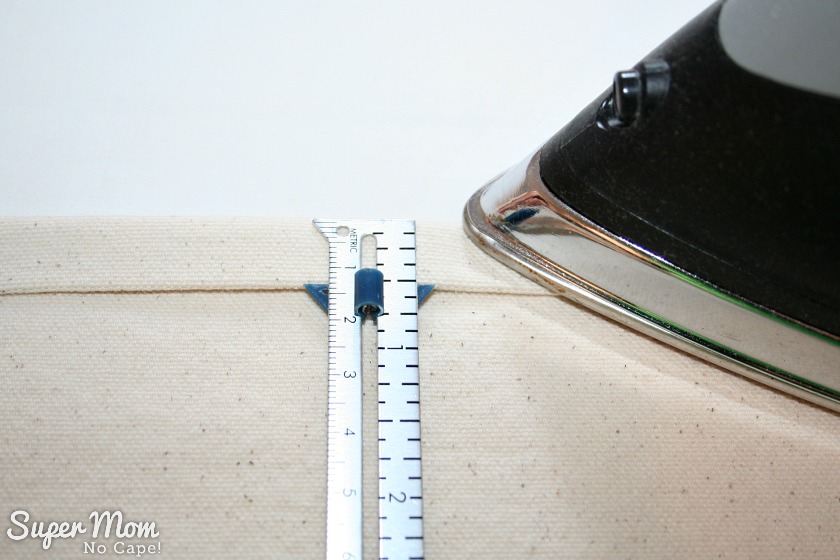
Stitch close to the folded edge.
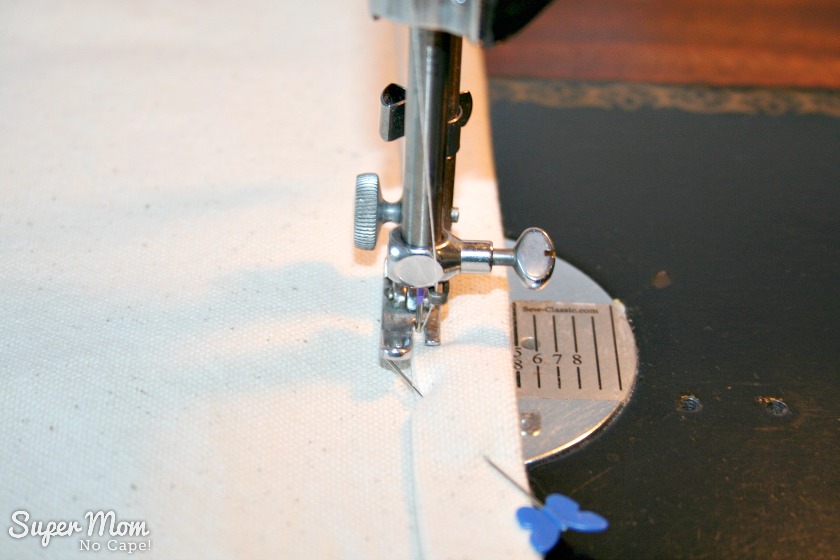
Repeat to hem the second long edge.
If you are hemming your table runner for length. Do that now, following the instructions above.
Now that you’ve done the “hard” part…
It’s time to play!
Before you begin painting make sure to cover your work surface with newspaper or plastic.
I used two large garbage bags taped together so that I wouldn’t get paint on my cutting table.
Gather your painting supplies:
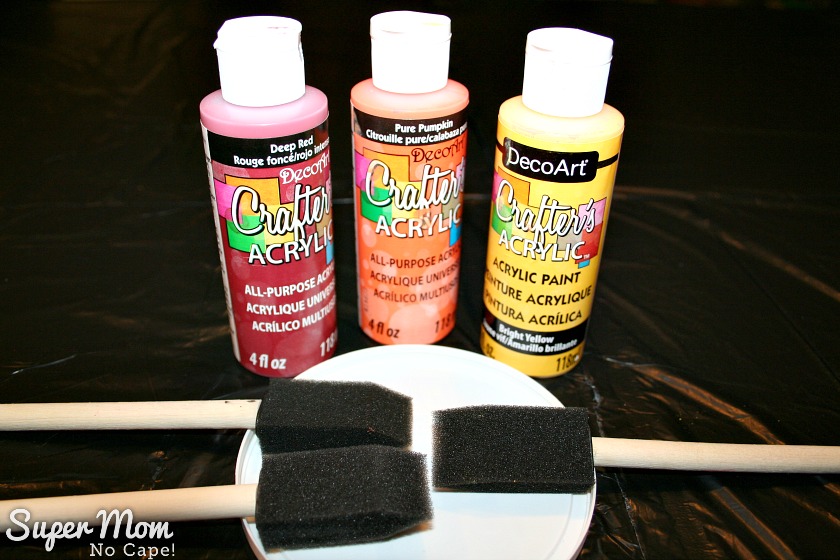
Please note: For this tutorial, I used straight acrylic paint. But if you plan to wash the table runner frequently, you may want to add Fabric Paint Medium to your acrylic paint to prevent it from fading over time and multiple washes.
To begin, mark the half way point on both long edges of your table runner and lay it out on your work surface.
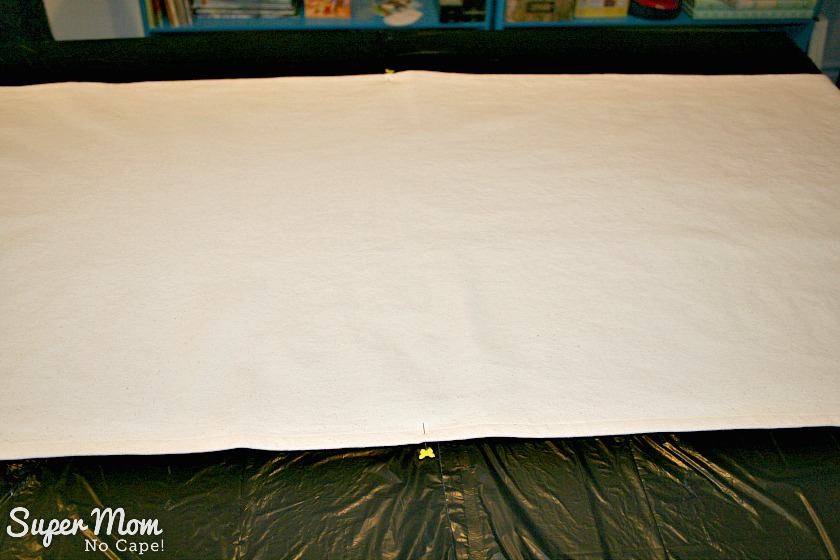
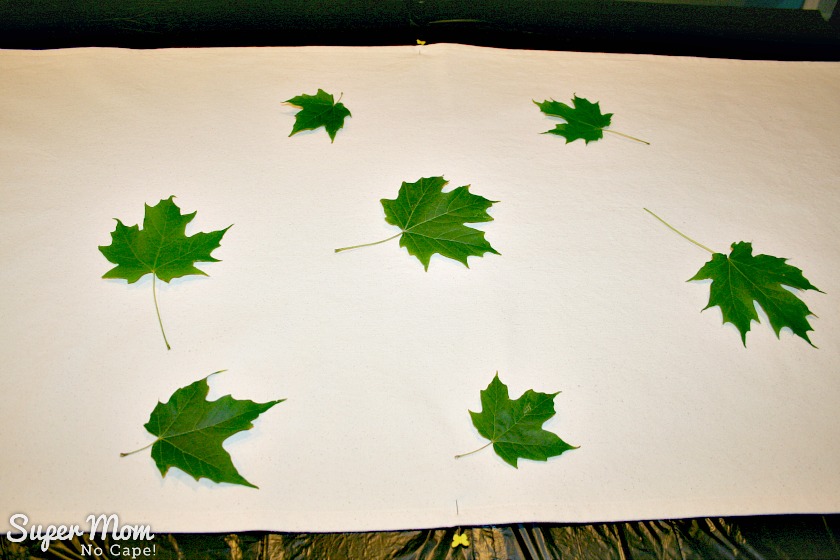
Starting in the center of the table runner, arrange the maple leaves however you would like them.
I wanted the finished table runner to look like the leaves were blowing in the wind, so I placed them every which way.
Squeeze paint into your paint tray.
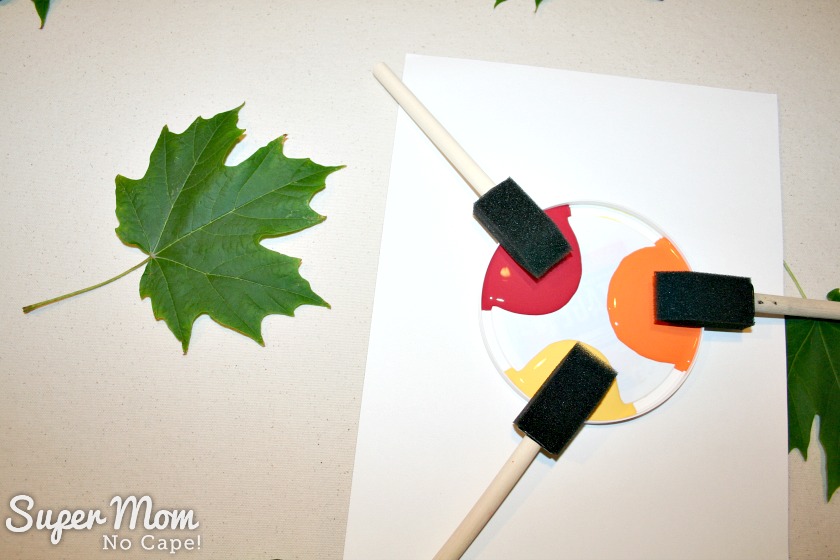
I also placed the paint tray on a sturdy piece of cardboard. That made it easy to move the paint close to each leaf so that I didn’t drip paint on the table runner anywhere I didn’t want paint.
Choose a color and starting with the sponge brush on the leaf, draw the brush off the leaf as pictured below.
When you place the brush on the leaf, you’ll want to push down gently and then as you draw the brush off the leaf, lighten your touch.
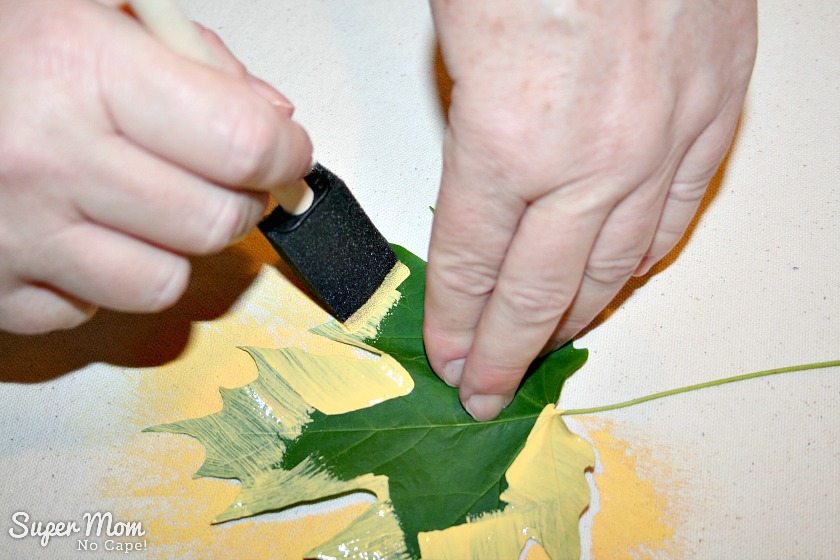
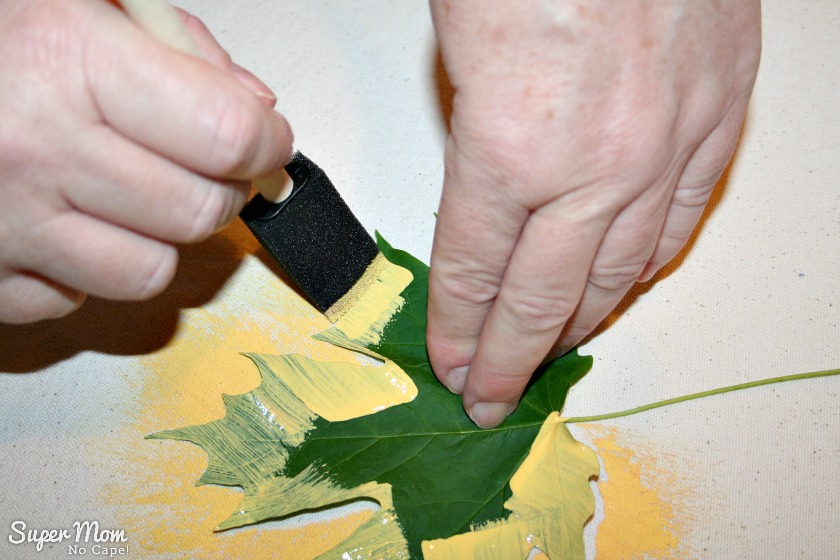
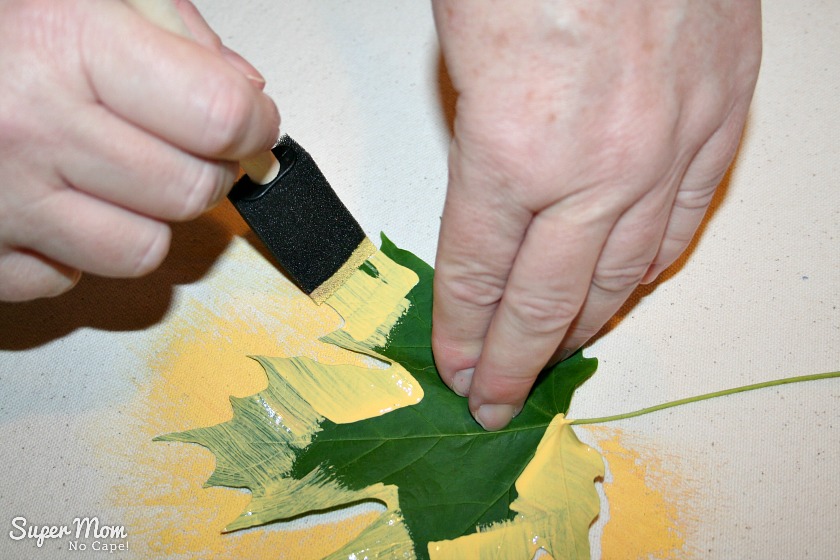
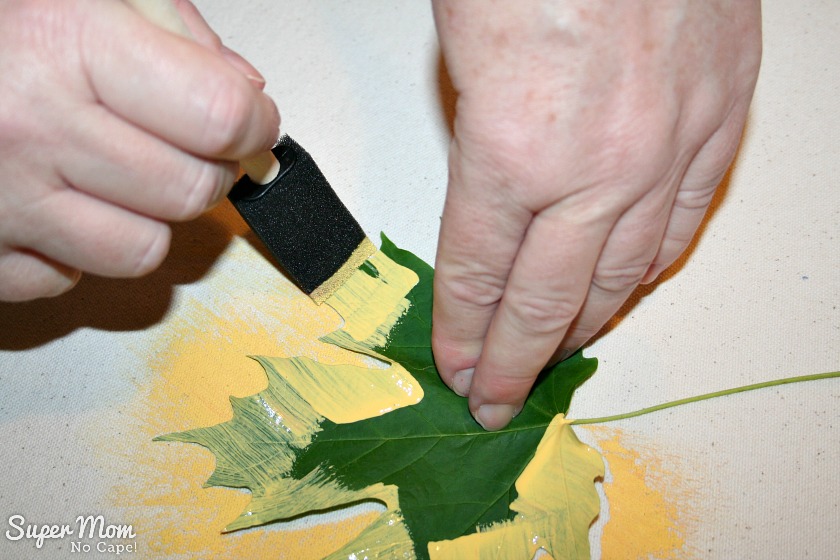
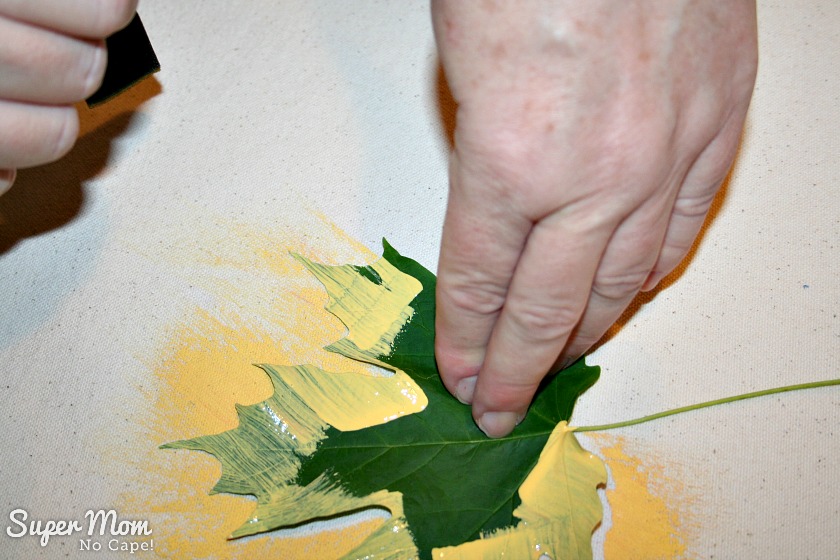
Paint all the way around the leaf.
The leaves can be painted with a single color each, if that’s the look you want to achieve.
When I was experimenting I discovered that I loved the look of adding a second or even a third color.
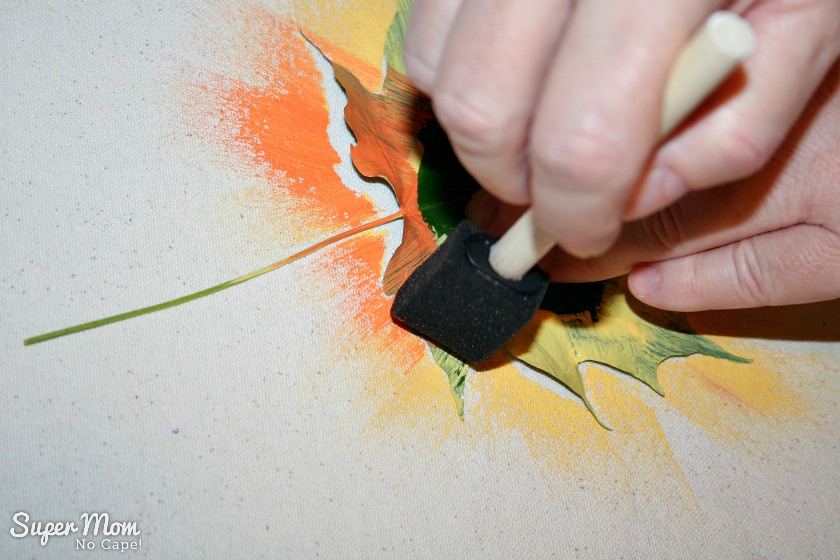
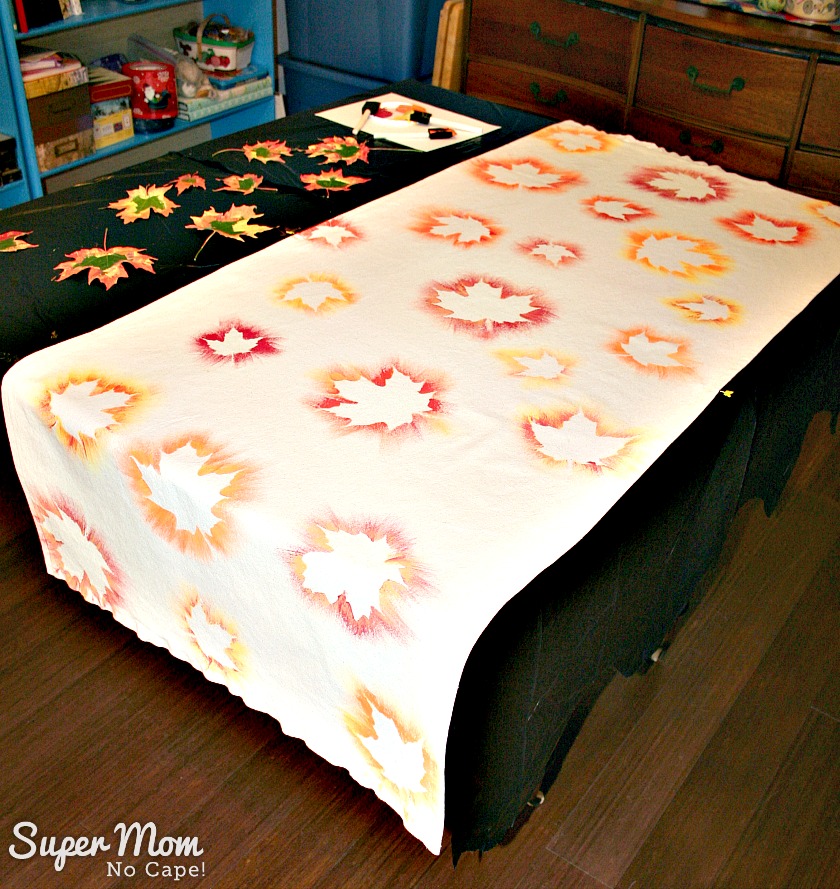
Here’s the finished yellow and orange leaf:
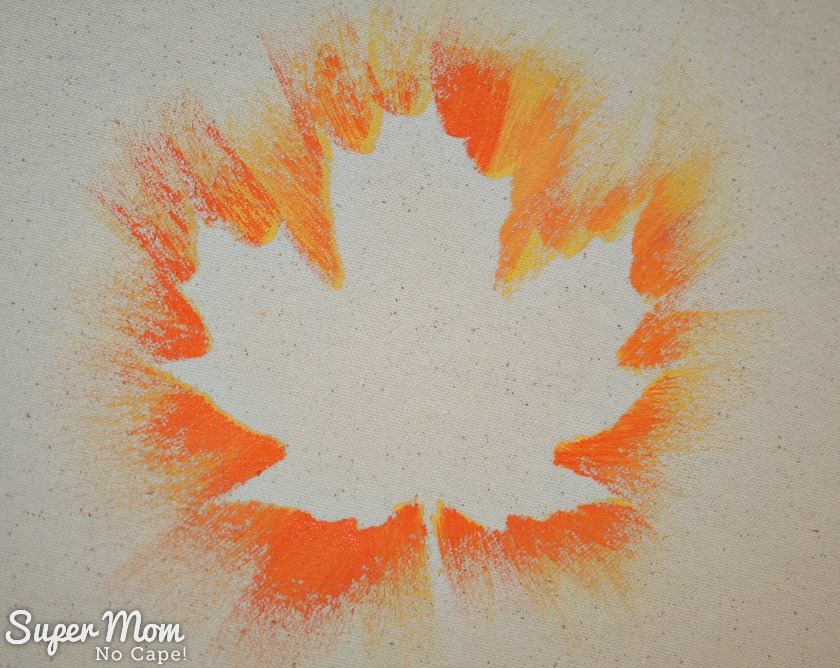
Continue to paint however many leaves you’d like on your table runner. Each leaf can be used several times.
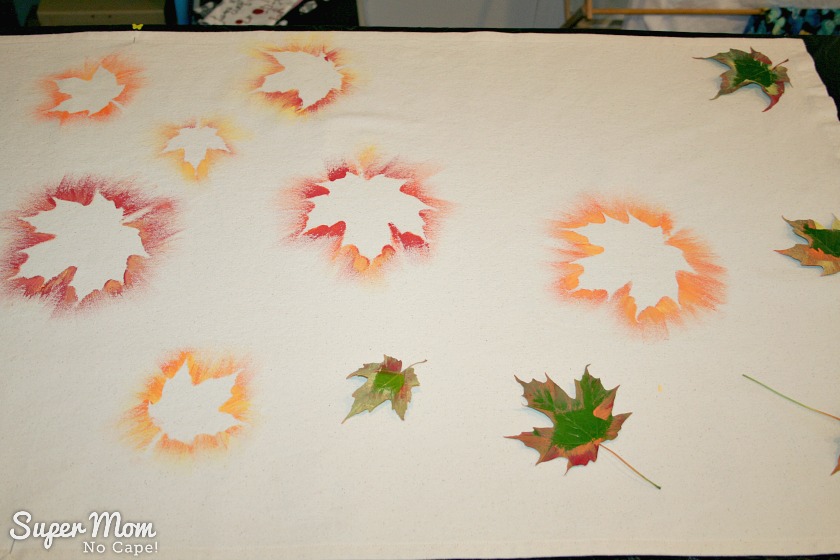
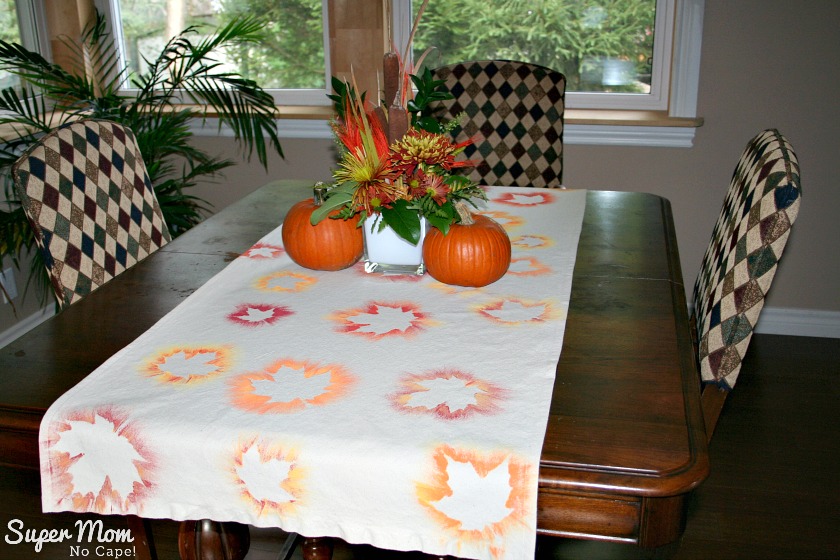
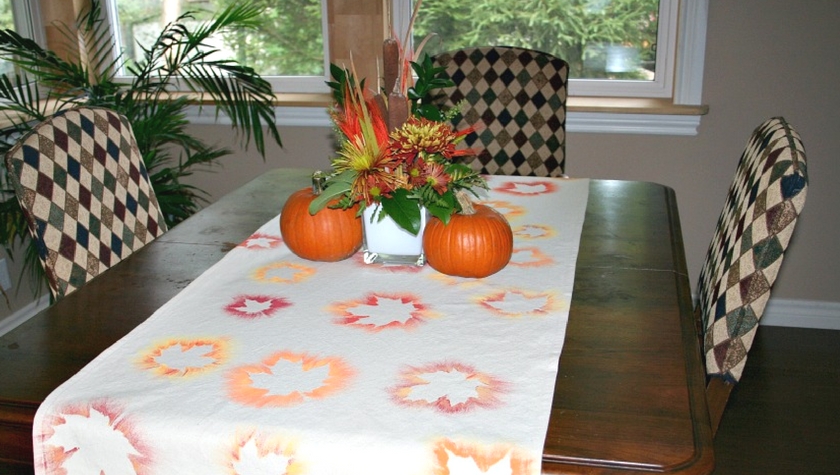
And here’s my new Painted Maple Leaf table Runner on our dining room table:
As always, if you make something with one of my tutorials, I’d love to see a photo. Please, tag me on Instagram @supermomnocape. I’m 1SuperMomNoCape on Twitter and Facebook.
This post contains affiliate links. For more information please check my Disclosures and Disclaimers page. It doesn’t cost you any extra, but it does help support this site.





8 Comments
Shirley Wood
September 18, 2018 6:57 amMaple leaves are the best in the fall. I want two Maple trees in my yard just for how beautiful they are in the Fall. Love this project. Please stop by and share it with us at the Merry Monday party!
Super Mom No Cape
September 18, 2018 7:22 amThanks so much Shirley for your sweet comment!
When we eventually buy and build our home, we’re planning on having maples trees too. And thank you for the invitation to the Merry Monday party. Heading there now.
Ida
December 15, 2016 11:15 amHave you ‘set’ the paint? (Heat set?) Have you washed the runner? How does it hold up?
I’m thinking about doing this w/ snowflakes (felt, or such from the dollar store as the objects)
Vanessa
October 29, 2016 4:39 amI love your table runner and it looks beautiful on your table. Thank you for sharing at Dishing it and Digging it link party.
Tiffstitch
October 18, 2016 12:00 pmThat looks beautiful! Thank you for the step-by-step instructions.
Rachel
October 17, 2016 4:26 amDelightful indeed. And what fun to do!
Susan
October 16, 2016 11:03 pmOh my gosh, yes, I did that with crayons when I was little. When I introduced it one year to my students, none of them had ever done it, and they loved it as much as I did! This is such a great idea to make a fall table runner. Thanks!
Meari
October 16, 2016 3:48 pmThat is very cool! Yes, I miss the days of having youngsters to do kid crafts.
Comments are closed.