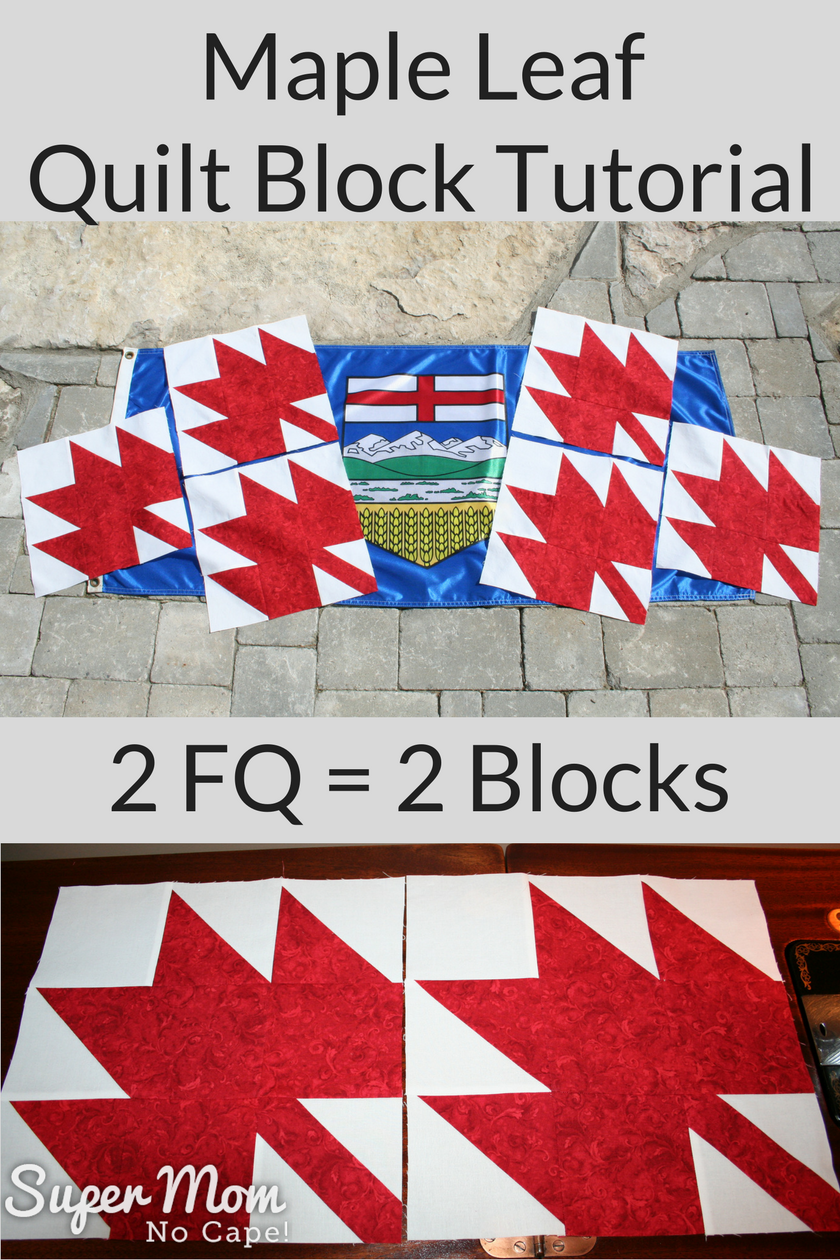
The following tutorial will yield two 12 ½” (unfinished size) Maple Leaf quilt blocks from 2 fat quarters or yardage of your choice.
The block itself is a simple nine patch made up for 4 half square triangles (hst), 4 squares (1 background, 3 main color, in this case red) and the block with the stem.
The method I describe here to create the hst that form the points of each maple leaf is the fastest way I know to sew multiple hst at one time. Two contrasting squares of fabric sewn and cut as demonstrated gives you 8 hsts.
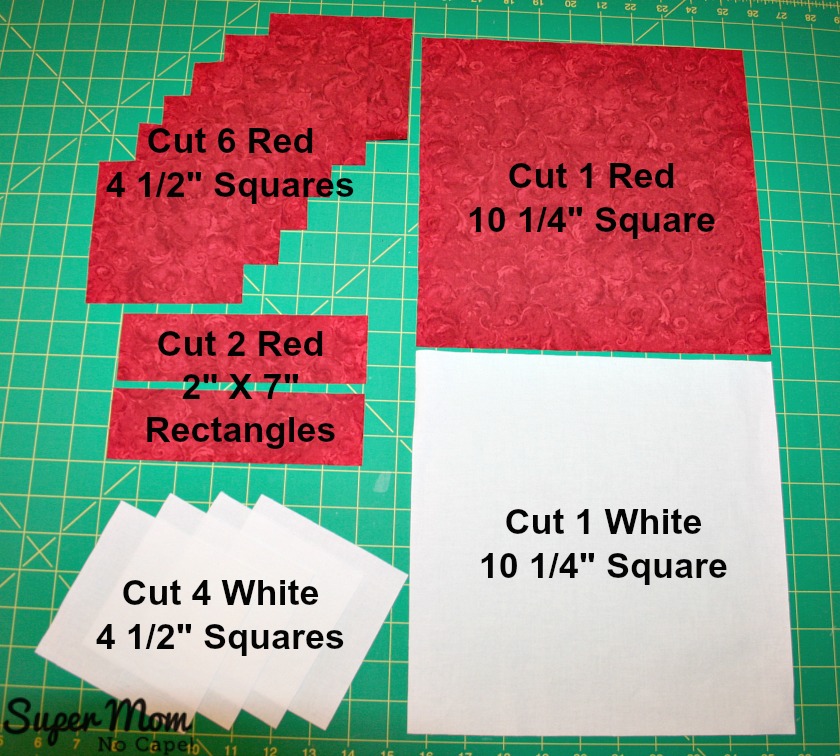
Begin by cutting:
- 1 – 10 ¼” square from main fabric
- 1 – 10 ¼” square from white (or low volume fabric)
- 6 – 4 ½” squares of main fabric
- 4 – 4 ½” squares of white fabric
- 2 – 2″X7″ rectangles of main fabric
Tools used needed for cutting squares
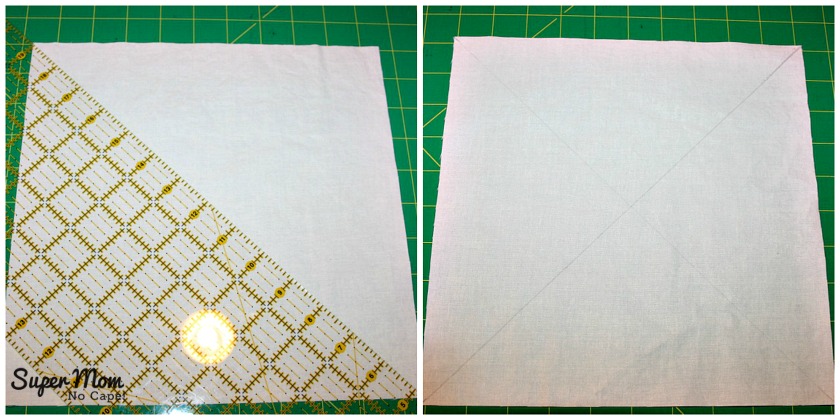
To make the half square triangles:
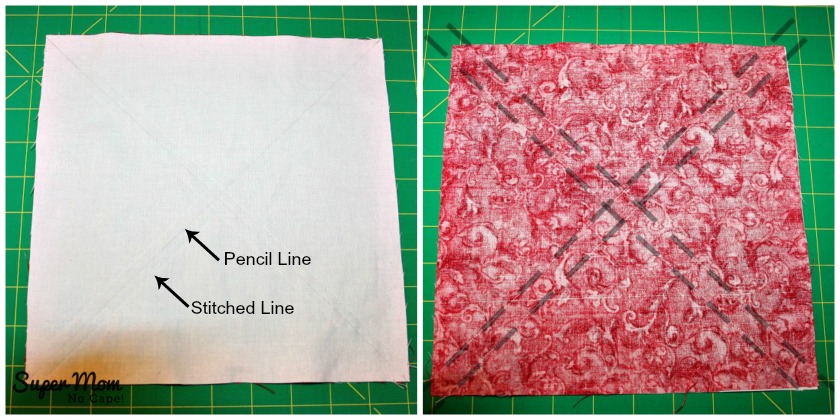
Draw two intersecting diagonal lines on the 10 ¼” white square.
Place the red 10 ¼” square and white 10 ¼” square right sides together. Stitch ¼” seam on either side of each line.
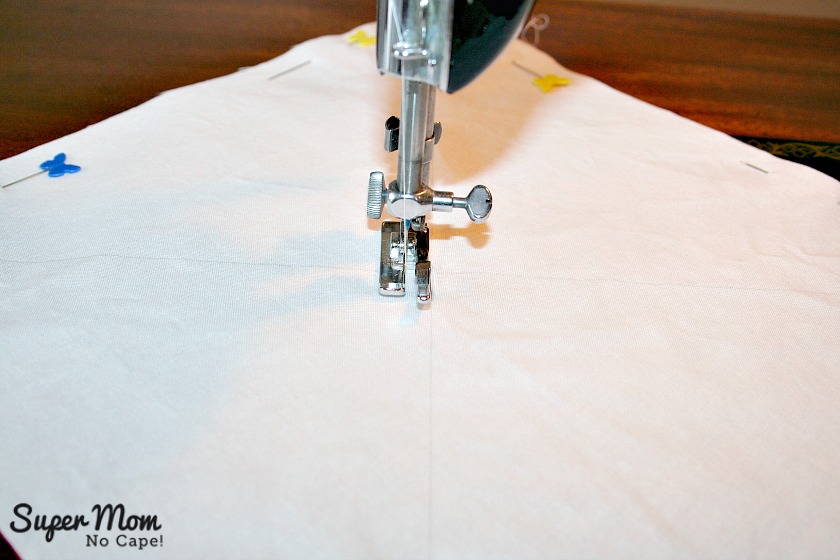
If you look closely at the photos below you can see what the stitched lines should look like.
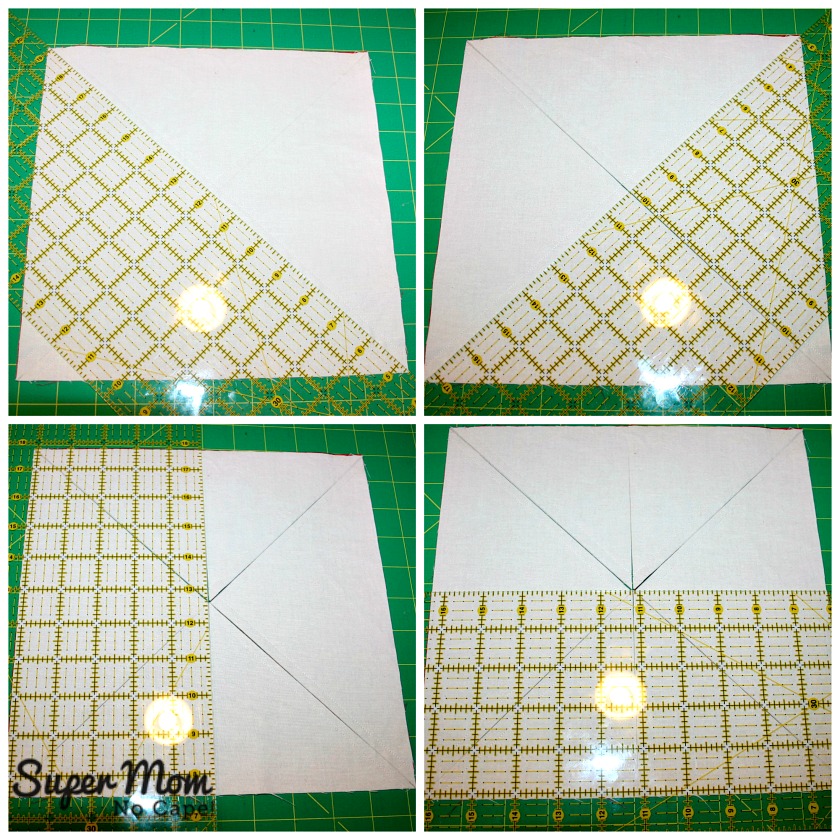
Now… being careful not to move the block between cuts… cut on the drawn lines.
Then cut in half vertically and again in half horizontally as shown.
You will be cutting through the center point 4 times.
For the third and fourth cuts (bottom two photos) make sure to have your ruler lined up so that it is square and the side you will be cutting along lines up with where your stitching lines intersect.
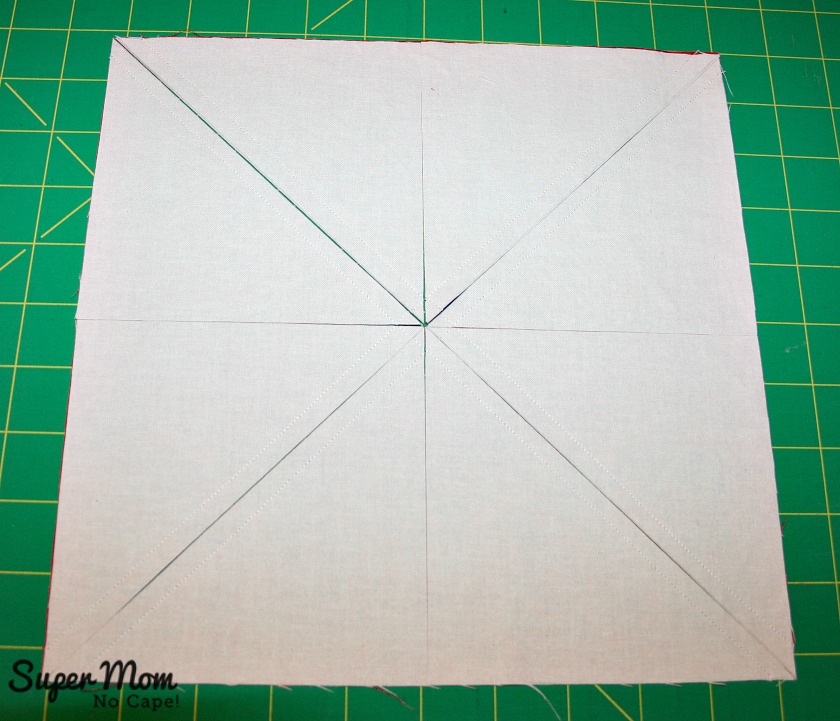
Once you’ve made your cuts, it will look like this.
Flip them open and like magic you have 8 half square triangles!
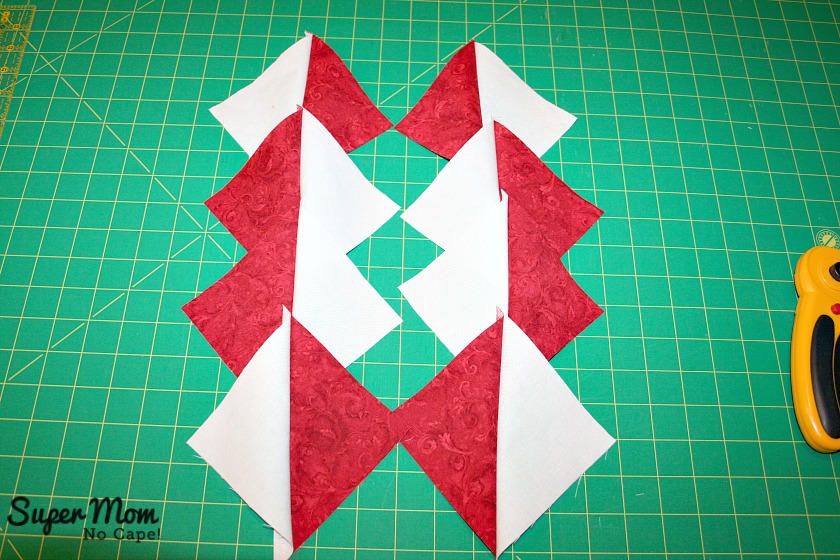
Press each hst with the seam towards the red fabric.
Square up them up to 4 ½”
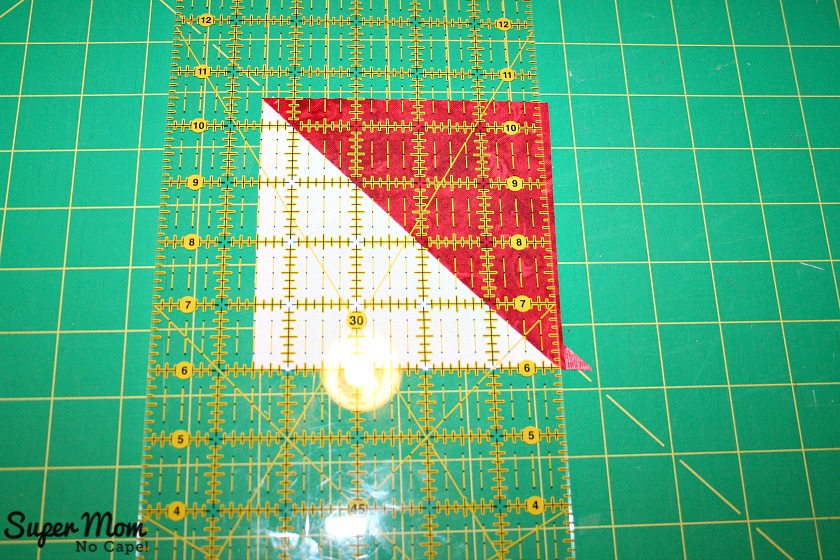
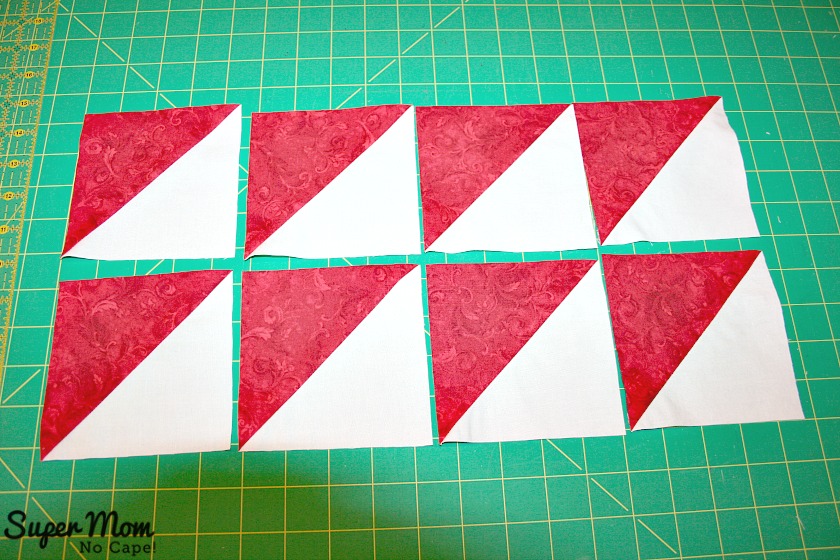
Set the hsts aside for now.
To make the stem of the leaf:
Cut two of the 4 ½” white squares in half on the diagonal.
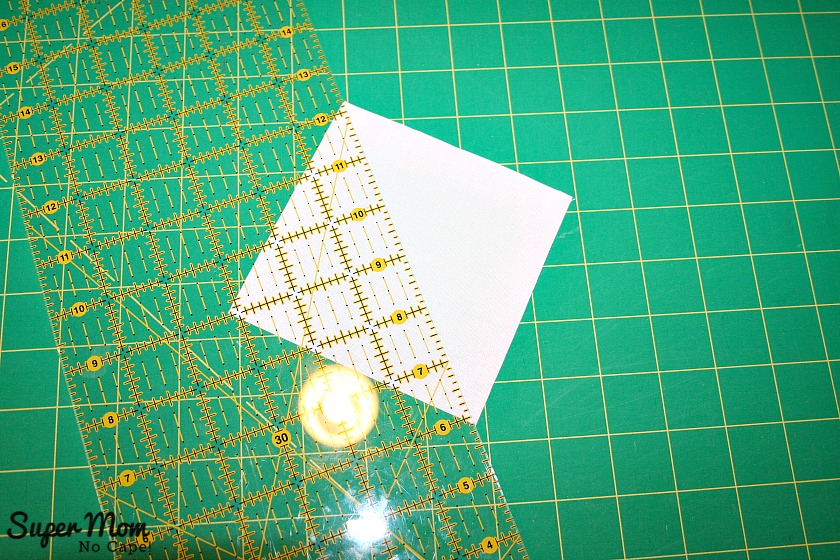
This is give you 4 equilateral triangles.
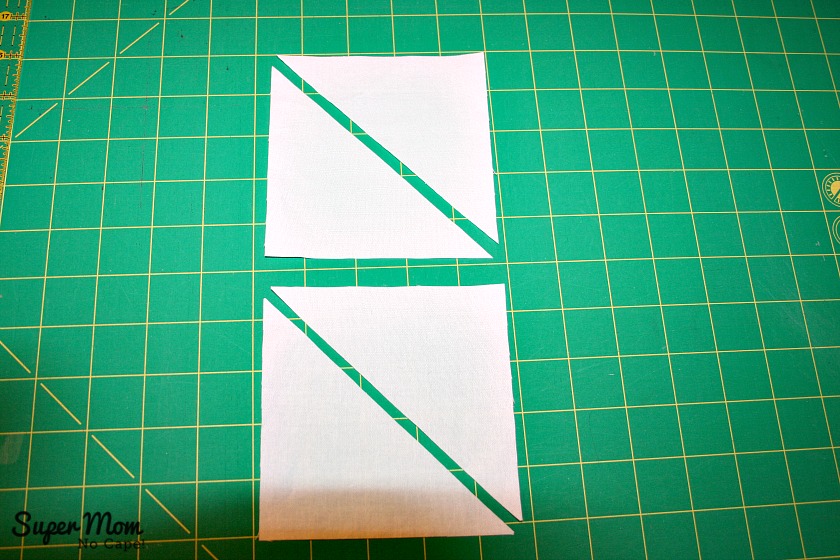
Place a pin at the half way point on the long side of one triangle and match it to the half way point of one red 2″X7″ rectangle as in the photo.
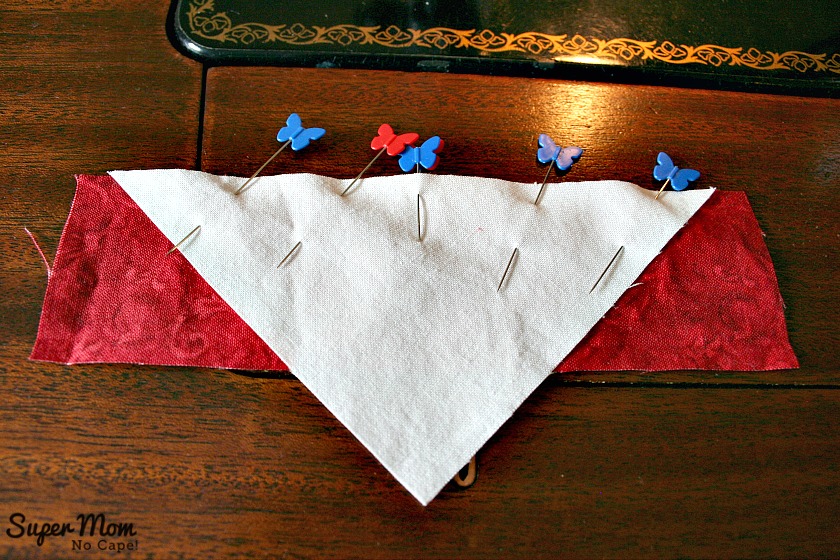
Sew using a scant ¼” seam allowance.
Note: In the photo below you may notice that I’ve switched back to my regular presser foot and added an adhesive block to act as my scant ¼” seam guide. I find this method much more accurate than using the edge of my ¼” presser foot. But use whatever method works best for you.
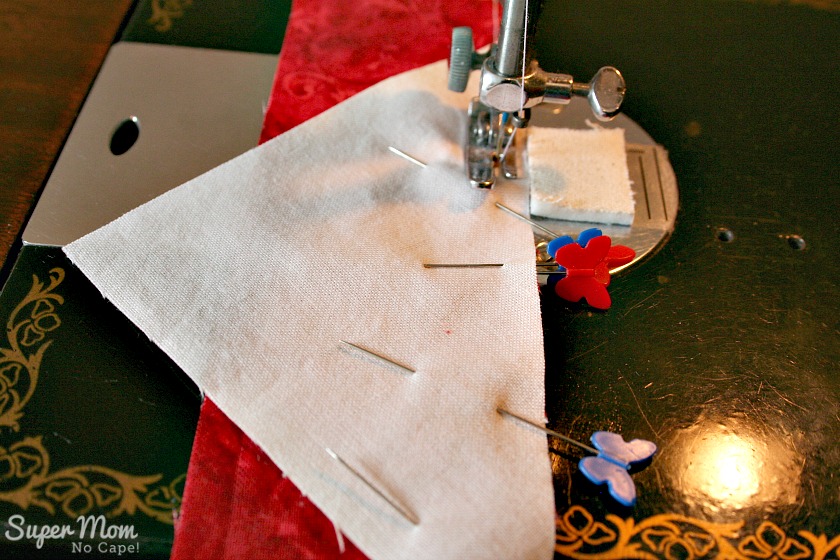
Sew the second triangle to the other side of the red rectangle in the same manner.
Repeat these steps to make a second stem.
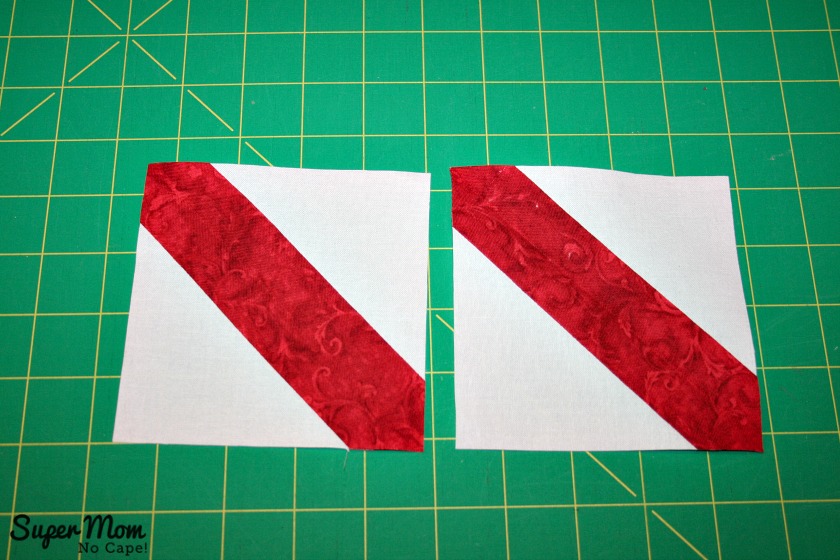
You will have 2 blocks that look like this:
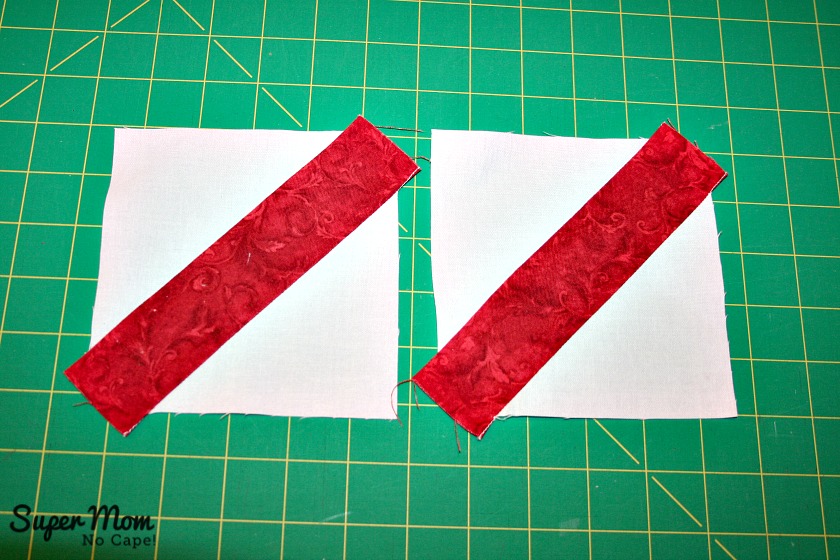
Now I have a little trick to show you to make it easy to square up those stem blocks.
Fold each block in half along the middle of the stem as shown and press along the fold.
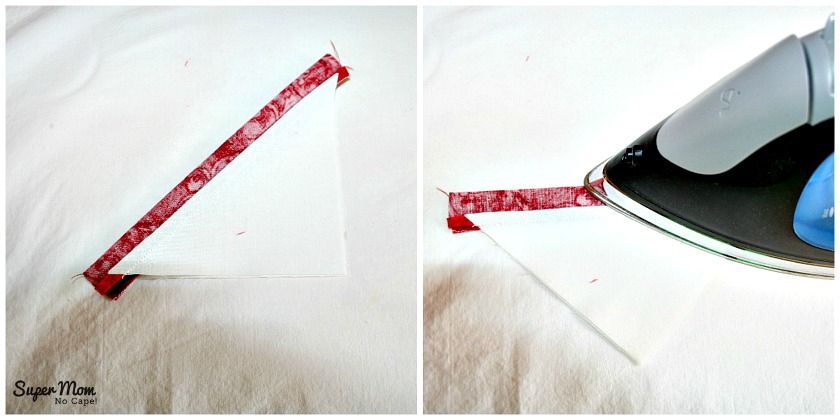
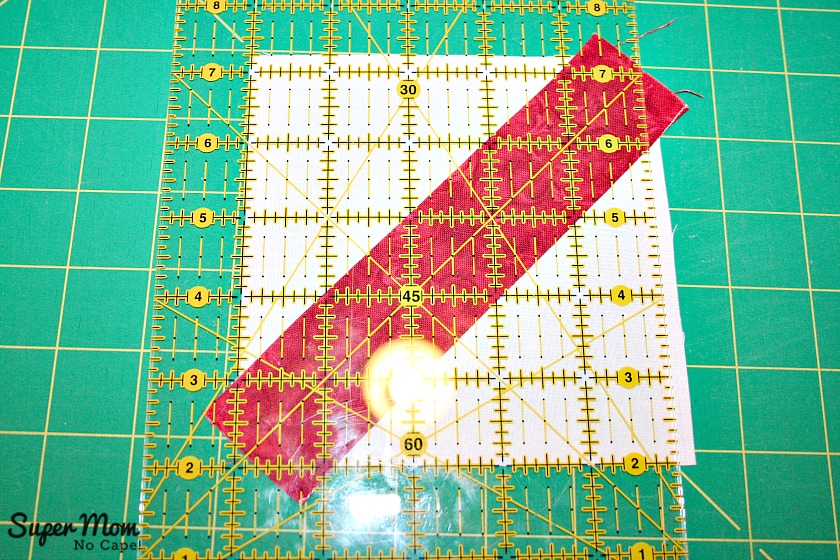
Next… line the 45º line of your ruler up along the ironed crease and continue to square up as usual.
To assemble the maple leaf blocks:
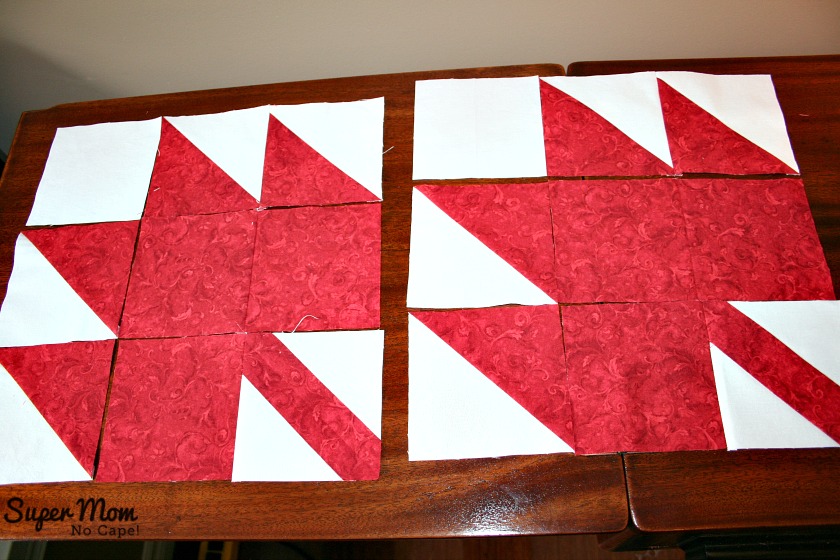
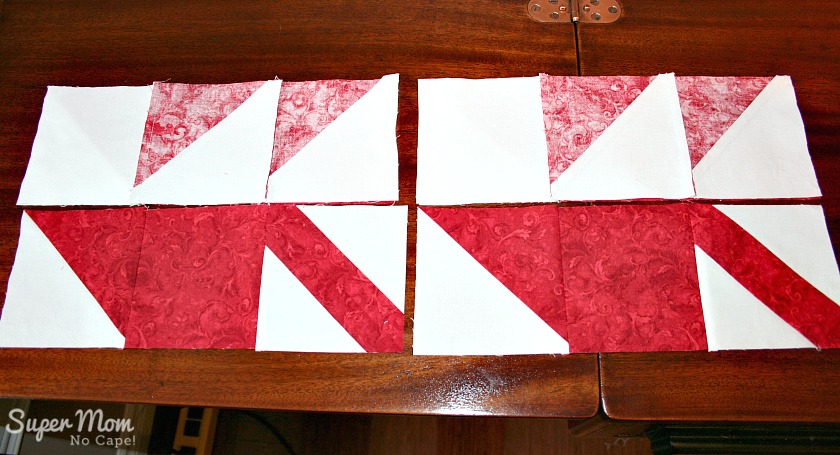
Lay the blocks out according to the photo.
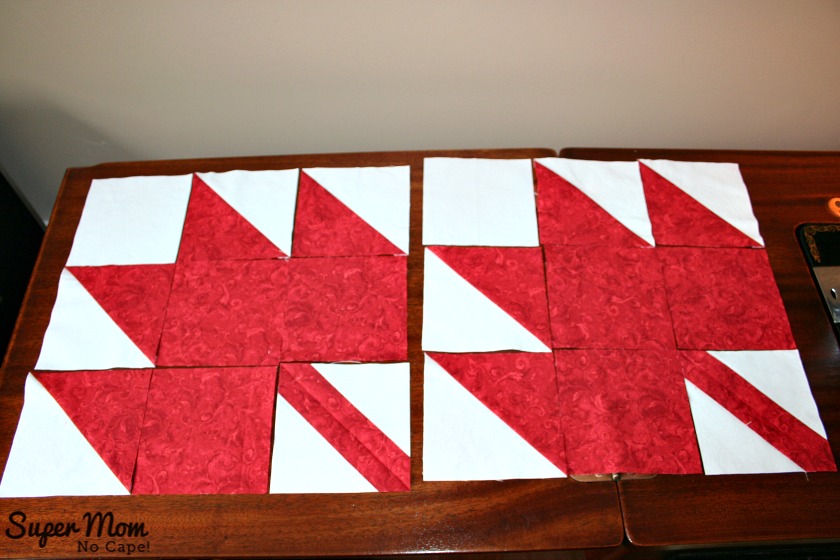
Flip the right hand blocks over onto the middle blocks and sew using a scant ¼” seam.
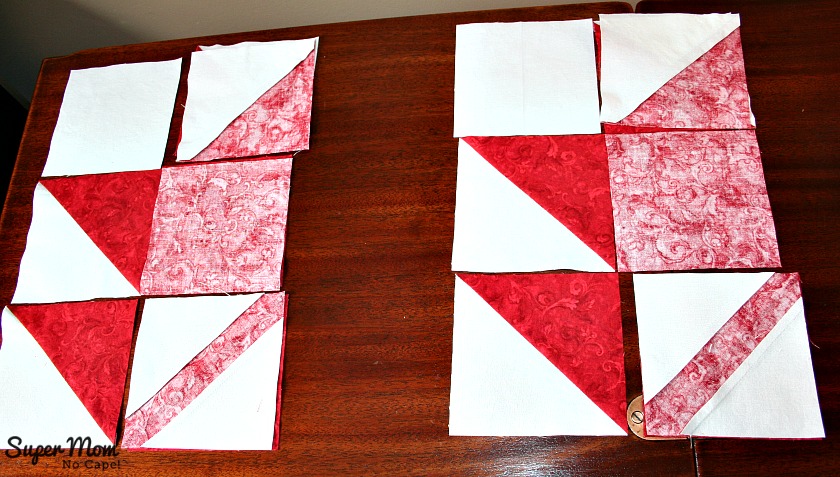
Lay them back down in order so the blocks again look like maple leaves.
This time flip the left hand blocks over onto the middle blocks and sew.
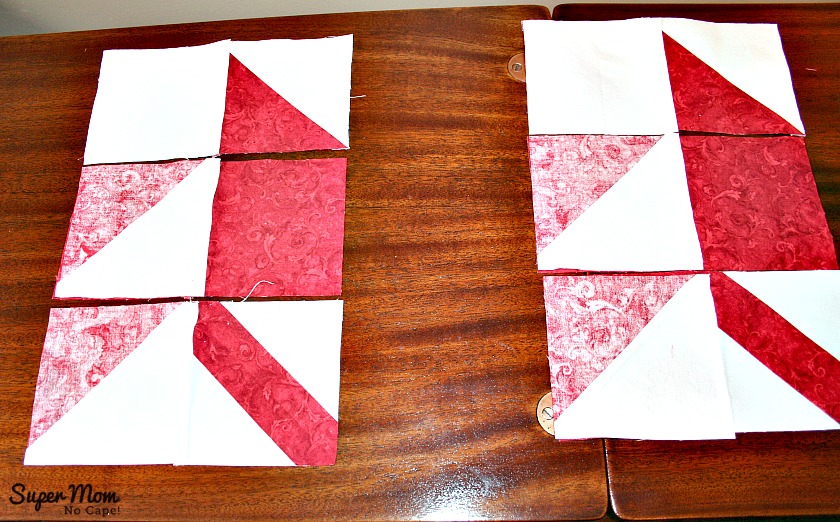
Press seams as indicated in the photo so the when you sew your rows together the seams will nest.
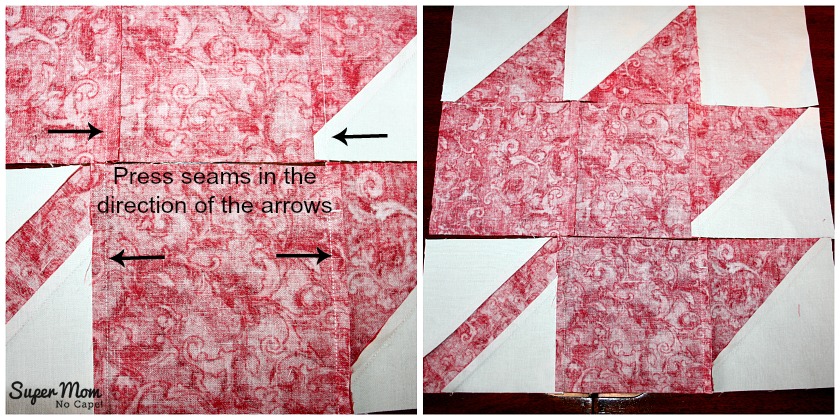
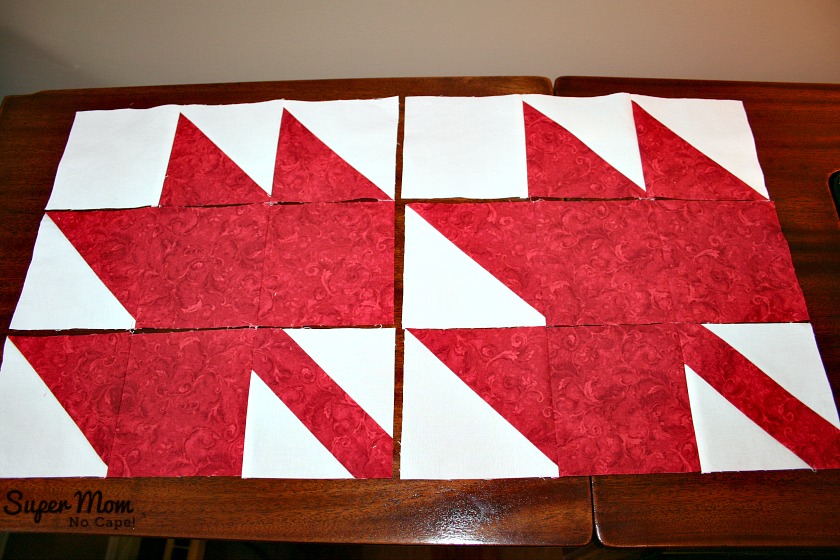
Flip the top row down onto the middle row. Pin and sew.
Here’s another little trick:
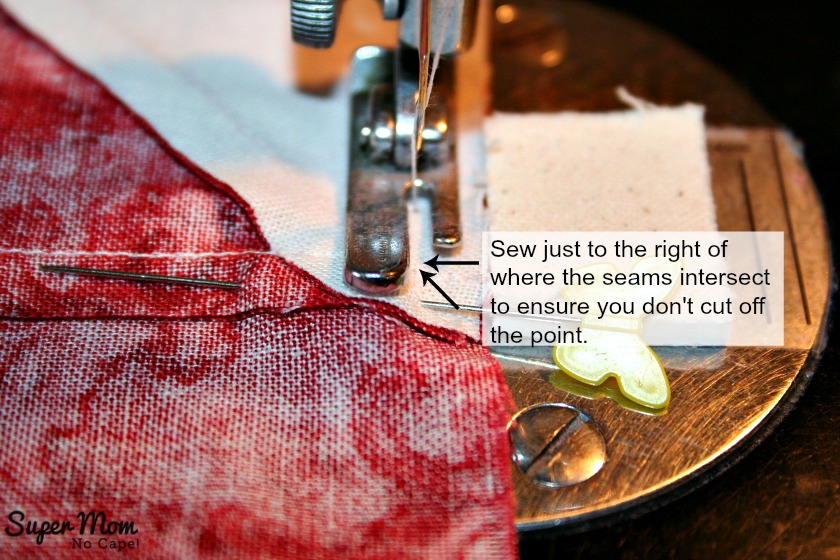
To help make sure you don’t lose the points of the hsts… as you approach the point where the seams intersect (see the arrows,) sew just inside or to the right of that point.
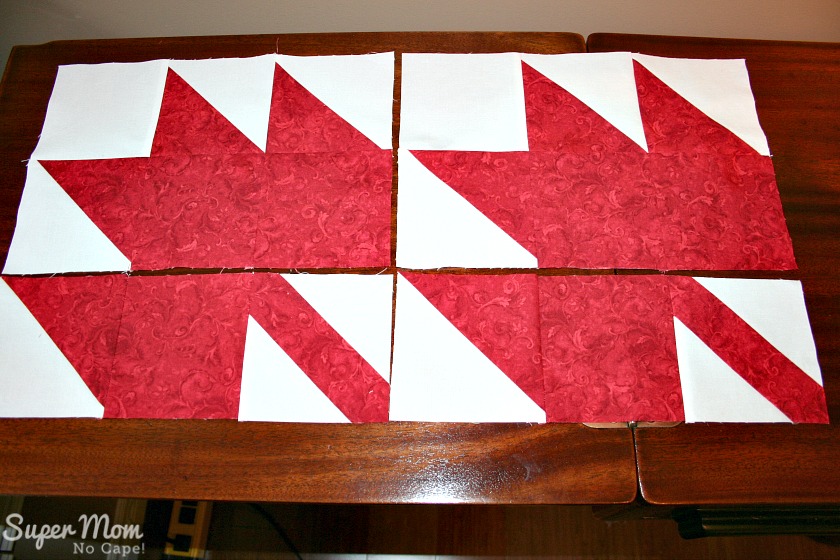
Flip the bottom row up onto the middle row. Pin and sew.
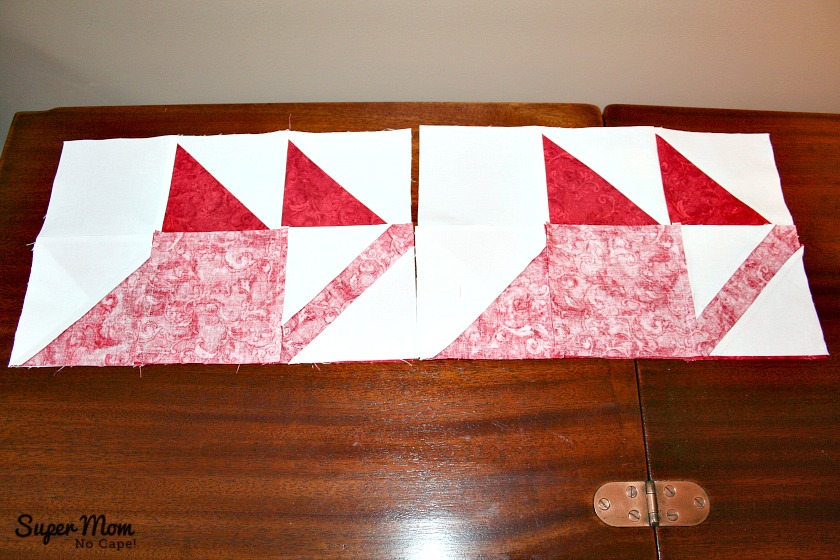
Press seams towards the middle row.
You now have two completed maple leaf blocks.
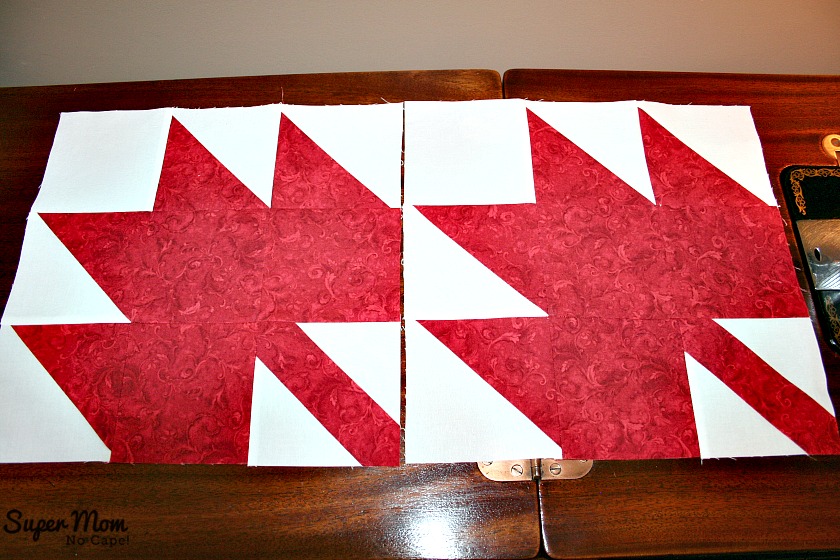
If you have any questions, please feel free to ask in the comments.
This post contains affiliate links. For more information please check my Disclosures and Disclaimers page. It doesn’t cost you any extra, but it does help support this site.




4 Comments
Maria
May 15, 2016 1:02 amYes love making HST that way.. Great tutorial . Would love to make a few and send from Aussie is that okay?
Super Mom No Cape
May 15, 2016 1:30 pmOh for sure Maria… I’m sure they’d love that! The more blocks that come in, the more quilts they’ll be able to make.
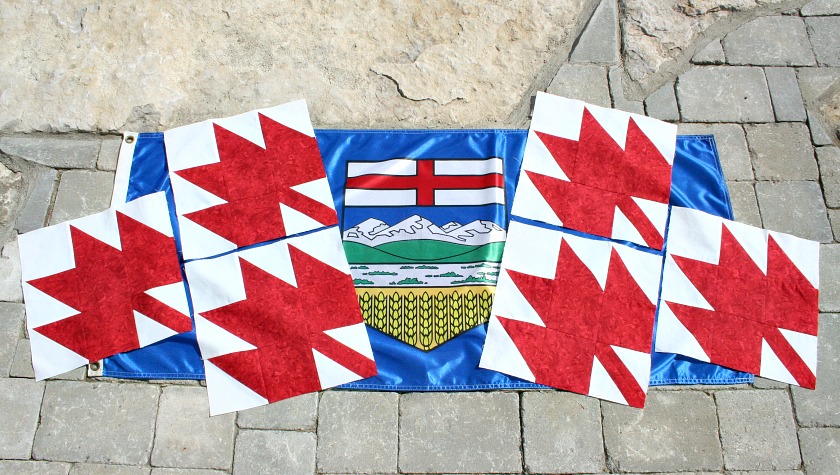
And the blocks don’t have to be done in red and white. They can be done in any of the colors of the Alberta flag. It’s pictured with the blocks I made.
And thanks so much Maria!
Jo ButterZ
May 14, 2016 7:43 pmYou have done a great tutorial. Love that method of the half square triangles. I use it all the time….
Susan
May 14, 2016 6:53 pmWhat I like about your multiple block HST is that no sides are bias! Thanks.
Comments are closed.