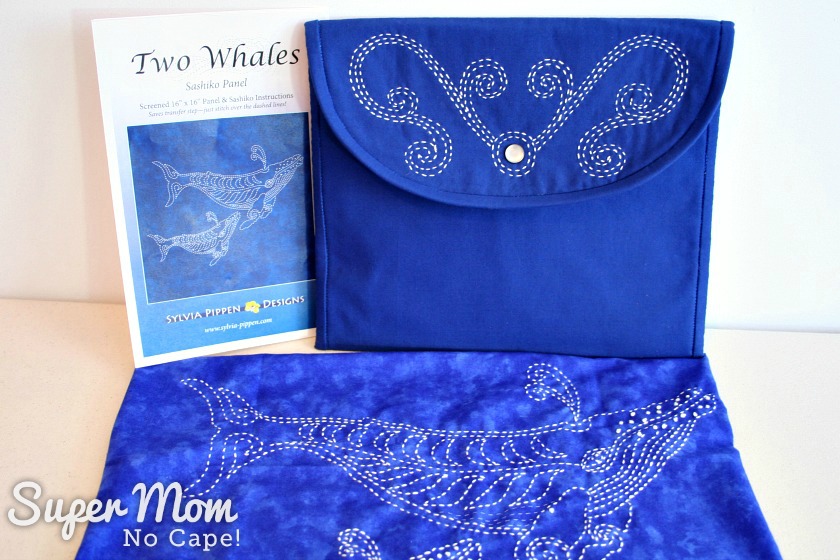
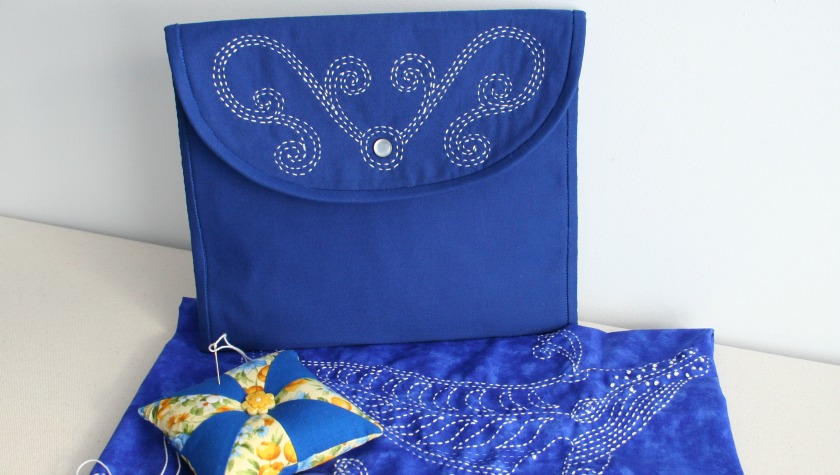
When we were in Maui on vacation in December 2018, I discovered the lovely little Maui Quilt Shop where I spent wayyyy too much money. One of the items I purchased was a humpback whale sashiko embroidery kit.
Running stitch has never been one of my best stitches as I struggle to make the stitches even lengths and distances from each other. But with the pattern pre-printed on the fabric, I was able to relax and enjoy following the lines. I only have a few short lines left to do to complete that embroidery.
It’s been such fun to work on that I thought I’d try my hand at designing a simple sashiko pattern to share with all of you. And I’m super pleased with how it turned out!
I wanted to make a design specifically for the the flap of the pouch from my Tablet Pouch Tutorial.
To start I drew a circle where the snap would go. Next, I drew 2 circles around that and sketched in some swirls. After I had the swirls looking the way I wanted, I added shadow lines on either side of the them.
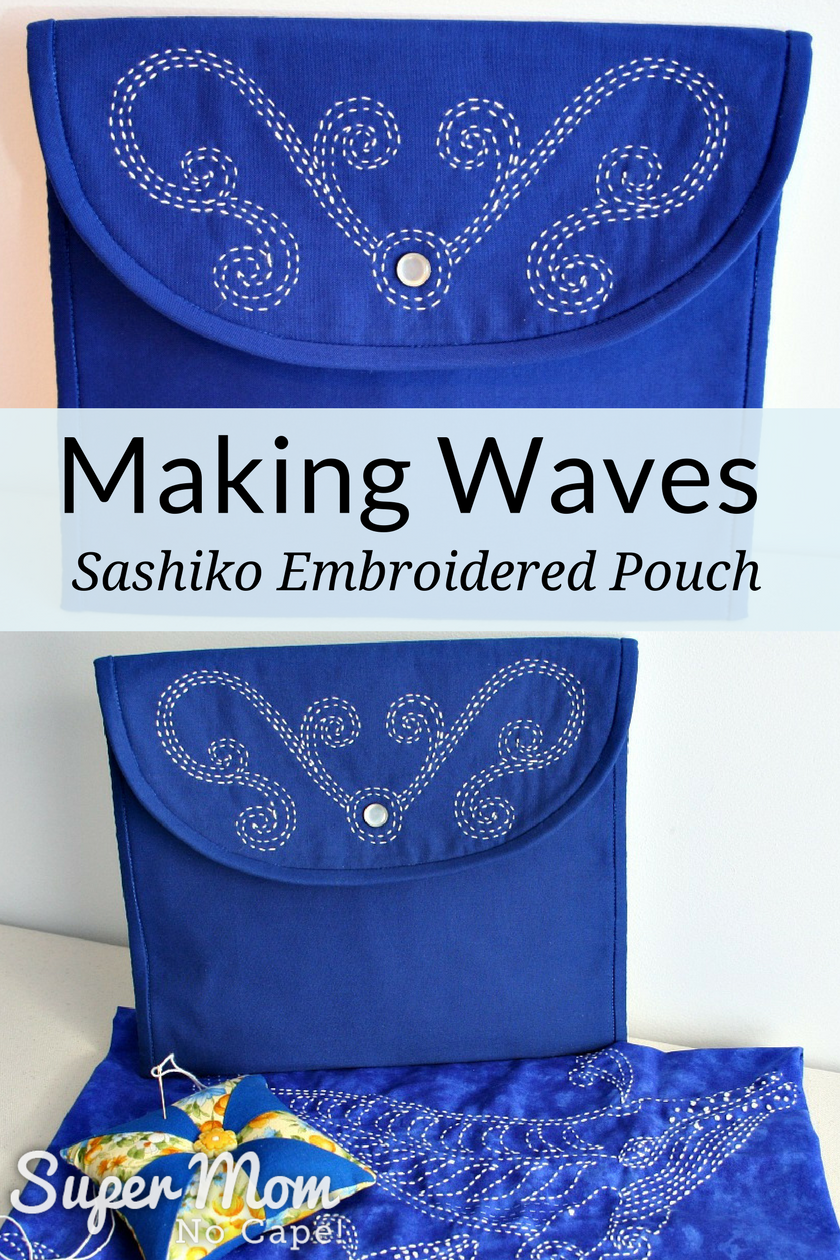
When Dave saw the finished pouch, he said it looked like waves with the snap in the center representing a pod of whales, so I’ve decided to call this pattern Making Waves.
The pouch is lined with this fun, 4th of July fabric.
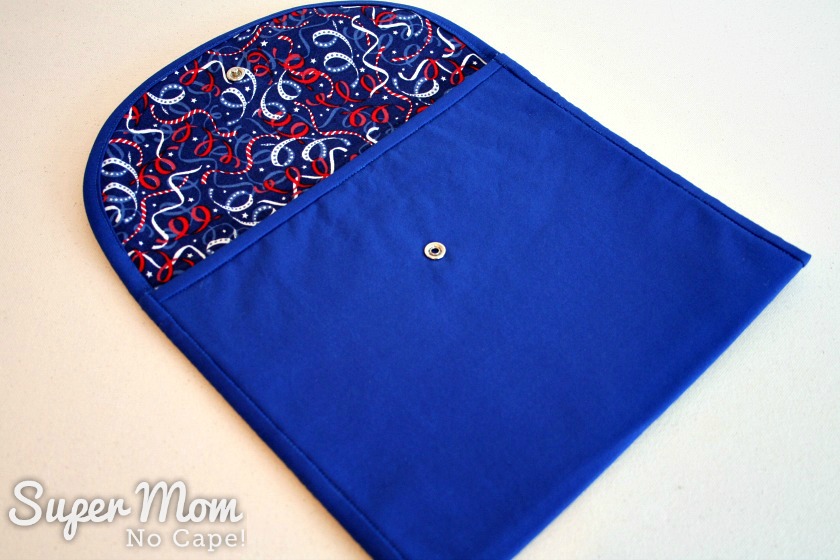
It’s going to be my new take along pouch for embroidery projects.
I’ve even made a new pincushion to pop inside from scraps leftover from making a set of hot pads.
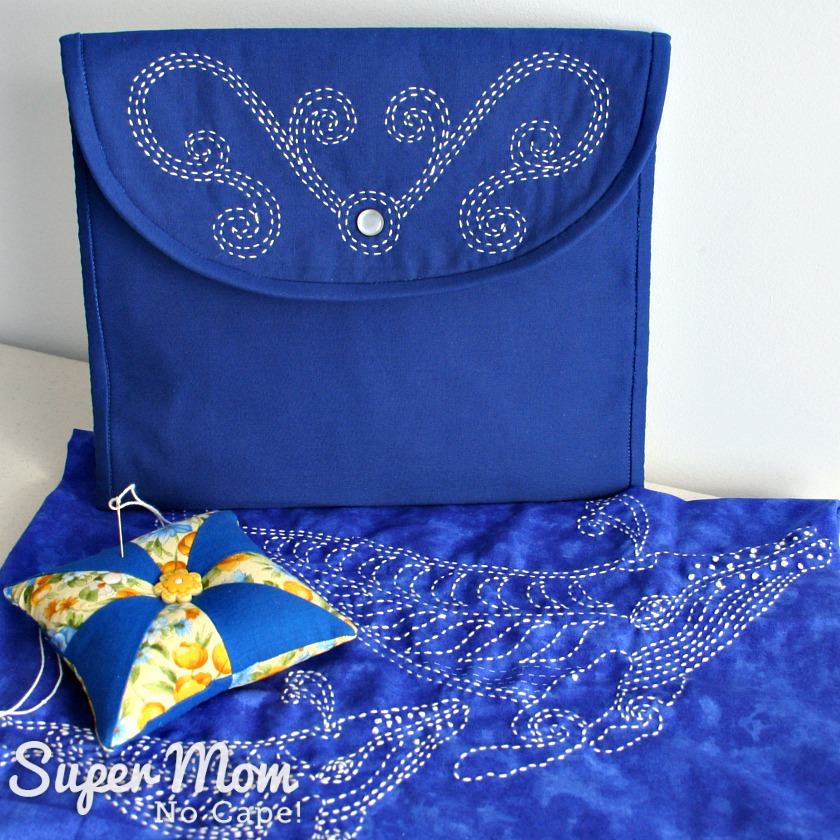
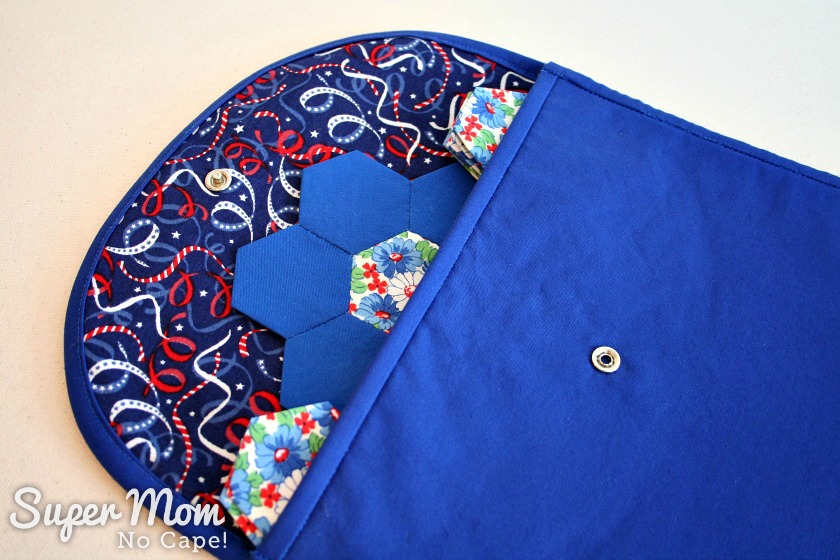
But if I don’t have an embroidery project on the go, I might use it for hexies:
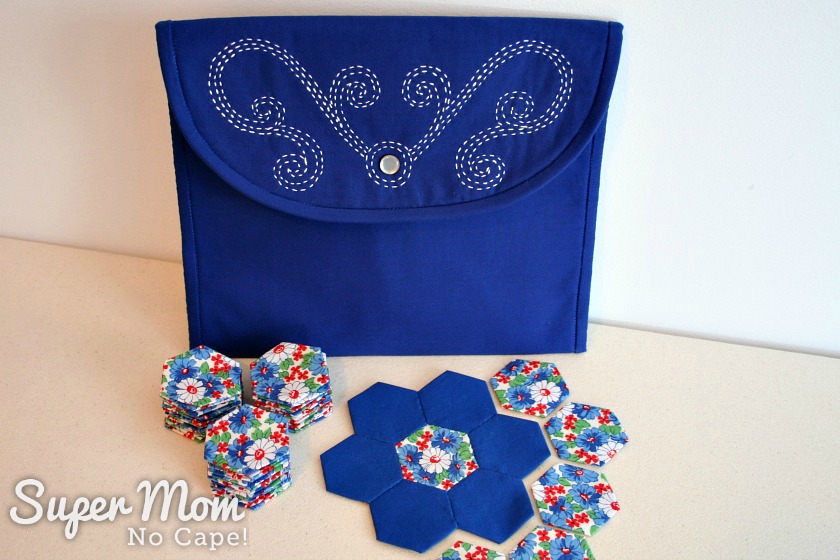
I could fit a lot of 1″ hexies and hexie flowers inside!
Or perhaps, a small crochet project.
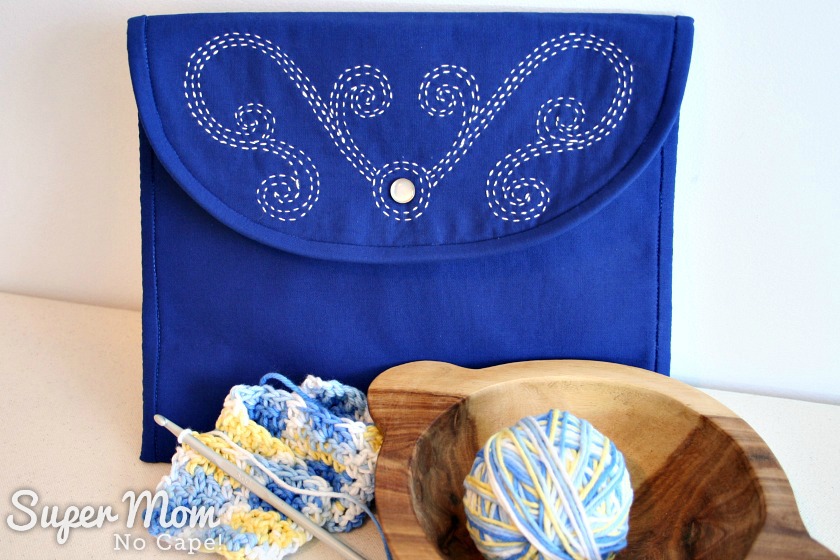
The yarn bowl that Dave made for me even fits!
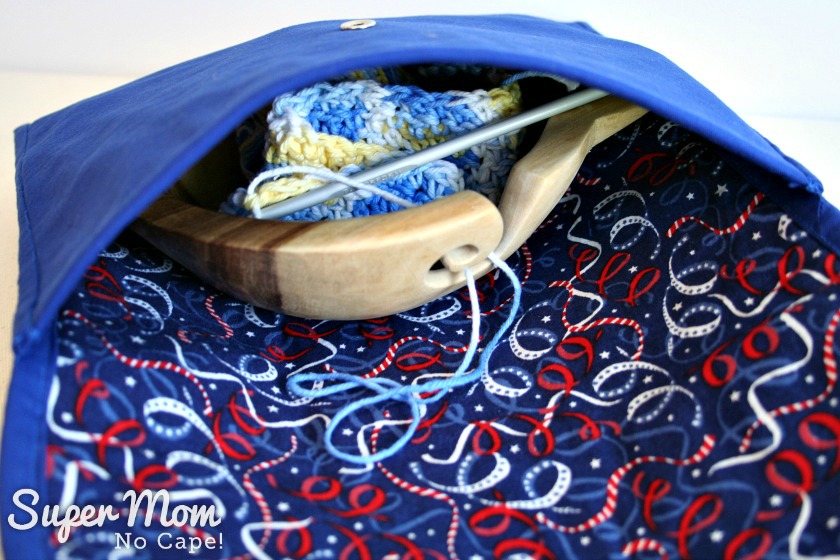
That is definitely one of the things I love about these little pouches. They can be used for so many different things.
Click on the link below to get this month’s free pattern.
Making Waves Sashiko Embroidery Pattern
The pattern has been drawn on the flap piece of the Tablet Pouch Pattern. You’ll need to go to the Tablet Pouch Tutorial for the dimensions for making the rest of the pouch pattern piece.
Unfortunately, I’m not any better drawing lines of the same length and distance as I am stitching them, so please use the dashed lines on the pattern as a guide only for your own running stitches.
To transfer the pattern to the dark fabric, I positioned the pattern on the fabric, placed dressmaker’s tracing paper between the pattern and the fabric and then traced the design firmly with a red pencil. Using the red pencil allowed me to easily see which parts of the pattern I had traced.
When embroidering, it is easiest to begin by stitching the center lines of the swirls/waves.
Now it’s time for our monthly party featuring all things hand embroidered!

STITCHERY LINK PARTY #137
For those who are newly subscribed or are visiting for the first time, on the first Monday of every month (previously every Monday,) I host a link party in which I invite others to share their hand embroidery projects.
If you’ve never linked up to a link party before and would like to join in, I’ve written a quick tutorial on How to Link Up to a Link Party. It provides step-by-step instructions for linking to this party (or any other link party you might like to participate in.)
The rules for the Stitchery Link Party are simple:
- The project can be anything as long as it includes hand embroidery stitches in some form. Such projects might be but are not limited to redwork, blackwork, goldwork, bluework, (etc), counted cross-stitch, crazy quilting, crewel, silk ribbon, pulled thread, hardanger and sashiko.
- Link directly to your blog post, not to your blog home page. You’re also welcome to link to a Facebook or Instagram post, if it is set to public.
- If you happen to sell your embroidery or embroidery patterns, feel free to link up to a blog post you’ve written about a project you’re selling, but No direct links to shops or websites selling things.
- This will be a curated link party. In other words, if a link does not conform to the three simple rules above, it will be removed.
The next three are more requests than rules. They are by no means a requirement to take part in the party:
- Please link back to the Stitchery Link Party with a text link somewhere in your post or on a page where you list your parties.
- As well, please share the love and visit one or two (or more) of the other links and take time to leave a comment.
- It would be wonderful if you decided to follow me but it’s not necessary in order to take part in the link party.
 Loading InLinkz ...
Want to be able to find Making Waves Sashiko Embroidery for future reference? Click on the Pinterest button underneath this post.
And of course, I’d love it if you shared it on Twitter and Facebook as well.




15 Comments
Lubna
March 23, 2018 5:51 amThis looks lovely! I really like the way it has come out all neat. I have been planning to try this kind of embroidery since a long time but I always feel I would end up with uneven lines. Maybe I should just try this out.
Super Mom No Cape
April 4, 2018 4:40 pmThank you so much Lubna for stopping by and taking time to leave your lovely comment! I hope you do try it. And if you do try it and post about it, I’d love to have you come link up to this month’s Stitchery Link Party.
Joy McDonald
March 9, 2018 2:37 pmSuch a pretty design Sue! I love doing Sashiko… Thanks for sharing! xx
Judy B
March 9, 2018 11:18 amI have been wanting to try Sashiko Embroidery. This just might get me started. My running stitch needs some practice also. Great job, the pouch is lovely!
Susan
March 6, 2018 8:57 pmThat’s a great pattern. I like Dave’s imagination. =) Thank you so much for sharing your design. Your pouch looks wonderful for any number of stitchy things – and it would do on a short trip for toiletries, too!
Deborah
March 6, 2018 5:39 pmThank you for the Sashiko pattern, I just started doing Sashiko this year.
Super Mom No Cape
March 6, 2018 6:24 pmYou’re welcome Deborah! I plan on doing a lot more Sashiko. I’m thinking a turtle will be the next one I order. Maui Quilt Shop has so many beautiful kits.
Linda
March 6, 2018 12:50 pmI’d love to add a picture of a lap quilt that was quilted with this type of embroidery but other than my Facebook post I have no web presence to link it to.
Super Mom No Cape
March 6, 2018 5:39 pmHello Linda,
I’ll send you an email but in case someone else would like to know how to add a Facebook post, I’ll answer here too.
First, you’ll need to make sure that the post you want to share is marked Public. You don’t need to make your profile public, just that particular post.
Next, click on the post you want to share. Copy the url of that post.
Then come back to the Stitchery Link Party and click on the Add Your Link button. Paste the url of your Facebook post to the “Link” box. Give it a title, add your email address (only I will see it.)
Below those three boxes you should see a few pictures. Select the picture you want to share.
And then click on the Done button.
I’m looking for to seeing the quilt!
Raewyn
March 5, 2018 11:11 pmThis design is a lovely addition to your pouch, Susan. I like the way you’ve come up with so many uss for it, too!
Super Mom No Cape
March 6, 2018 5:41 pmThank you so much Raewyn!
Snoodles
March 5, 2018 9:43 pmGorgeous project! My stitches are way worse than yours — beautiful job!!
Super Mom No Cape
March 6, 2018 5:47 pmThank you for your sweet comment, Snoodles!
mary
March 5, 2018 9:20 pmI love both sashiko projects. I am like you in my worry about the stitch length being even, but yours looks great. Thanks for the pattern.
Super Mom No Cape
March 6, 2018 5:50 pmThank you Mary!
I think sashiko might just be my newest craft “addiction.” Just as soon as I’ve finished the humpback whale one, I’m going to order a turtle one.
Comments are closed.