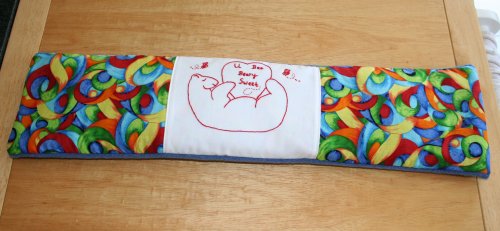
To make the cover for the rice therapy bag that I posted the instructions for on the last Make It Monday:
For the rice bag cover: Cut one piece of polar fleece 7″X25″ and one piece 7″X27″ (the extra two inches form the button flap extension)
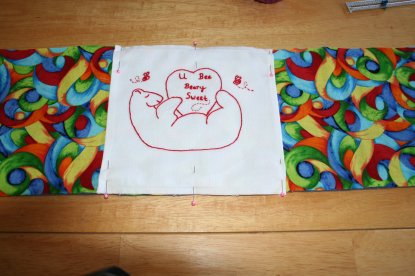
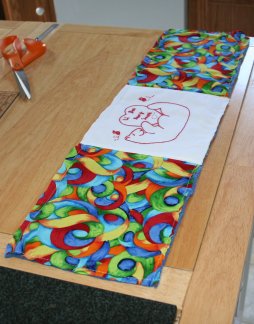
Now because this was a Valentine’s gift for our oldest daughter… I wanted to jazz it up a bit, so I also cut one piece 7″X27″ from a colourful cotton fabric on which I centered a piece of redwork embroidery. I’m including those steps in the instructions but it is not necessary and they can be ignored if you’re simply wanting a nice soft cover for your rice bag.
For the button flap extension: cut one piece of fabric 2″X7″ from cotton if adding that or from fleece if not.
To begin, place center of redwork embroidery at what will be the center of the finished cover. Remember you have the button flap extension, so the center of the finished piece would be 12.5″ from the end opposite the button flap extension. Pin redwork in place and sew.
Place 7″X27″cotton right side up on right side of 7″X27″ fleece. Baste all the way around using ¼” seam.
Turn under and sew a ½” hem on 7″X25″ piece of polar fleece.
Next, pin the two pieces of fleece right sides together. Sew down one long side, across the end and up the other long side, using ½” seam.
Clip seam as shown, making sure not to clip more than one half inch:
Trim seams to ¼”.
For the button flap extension, I cut one 7″ side of the extension on the selvage edge of the cotton to eliminate the need to hem, but otherwise, you’ll need to turn under 1/2″ hem.
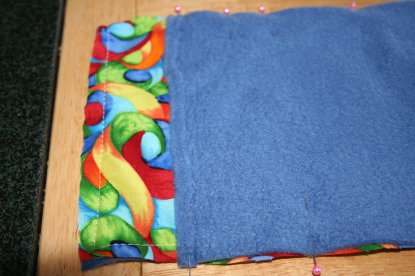
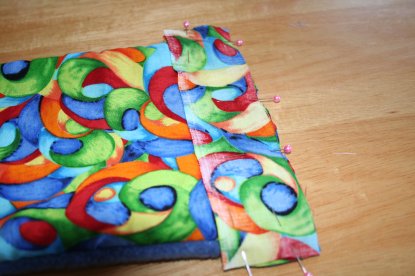
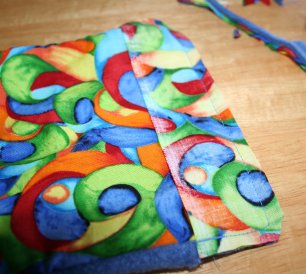
Pin this piece to the wrong side of button flap extension. Sew using ½” seam as indicated in photo.
Clip corners diagonally. Trim seam to ¼”.
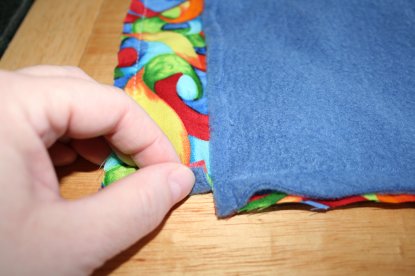
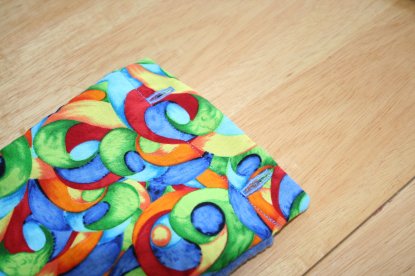
Turn extension right side out and sew along bottom edge of cotton to hold in place. Turn the rice bag cover right side out.
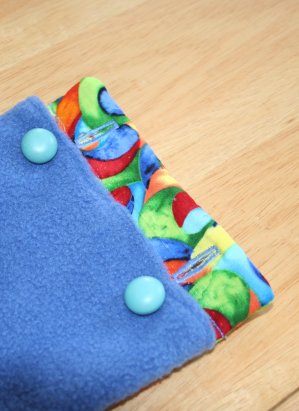
Sew two buttonholes one inch in, on either side of button flap extension.
Fold button flap extension down. Mark position for buttons. Sew buttons in place.
Heat or chill your rice therapy bag and insert it into cover.
Now sit and relax while the therapy bag goes to work on those aches and pains.
If you have any question about these instructions, please feel free to leave a comment and I will try to clarify.



5 Comments
Deborah
January 9, 2017 8:34 pmI just love this thanks for sharing it. Your redwork is adorable and the fabric just makes me smile.
Susan
August 11, 2015 11:48 amThank you. It seems all my friends have these, but no one had time to show me how to make my own. 😉
Renee
August 10, 2015 6:31 pmOoh! I should make one of these for my mom. She mentioned the one she has is getting worn and most of the ones in the stores are scented with lavender, which smells fabulous but we are both allergic. Looks like I have another item on my mental To Do List! Thanks for sharing!
Amy
March 29, 2009 8:54 pmHi! Marilyn’s daughter here. Cute gift idea! I have something similar and I have never found a need to buy an electric heating pad because I have my trusty microwavable bean bag! …or whatever that stuff is inside it. I made it as an enrichment project way back when I was in a singles ward.
Marilyn
March 28, 2009 10:17 amHi Supermom! I just stumbled across your site from totally ready. I LOVE your blog! I do have one suggestion though-you need to post more! 😉
Comments are closed.