We started making our own meat stocks years ago and let me tell you, we will never go back to buying store bought stock or broth again. The difference in taste and quality are amazing.
Not to mention, they are very inexpensive to make; especially chicken and turkey stock because you’re using the bones leftover from roasting the bird (for chicken stock we use bones from two birds.)
Beef stock is a little more expensive to make because to have enough you’ll need to buy bones, unless you raise your own beef or when you buy a side of beef, you have them save the bones for you. I buy beef bones from the same farm where I buy our eggs, grass fed beef and pastured pork.
Before making beef stock, we bake the bones for 2 hrs at 350ºF first to bring out a richer, deeper flavor in the finished broth.
For this stock, we used a turkey carcass leftover from the turkey. If I don’t have time right after a holiday, I put the whole carcass in a bag and freeze it until I do have time.
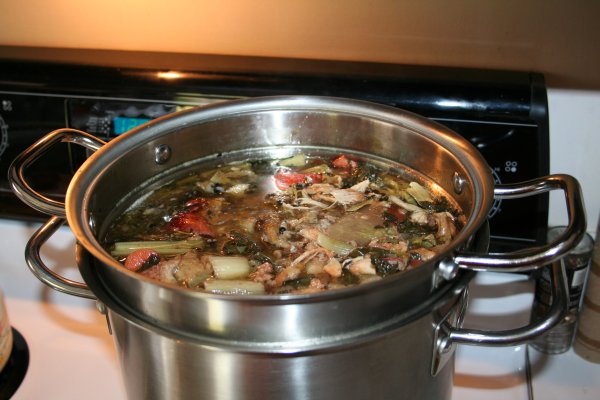
I cook everything in a large stainless steel pot with a deep strainer. (<-affiliate link)
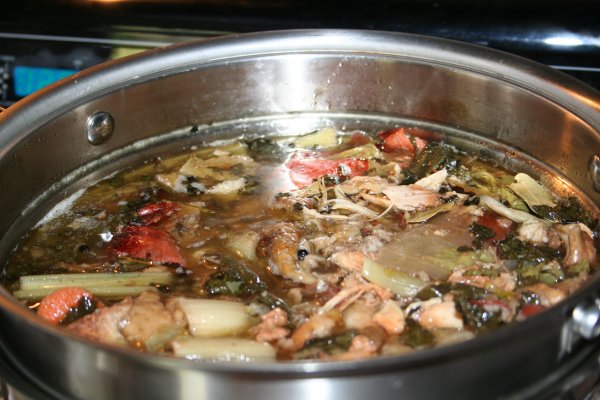
Into the pot goes the turkey carcass, a few stalks of celery, 3 or 4 coarsely chopped carrots, several peelings from onions (each time I peel an onion, I save the peelings in a large plastic zip bag in the freezer), some dehydrated kale, a heaping spoonful of minced garlic, a handful of peppercorns, a tablespoon of sea salt and water to cover.
Those are the basics. If I have other vegetables in the fridge that are getting a little soft or past the point of wanting to eat them fresh, into the pot they go.
Bring everything to a gentle boil and then turn the heat down and allow the pot to simmer.
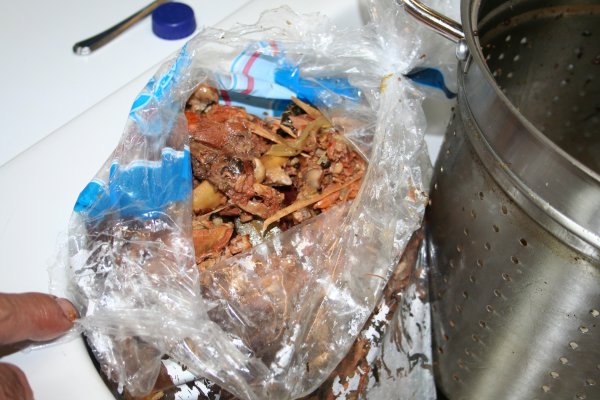
After several hours, lift the strainer portion out.
You may want to kind of prop this over the pot and strain for a couple minutes to allow any excess stock to drain out of the bones and veggie mixture.
Allow bones, etc to cool. Place in a plastic bag and then place in with your other garbage.
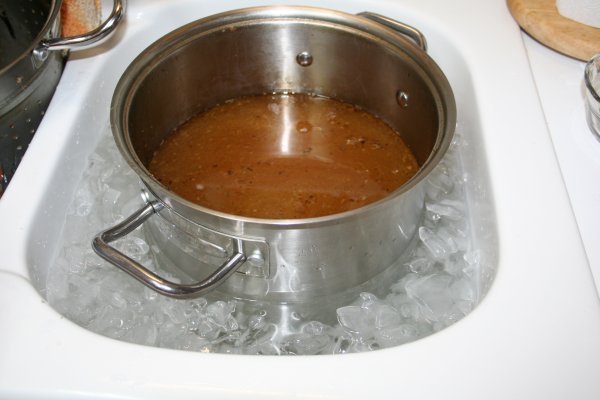
At this point, taste the stock. If it has the depth of flavor you want, remove from heat and cool in a sink full of ice water.
If not, allow the stock to cook down for a while longer.
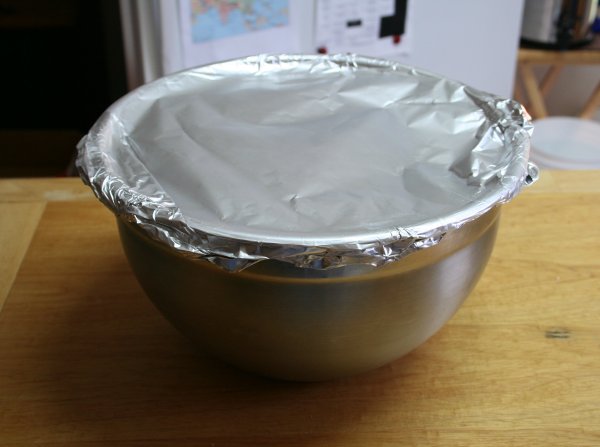
Once the stock has cooled, pour into a large stainless steel or glass bowl, cover and refrigerate overnight.
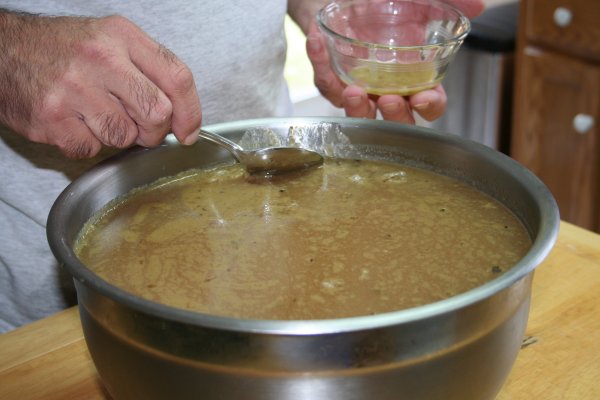
The next day, carefully skim off the fat that has congealed on top of the stock.
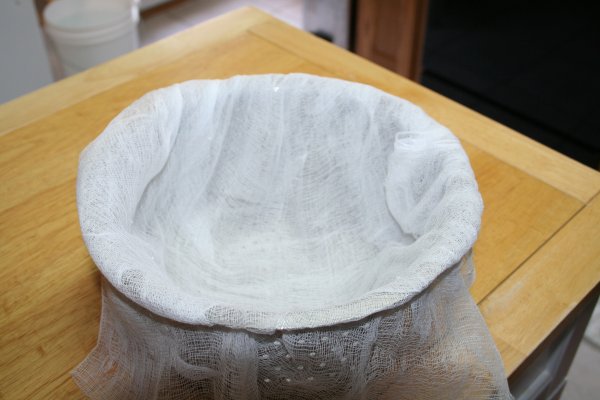
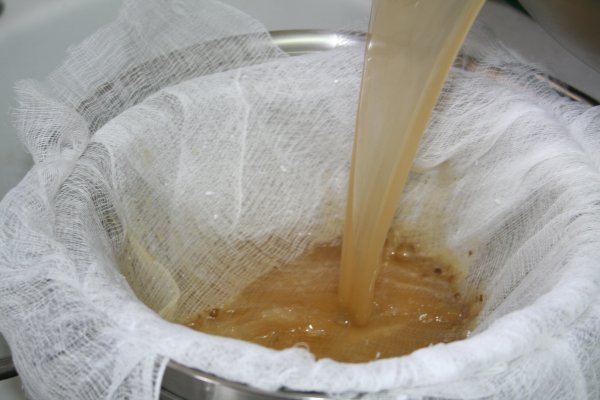
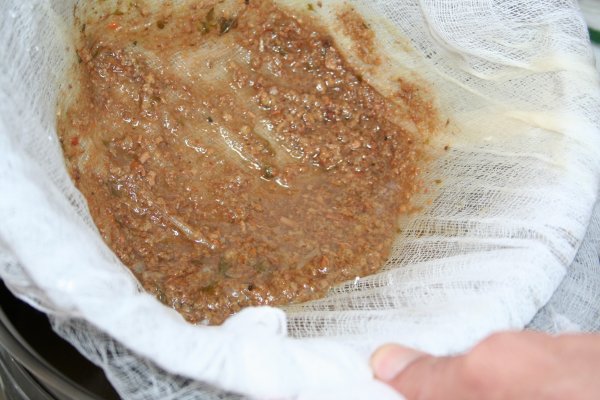
Line a strainer with several layers of cheese cloth. (<-affiliate link)
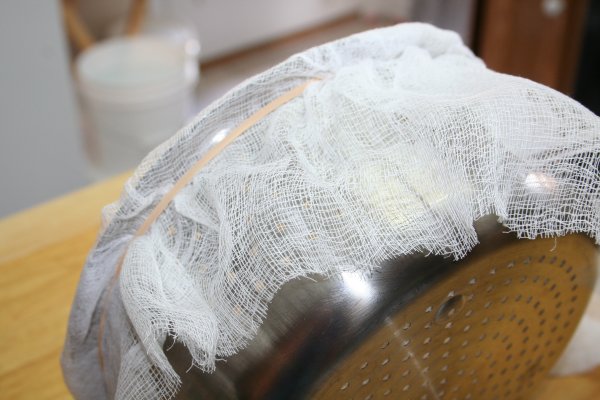
To help hold the cheese cloth in place, use an large elastic band around the outer edge.
Place the strainer over a large bowl or pot and strain.
If we hadn’t strained it, all those little bits would have made the finished stock cloudy instead of a beautiful golden color.
Now you can do one of two things with your finished stock.
You can freeze it in one or two cup portions. (Or as Robin mentioned in the comments… freeze in ice cube trays for when you need smaller portions.)
Or you can do what we do; which is bring it back to a boil, pour into pint jars and pressure can it.
Click through to the next page for complete pressure canning instructions!
Note: More and more, the terms broth and stock are used interchangeably in recipes… but traditionally, stock is made with bones and vegetables while broth is made with meat and vegetables. The bones add a greater depth of flavor.
As well, the slow simmering of the bones extracts the collagen from the bones, giving stock a different taste and feel in the mouth than broth.
This post contains affiliate links. For more information please check my Disclosures and Disclaimers page. It doesn’t cost you any extra, but it does help support this site.




8 Comments
Carrie
November 26, 2016 1:12 pmI need to make this! Thank you so much for the recipe and fabulous tutorial Susan – great job!!!
Rosieh
September 21, 2011 6:14 pmThere is nothing like your own home made anything.. great for coeliacs too, you know what is in what you are eating..
Robin (rsIslandCrafts)
September 20, 2011 10:05 pmI never knew about baking the bones first. I will have to try that next time. Pressure canning it is a great idea. I also like to fill 3 or 4 ice cube trays with both. That way when I only need a tablespoon or two of broth I have it in small portions too.
supermom
September 21, 2011 12:13 amThanks Robin! I’ve added your suggestion of freezing in ice cube trays to my post.
Sandi
September 20, 2011 7:07 pmOh, yum! When I make chicken & dumplings, I start with a whole chicken and use the back, wings and neck to make the stock. It’s surprisingly quick and the flavor is so much better than anything you’ll get from a can.
Valerie
September 20, 2011 7:06 pmWell I have did this with chicken or turkey but not beef. How smart! I would love to have a bowl of it right now all by itself!!!
Sandra :)
September 20, 2011 5:38 pmThat’s pretty much how I make mine too – when I’m really organize and have the room, I put an empty icecream container in the freezer that I use for soup ingredients – leftover veggies, washed peelings, meat bones etc. When it’s full – it’s time to make broth!
Savory Simple
September 20, 2011 4:27 pmIn all the time I’ve been making stock, it has never once occurred to me to use one of those pots with the built-in strainer. Genius!!!!
Comments are closed.