Do you have someone in your family who is spending their first Christmas away from home? Why not put together and mail them a Christmas Wreath Kit complete with everything they need to make a wreath to hang on their apartment door.
The last year our middle daughter was in university, she had to work right up until the day before Christmas and then was off for Christmas Day and Boxing Day. But she had to be back at work bright and early on the 27th. We were living in Rome, Georgia at the time and she was attending university in Toronto, Ontario. Flying her home for Christmas that year just wasn’t feasible.
I knew that being that far away from home for the first time for a major holiday was going to be challenging for her. So I planned a series of pre-Christmas packages to arrive as surprises for her that year. One of those surprises was a box with all the things she needed to make a wreath to hang on her door.
Welcome to Day 1 of the Fourth Annual 12 Days of Christmas Series!

We have teamed up with 50 plus bloggers to bring you a oodles of DIY Ideas and Recipes to make your holiday season merrier. There are 12 different posts in the series and we have spread them out over a four week period with three posts per week. Now is the time to subscribe!
GO HERE for the complete list of Dates and Topics plus a collection of most popular holiday ideas including ornaments, games, recipes and more from all 50 plus talented bloggers!
It’s Day 1 and we are sharing DIY Wreath Ideas!
If you haven’t had a chance to check out all the other DIY Christmas Ideas I’ve shared click the links below:
Day 1: You are here.
Day 2: Quilted Hourglass Candle Mat Tutorial
Day 3: Ring in the Holly Days Advent Calendar Tutorial
Day 4: Christmas Button Lace Ornament Tutorial
Day 5: Delicious Mini Puff Pastry Cone Appetizers
Day 6: Dresden Charm Ornament Tutorial
Day 7: How to Make a Christmas Floral Arrangment
Day 8: How to Make a Mason Jar Embroidery Kit
Day 9: Christmas Furoshiki (Japanese Fabric Wrapping)
Day 10: Poke and Push Fabric Christmas Trees Tutorial
Day 11: Mini Spiced Orange Buttercream Bundt Cakes
Day 12: DIY Christmas Stocking Stuffer Ideas
With that many wreath making ideas coming your way I wanted to find a unique take on the DIY wreath ideas theme, so I’ve decided to show you how to make a DIY Christmas Wreath Kit for you to give to someone on your list who is spending their first Christmas away from home.
Or perhaps someone on your list are newly weds and this is their first Christmas decorating their own place together and need a new wreath that they could hang in their new home.
Christmas wreath kits are so simple to put together. All the materials needed can be found at your local craft or dollar store.
How to Make a Christmas Wreath Kit
Materials needed:
- 18″ pine wreath form
- Wired ribbon
- Christmas Picks
- Set of mini lights (optional)
- Pine cones
- Floral wire
- Command Hook Wreath Hook
- Box to pack wreath for mailing
Begin by getting your box ready. You’re going to want a nice clean box with no markings on it as they can use it to store the wreath (and other decorations) after Christmas.
If you’re lucky enough to find a box the right size, you’re good to go. If not, you may need to do what I did and purchase a box and cut it down.
I got this one at our local Staples.
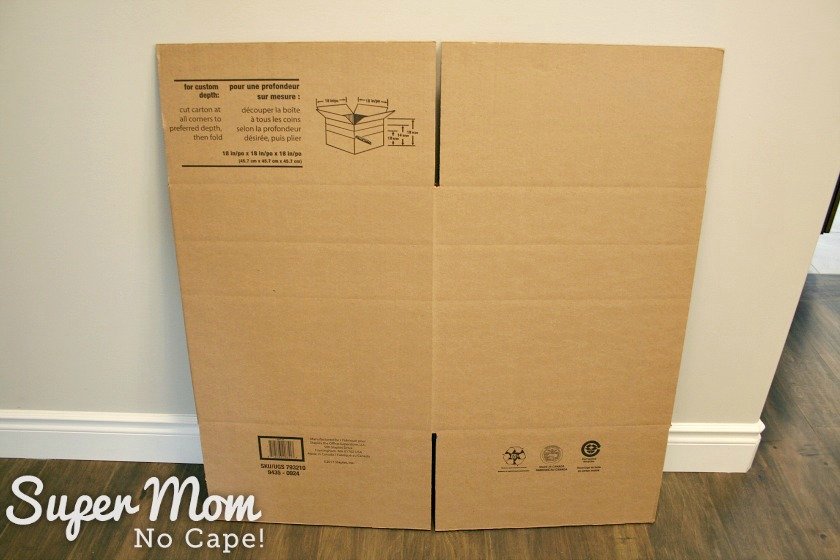
Simply follow the directions to cut it down.

Gather your wreath making materials.
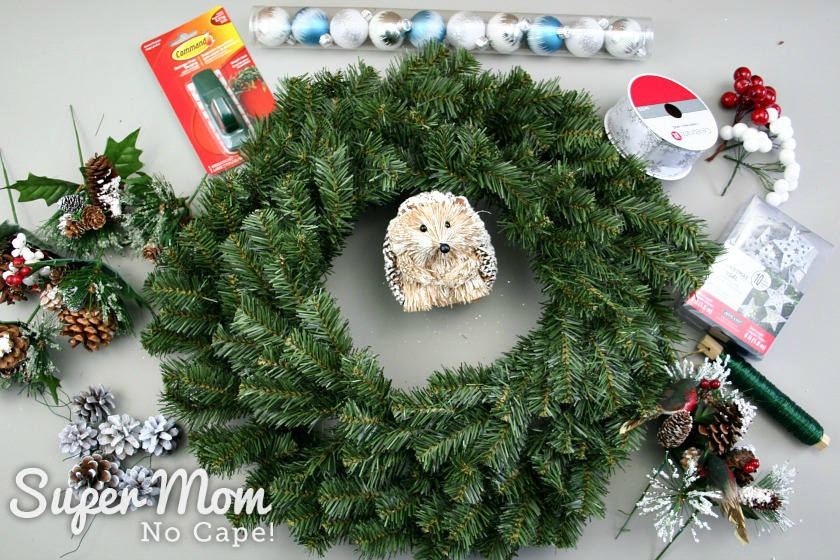
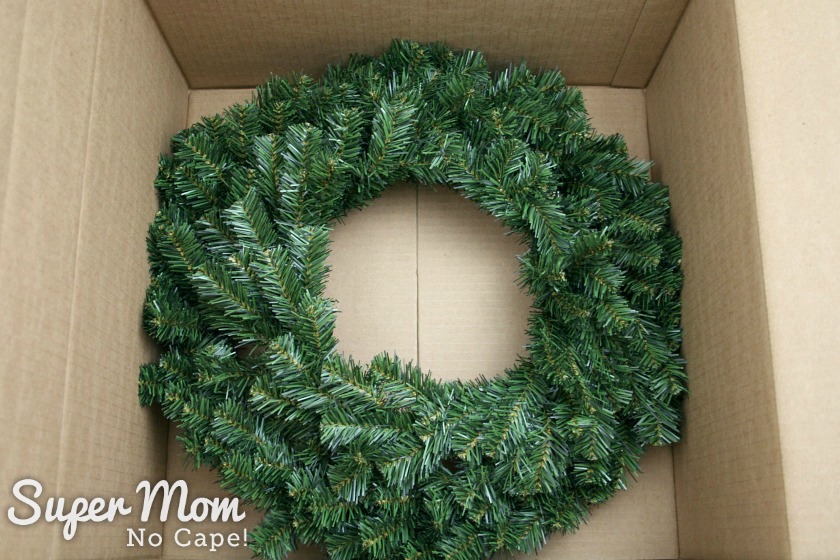
Add the artificial pine wreath to the bottom of the mailing box.
On a recent trip to Joann Fabrics I came across this adorable hedgehog and knew it would be perfect to add to a wreath.
The 2 bird picks were bought at Michaels.
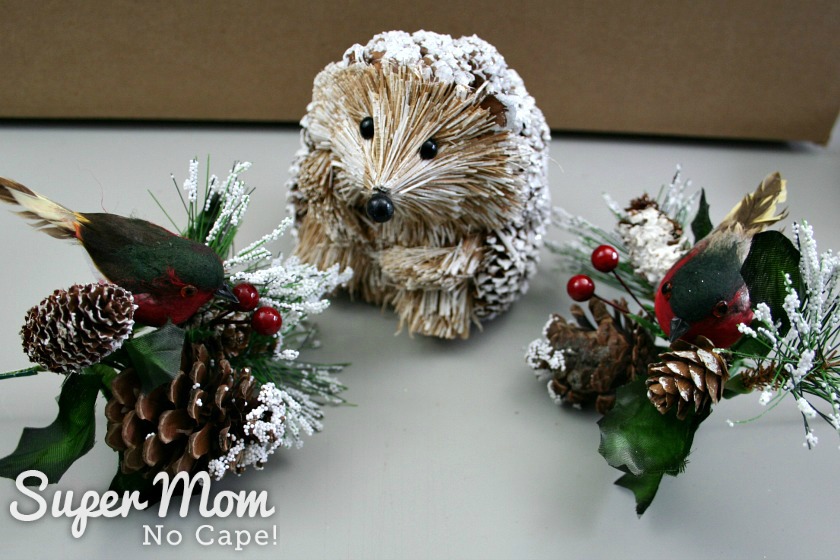
Try to include a variety of different picks so the recipient has lots to choose from when making their wreath.

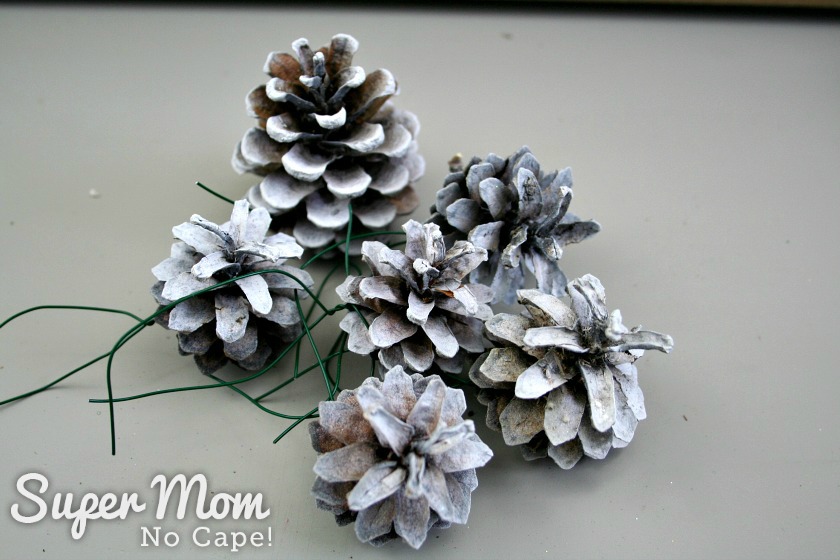
Add some pine cones. You can pre-wire them if you like. These ones have received a light spray painting of white.
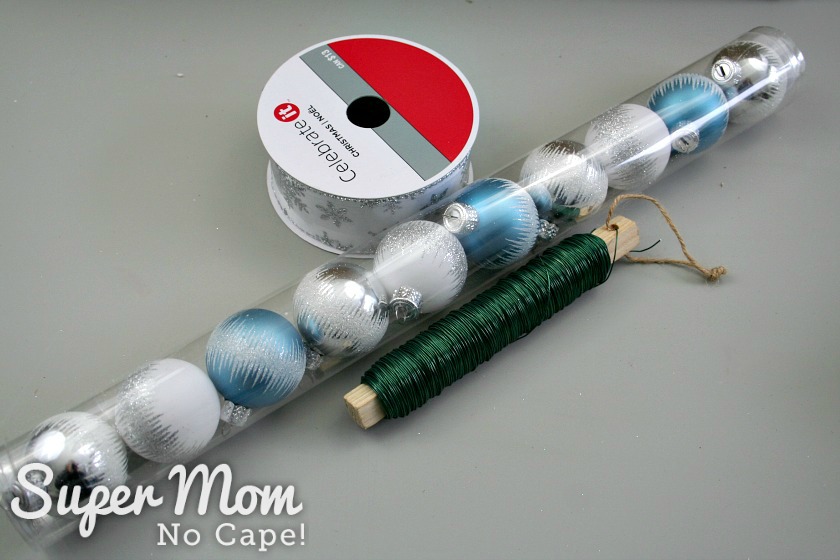
There are sooo many different pretty wire ribbons to choose from that you’re sure to find something that will suit the recipient’s taste perfectly.
A package of plastic Christmas baubles is another fun addition to any Christmas wreath making kit.
And of course, a spool of floral wire to wire the picks and other decorations to the wreath.
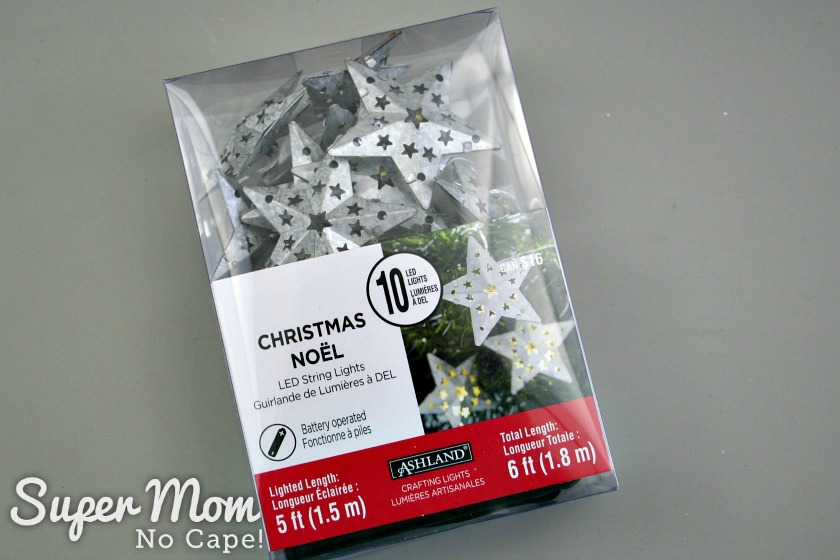
Adding a set of mini LED battery operated lights is optional. These are for indoor use only, so take that into consideration as to whether to include it in the kit.
If the wreath will likely be hung on an exterior door rather than an apartment door, it might be best to leave them out or make sure to purchase ones that can be used outside.
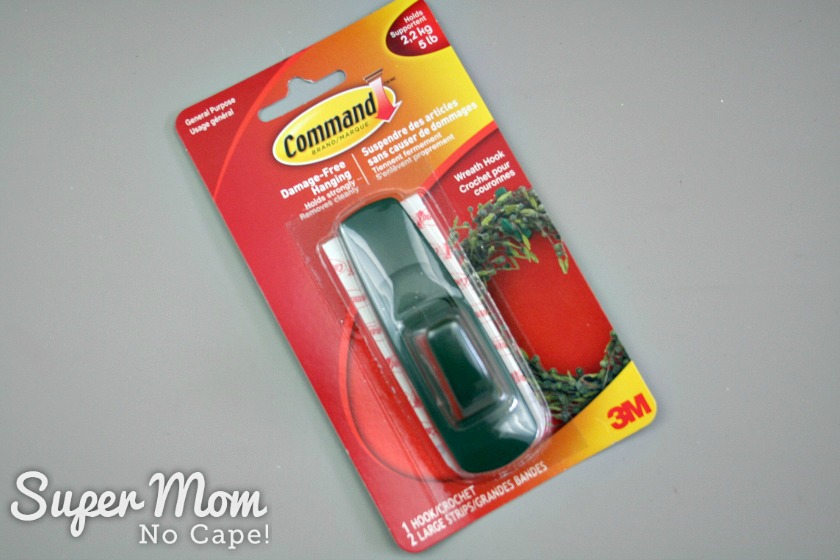
And don’t forget to add a Command Hook™ for hanging the wreath. That way the hook can be removed after Christmas… especially important if the person you’re giving the Christmas wreath kit to is in a rental such as an apartment.
Wrap all the pieces in paper and add to the box. While nothing above is breakable… this is after all a pre-Christmas gift so let them have the fun of unwrapping all the wreath making materials.
You could even include their Christmas gifts as well. But make sure to mark those as “Do not Open until Christmas.”
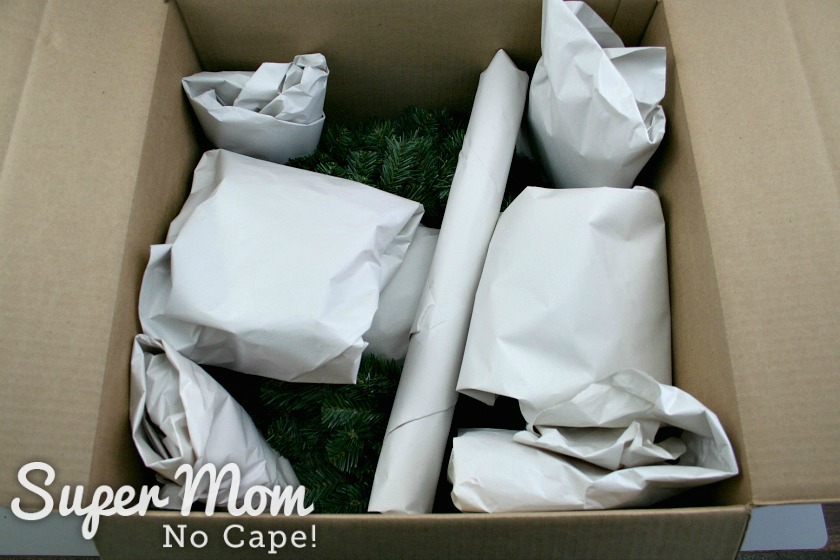
Mail your Wreath Making Kit off knowing you’re giving someone you love an extra special first Christmas away from home.
How to Assemble the Christmas Wreath Kit
As they’ve probably never made a wreath before, I thought I’d show you how I would go about using the material in the above Wreath Making Kit. You may even want to add a note directing them to this or one of the other DIY Wreath Tutorials in Day 1 of the 12 Days of Christmas Blog Hop.
Begin by wrapping the wired ribbon around the wreath.
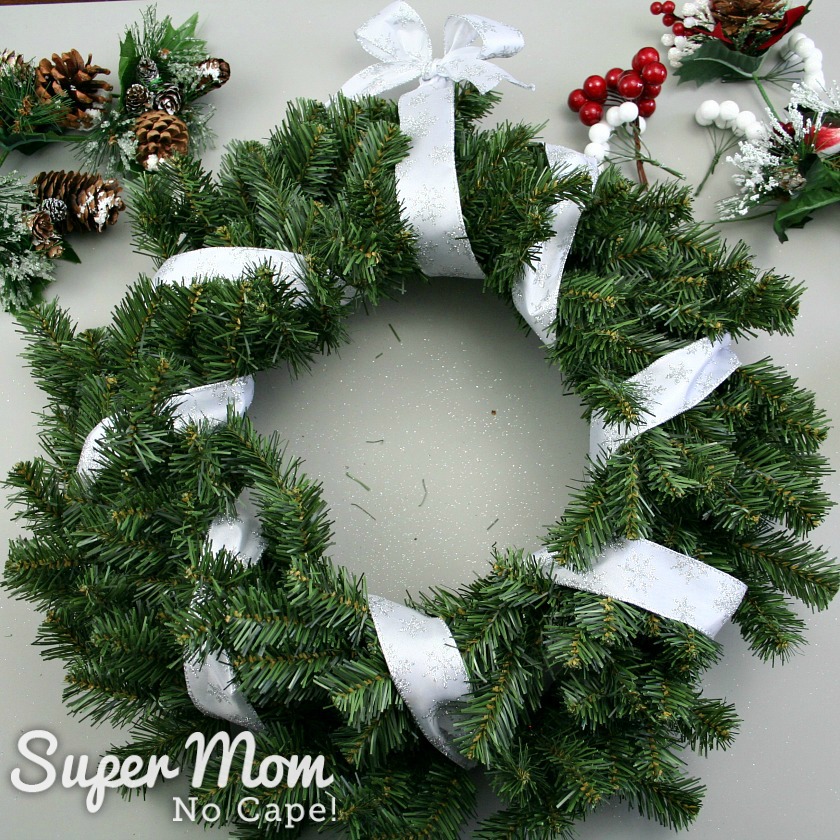
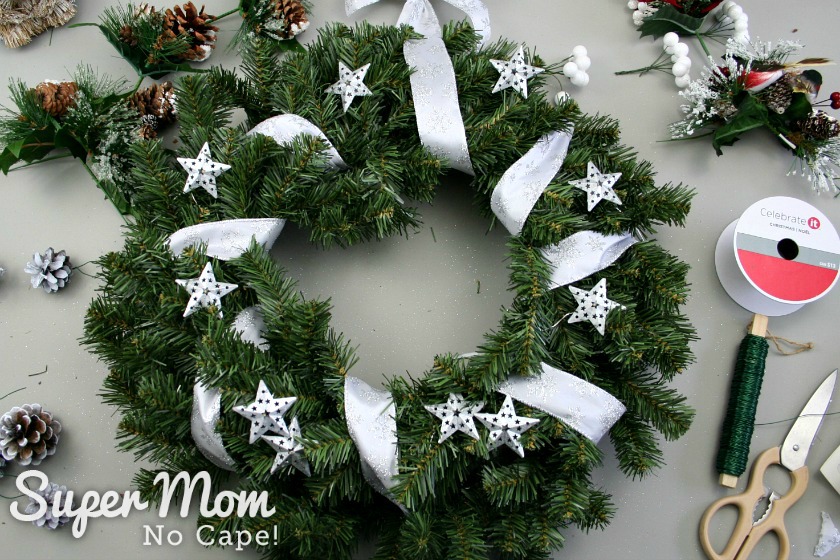
Next add the mini LED lights.
The hedgehog didn’t come with anything to attach it to the wreath, so I took apart one of the picks and inserted that into the bottom of the hedgehog.
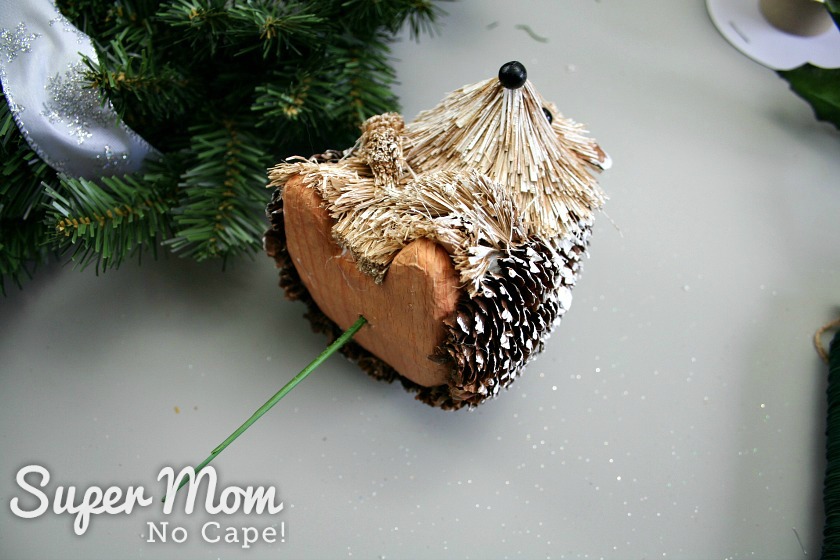
Cut about 18″ of floral wire, fold in half and wrap around the pick.
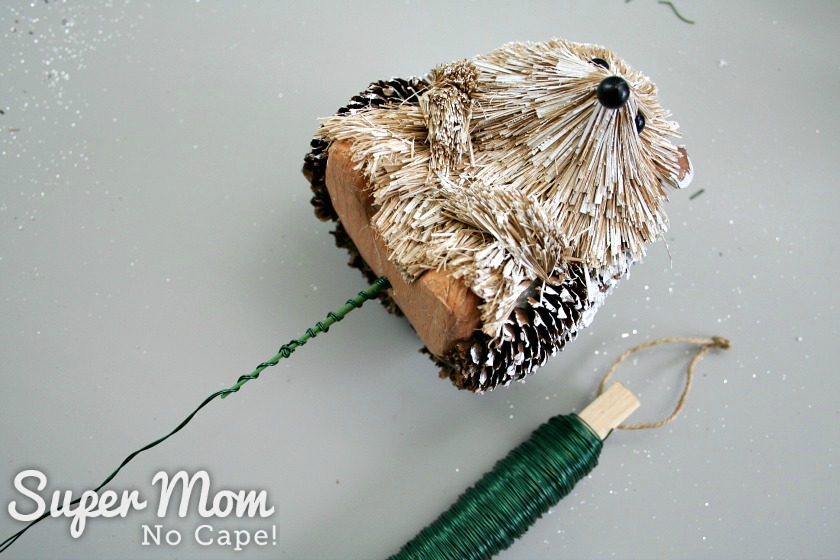
Attach the hedgehog to the wreath by twisting the wire around the frame of the wreath, not the greenery.
When I get to this stage of making a wreath, I like to hang it on a door or wall so that I can see where to position the various picks. Then I take it down to secure the wires to the frame.
There’s a lot of hanging it up and taking it down but I find that when I do that, I can step back and make sure the the wreath is looking the way I want it to.
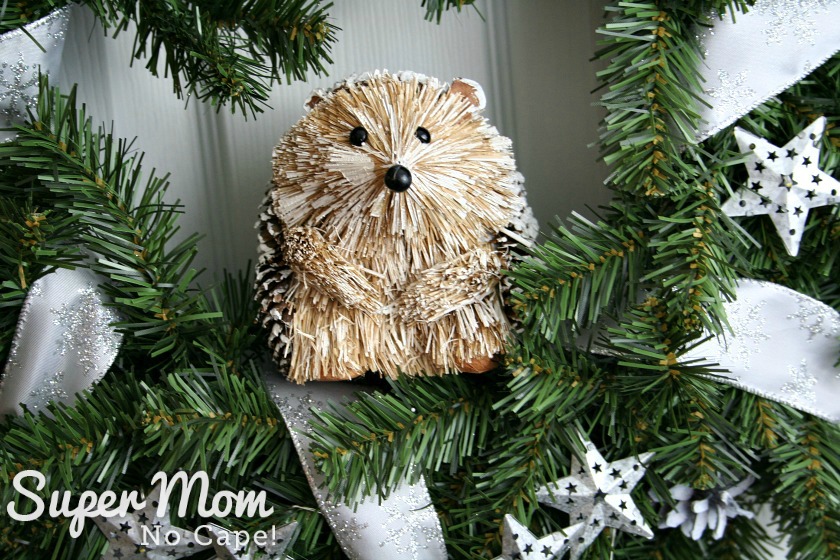
Add extra wire to the picks in the same manner as above.
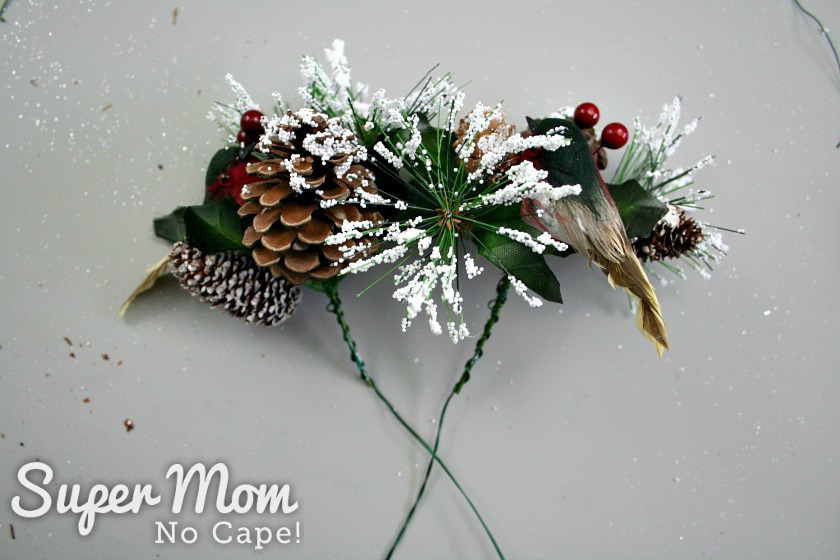
Add the bird picks to the wreath on either side at the top.
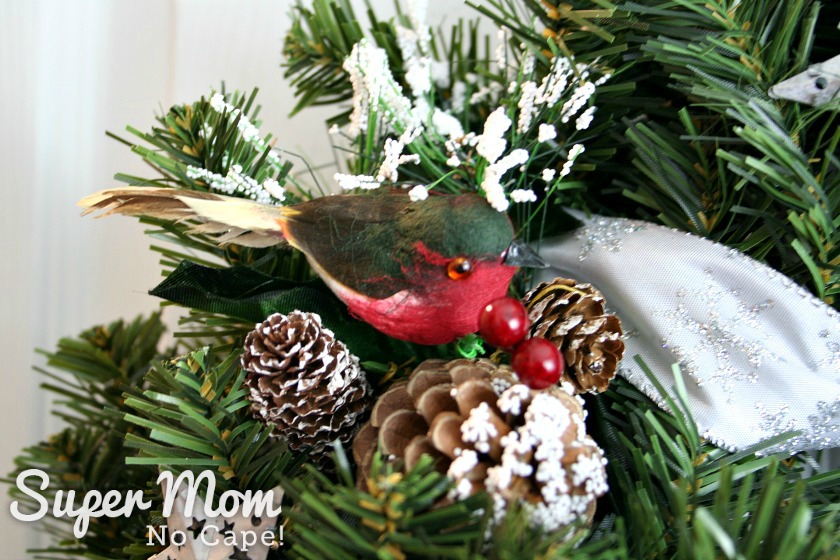
This one looks like he’s looking down at the hedgehog.

Once the main elements have been added to the wreath, it can be filled in with the pinecones or Christmas baubles.
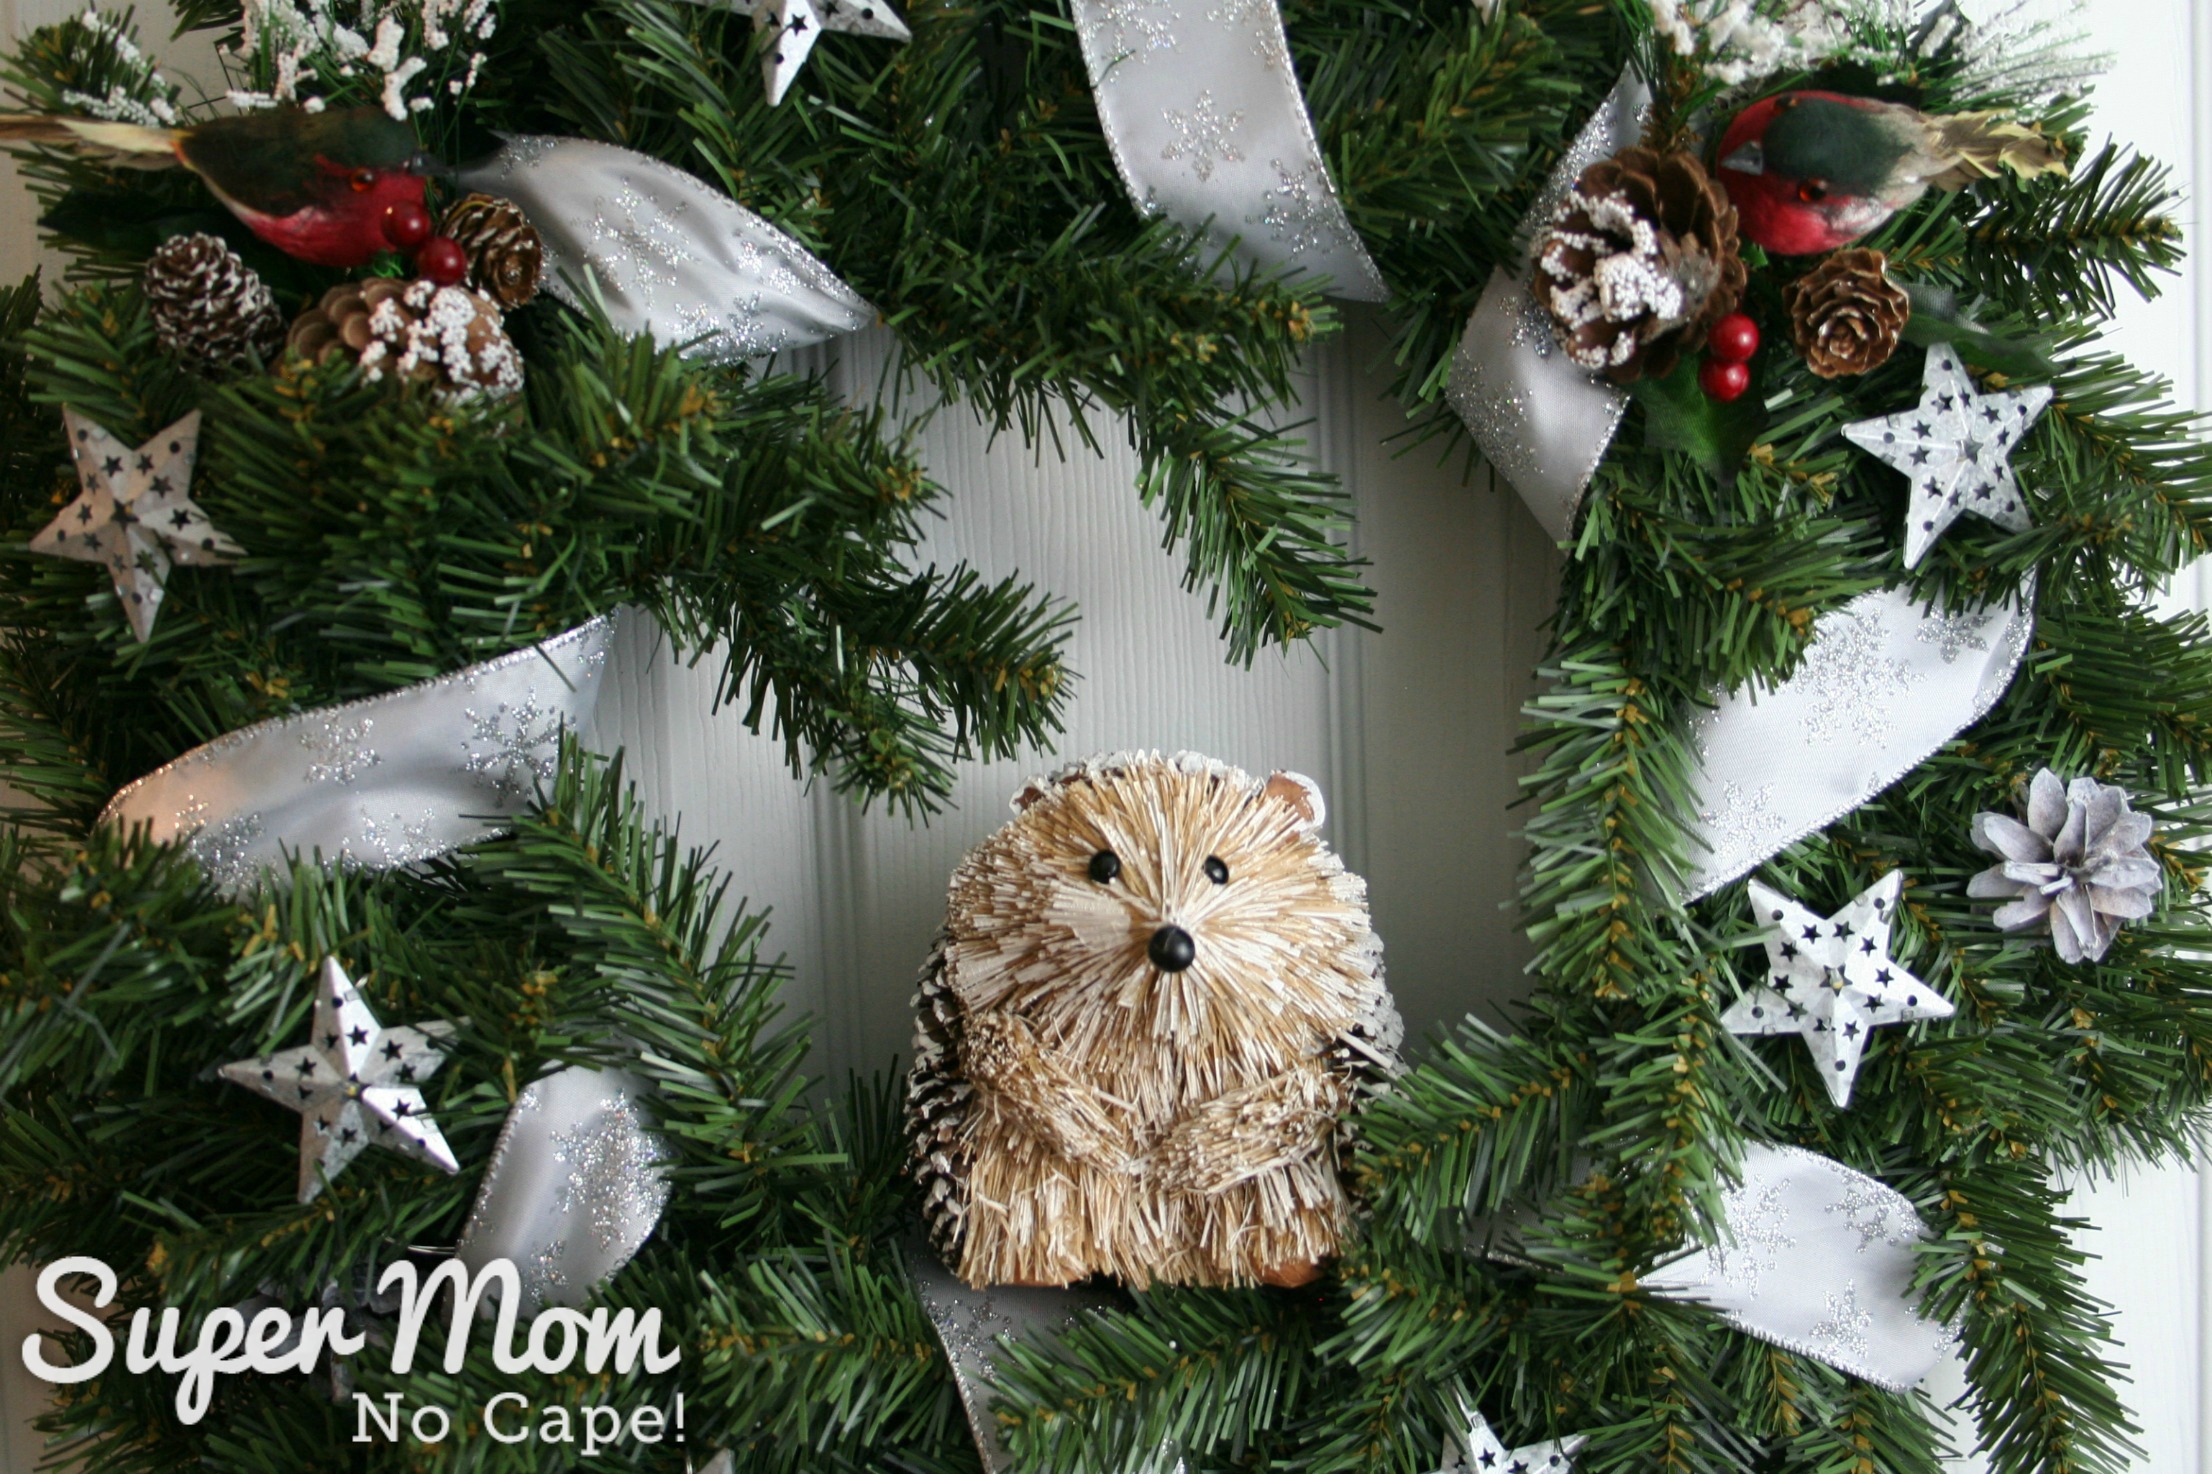
When the wreath is decorated to your liking, stand back a few feet and see if there are any changes you’d like to make.
For this one, I decided that I didn’t like how I’d made the hanging loop, so I untied it and re-positioned it slightly at the top of the wreath.
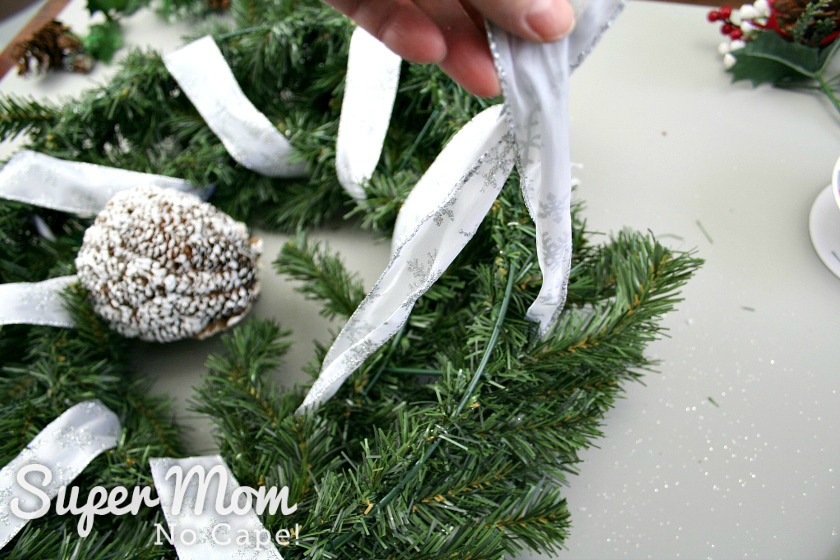
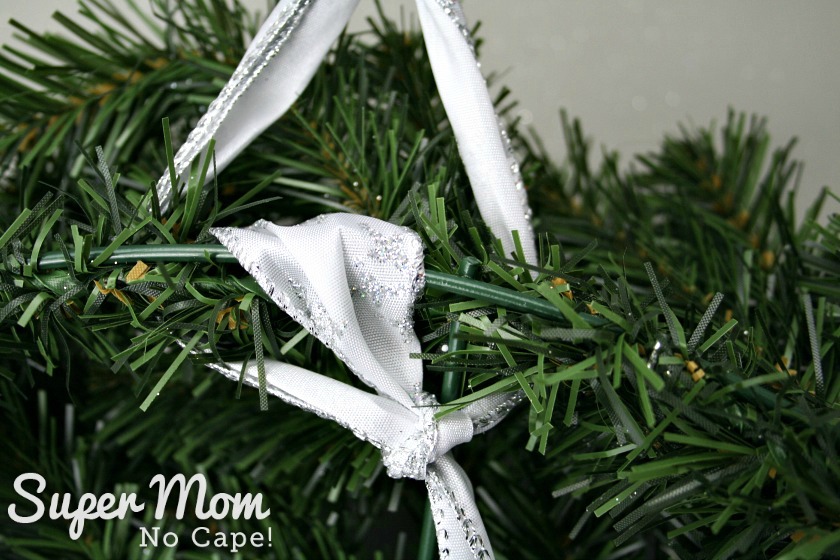
Then I brought the two ends of the ribbon to the back of the wreath and tied a knot.

Thread the ends of the ribbon through the wire frame and about 6 inches from the top of the wreath, knot again and tie a simple bow.
If you’ve added mini lights, you’ll need to secure the battery pack to the wreath.
Cut a generous length of floral wire and half way along the wire, tape it to the back of the battery pack.
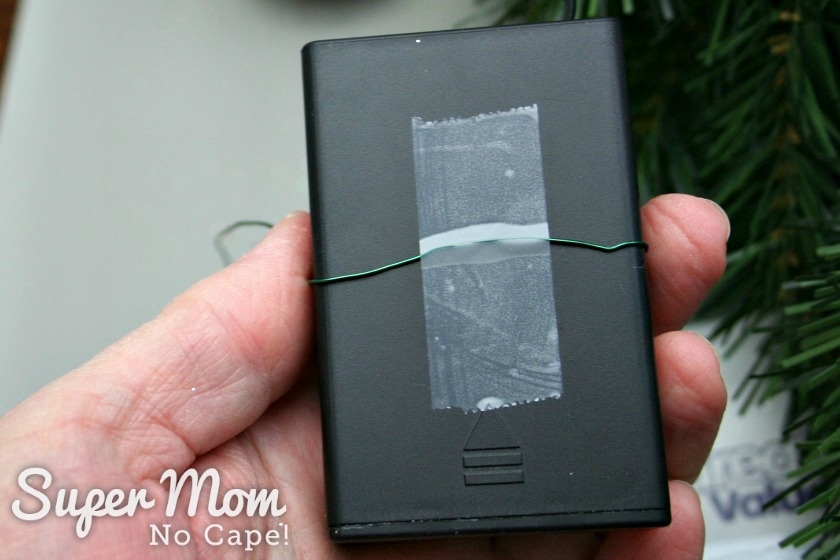
Wrap the wire around the battery pack like you would if you were adding ribbon to a package. Twist the ends of the wire.
Now I know that doing it this way is going to make it a pain to change those batteries but every other way I tried to attach the battery pack resulted in it falling out of the wreath.
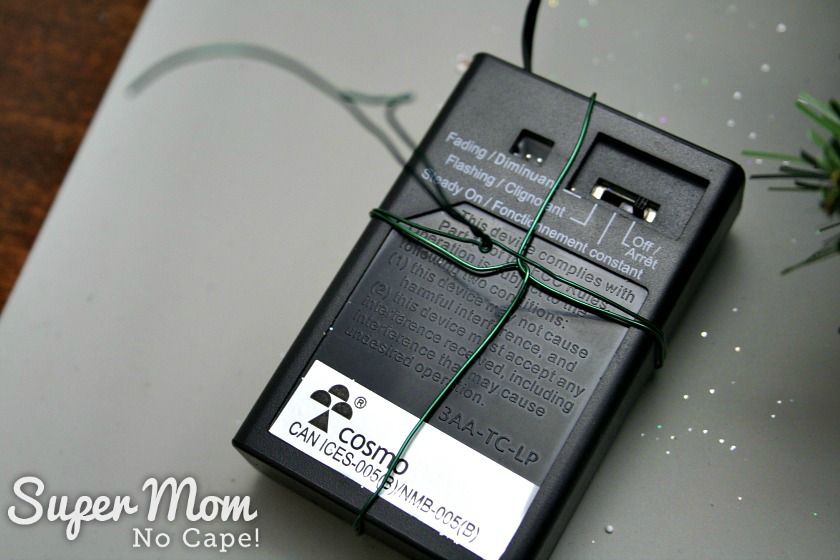
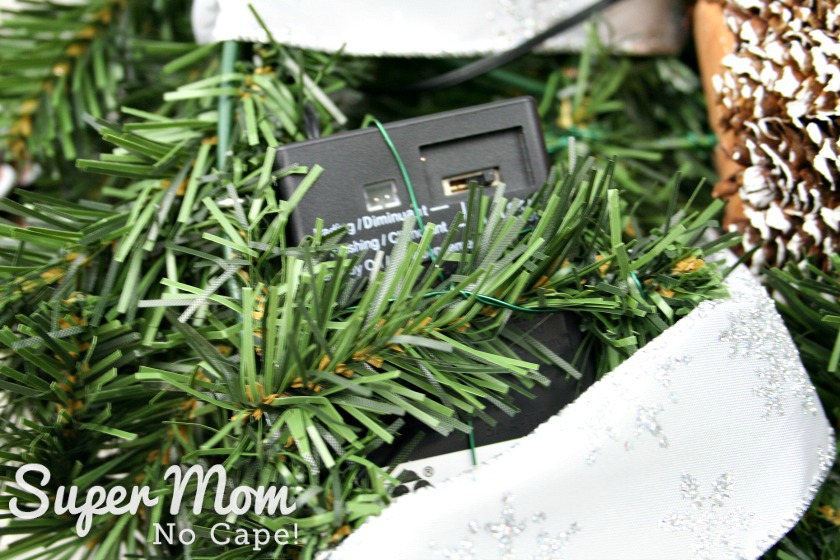
Secure the battery pack to the wire frame of the wreath. You can also twist some of the greenery around it to help conceal it from showing through on the front.
The Christmas wreath is now ready to hang on your door to welcome guests this holiday season.

And once evening comes, the lights will add an extra bit of holiday cheer to the night.
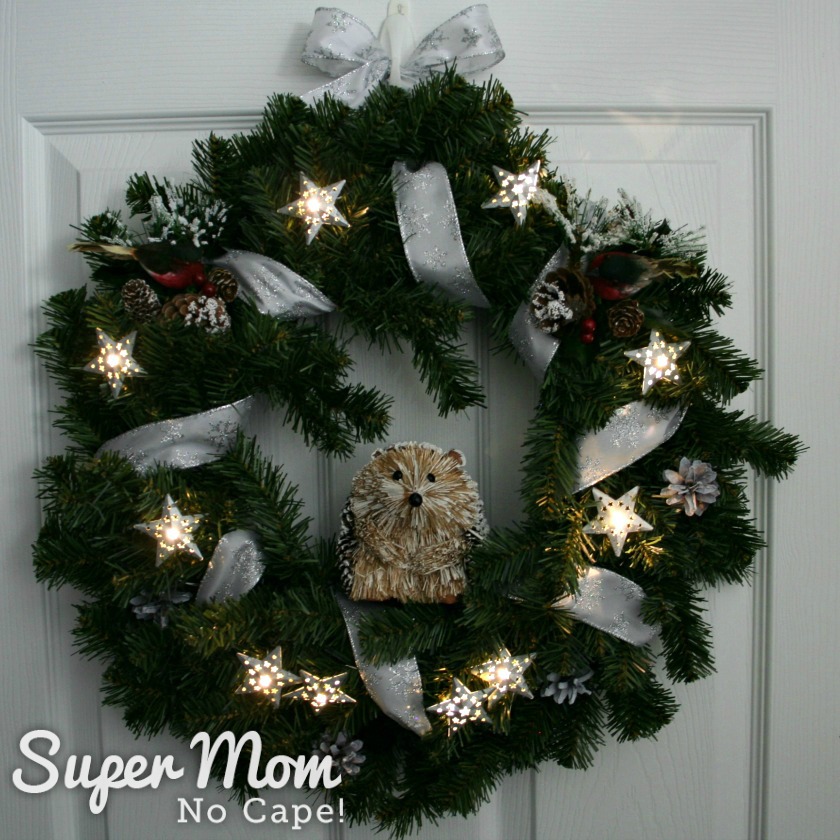
As you can see from my example above… not all the materials were used to make the wreath.
I like to add lots of extras so that the person receiving the Christmas wreath kit has different elements to choose from to make a wreath that is unique to their tastes. The extra materials can then also be used to decorate their first Christmas tree.
Now it’s time to check out what the other bloggers have put together for you.
Scroll down for many more DIY Wreath Ideas for your holiday season!
 Loading InLinkz ...
Be sure to save How to Make a Christmas Wreath Kit by clicking on the Pinterest button underneath this post.
And of course, I’d love it if you shared it on Facebook and Twitter as well.






8 Comments
Cherryl
November 30, 2018 9:45 pmThis is such a unique and thoughtful idea! And the wreath is very pretty!
Sam – Raggedy Bits
November 30, 2018 5:38 amThis is such an awesome idea!! And that lil hedgehog is just the cutest! He’s perfect to welcome family and friends into your home!!
Emily
November 24, 2018 1:36 pmWhat a wonderful idea to send a wreath kit! It turned out beautiful. #12DaysofChristmas2018
Debrashoppeno5
November 19, 2018 2:53 pmThis is a great idea. The little hedgehog is adorable. Who wouldn’t love a gift like this?
Addie
November 19, 2018 2:04 pmPretty wreath. That little hedgehog is adorable…..I think I just might have to go down to my local Joanne’s and check that out!!!! I would like him on my desk…..year round!!!
Heather
November 19, 2018 10:29 amI love this idea! I never thought about sending someone a wreath kits. Your wreath is beautiful and that hedgehog is simply adorable.
Beverly
November 19, 2018 9:22 amWhat a wonderful idea for a gift! It’s a thoughtful way to send some joy along. The wreath looks great!
Kate
November 19, 2018 7:54 amThis was timely – I’d recently purchased a wreath and still hadn’t come up with a good idea for it but now my creative juices are flowing. I thank you.
Comments are closed.