Have you been on a beach holiday and spent some time collection shells? Or maybe you’re lucky enough to live close to the ocean and go every chance you get! (This was me when we lived in Maui and Florida.)
If so, get ready to make some sea shell angels!
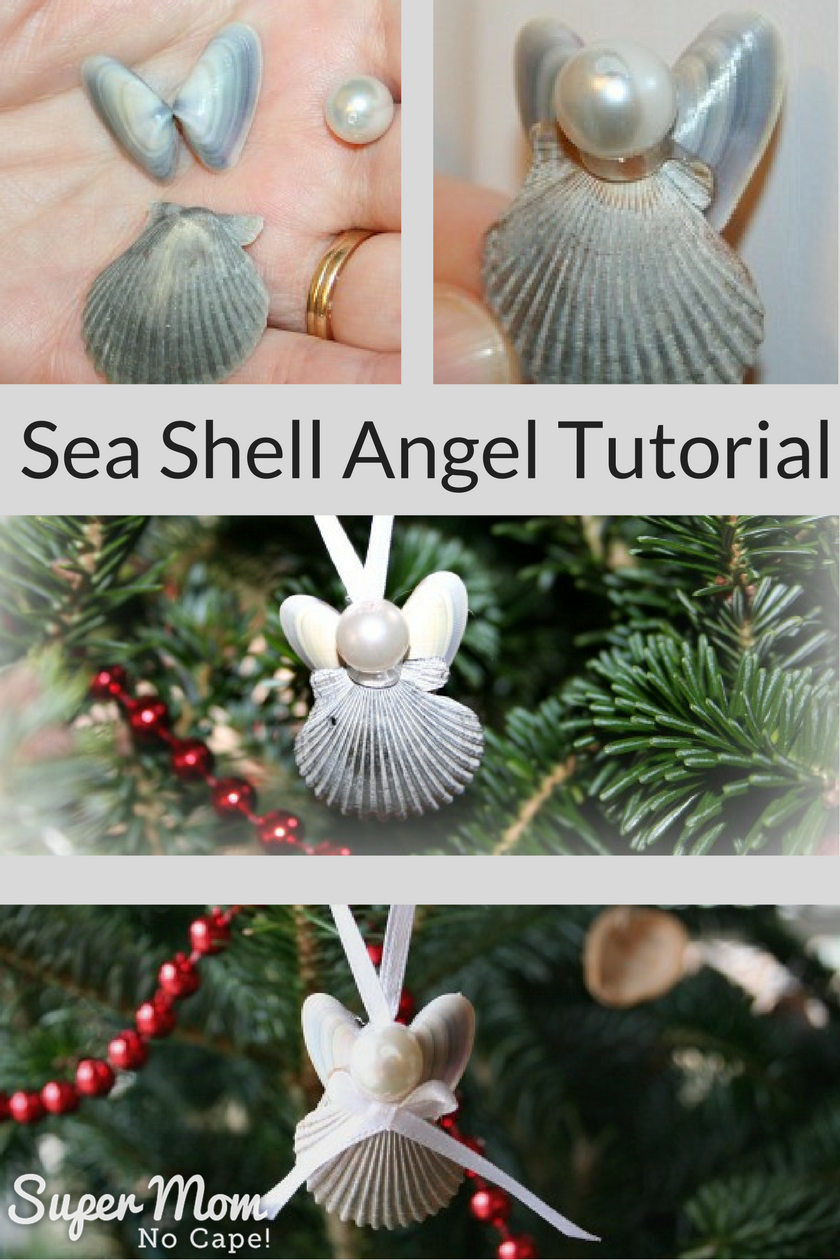
What you’ll need to make a Sea Shell Angel:
- One scallop shell for the angel body
- 2 small clam shell halves for the angel’s wings
- One 3/8″ white pearly bead
for each angel.
Note: If you haven’t been to the beach, you can also purchase bags of mixed sea shells.
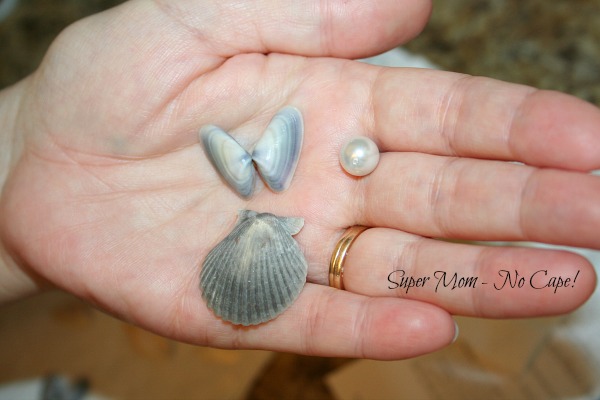
You’ll also need:
Approx six inches of 1/8″ ribbon to make the hanger.
A low temp hot glue gun or Aleene’s Tacky glue
.
Please note: When I was making the angels, I used a low temp hot glue gun but if you are making them with younger children, I would suggest using Aleene’s Tacky glue.
I made a test angel using the tacky glue before writing this tutorial and the glue holds the shells together really firmly. It will take longer to make the sea shell angels using tacky glue because you have to allow the glue to set and dry for a few hours between each step, but it’s much safer. Even a low temp hot glue gun gets hot enough to burn little fingers. Grown up fingers too!
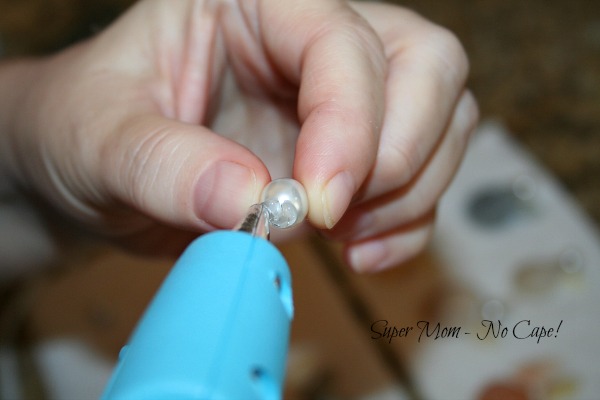
Start by applying a circle of glue to the bottom of the pearly bead.
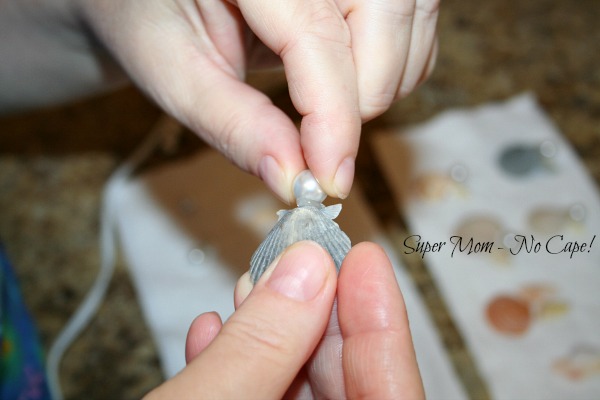
Then position the bead on the top edge of the scallop shell. Hold in place until the glue sets.
Next run a bead of glue along the top edge of the back of the scallop shell.

Position the clam shells to form the angel wings and hold in place until set. Make sure to get them positioned just right because once the glue is dry it will be difficult to remove and re-position them. In fact, if you’re using tacky glue, it might be impossible to do without breaking one of the shells.
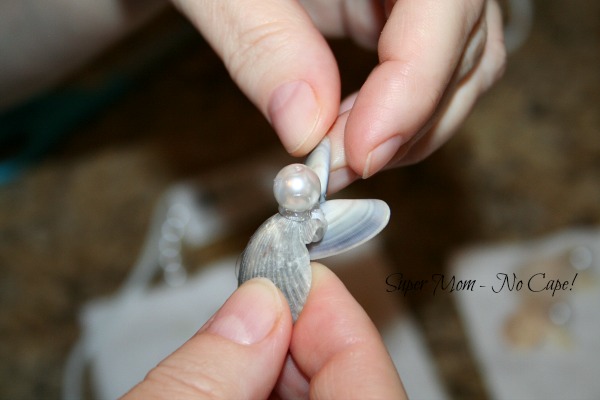
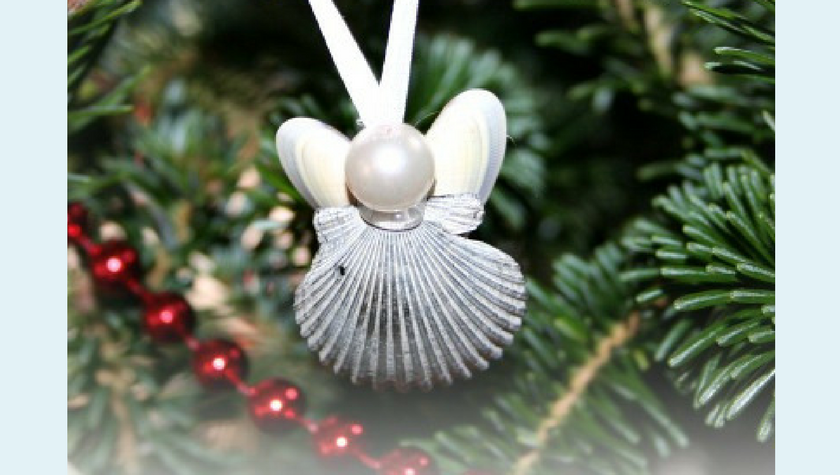
And here you have the completed angel.
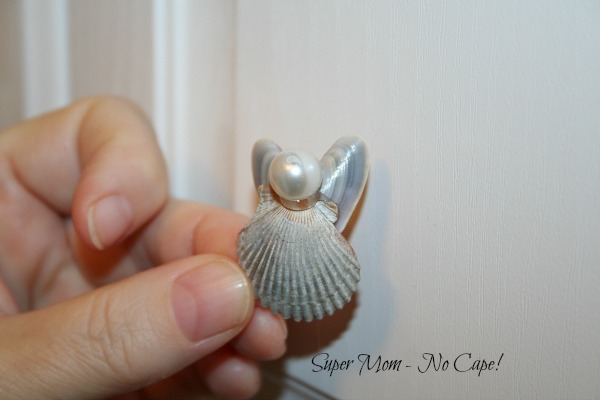
To make the hanger for your angel, fold the ribbon in half and knot the end. Glue to the back of the angel and come Christmas time it will be ready to hand on the tree.
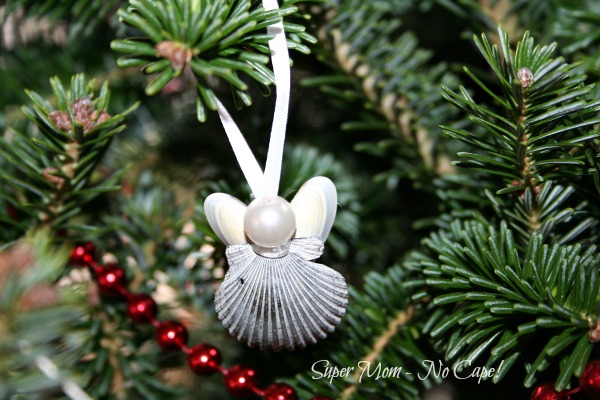
You can even add a tiny bow to some of them if you like.
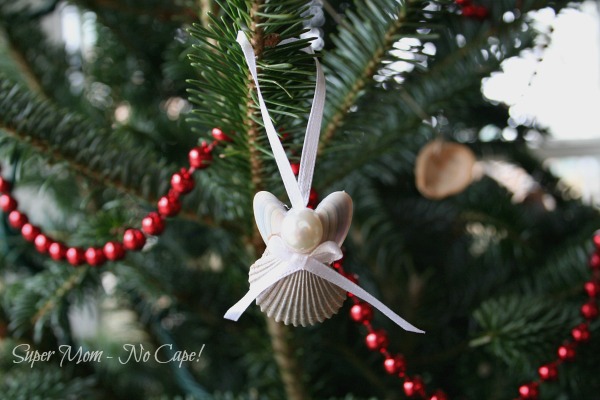
Dave and I made about 20 of these little angels to decorate our 2013 Christmas tree from shells we collected on the beach in Perdido Key. They are safely wrapped up in tissue paper and tucked away for us to use for years to come.
Want some more ideas for things to make with sea shells? Check out these posts:
20 Beautiful DIY Sea Shell Home Decor and Gift Ideas
10 Elegant Ways to Bring the Beach into Your Holiday Decor
For another really sweet angel ornament check out these Sea Glass & Seashell Angel Ornaments from Erlene at Pinterventures.
This post contains affiliate links. For more information please check my Disclosures and Disclaimers page. It doesn’t cost you any extra, but it does help support this site.





4 Comments
RobyGiup
April 8, 2014 5:37 amWhat a cute idea! This summer I must remember to take some shells from the beach for next Christmas!
Kate
April 2, 2014 12:15 pmShe’s so sweet! Thank you.
Vickie Horsfall
April 2, 2014 10:34 amWhat a creative idea! These little shell angels are wonderful. Thanks for sharing them. Enjoy your creative day!
marilyn
April 2, 2014 7:51 amThey are very cute little angels. Having a heap of them on a tree would look very pretty.
Comments are closed.