If you’ve ever purchased a Christmas floral arrangement you know how expensive they can be. Did you know that it’s super easy to make your own? And in the process, you’ll save money that can then be spent on other holiday decor or activities.
In today’s post, I’m going to show you how to make a Christmas floral arrangement that looks almost as good as one you’d buy at the florist.
I love having lots of flowers in the house, especially during the holidays. I like having one to greet our guests as they come in the front door, another on the dining room table and small ones in each bathroom. I also like having one on my desk.
If we’re having overnight guests, I always put one in the guest bedroom, as well.
But that number of arrangements would be out of the budget most years, if I didn’t make them myself.
Now, by no means am I an expert and I have no training other than what I’ve been able to pick up over the years. But I’ll share with you how I went about creating the large floral arrangement for the front room this year.
Welcome to Day 7 of the Fourth Annual 12 Days of Christmas Series!

We have teamed up with 50 plus bloggers to bring you a oodles of DIY Ideas and Recipes to make your holiday season merrier. There are 12 different posts in the series and we have spread them out over a four week period with three posts per week. Now is the time to subscribe!
GO HERE for the complete list of Dates and Topics plus a collection of most popular holiday ideas including ornaments, games, recipes and more from all 50 plus talented bloggers!
If you haven’t had a chance to check out all the other DIY Christmas Ideas I’ve shared click the links below:
Day 1: How to Make a Christmas Wreath Kit featuring an adorable Hedgehog Wreath
Day 2: Quilted Hourglass Candle Mat Tutorial
Day 3: Ring in the Holly Days Advent Calendar Tutorial
Day 4: Christmas Button Lace Ornament Tutorial
Day 5: Delicious Mini Puff Pastry Cone Appetizers
Day 6: Dresden Charm Ornament Tutorial
Day 7: You are here!
Day 8: How to Make a Mason Jar Embroidery Kit
Day 9: Christmas Furoshiki (Japanese Fabric Wrapping)
Day 10: Poke and Push Fabric Christmas Trees Tutorial
Day 11: Mini Spiced Orange Buttercream Bundt Cakes
Day 12: DIY Christmas Stocking Stuffer Ideas
It’s Day 7 and we are sharing Holiday Decor Ideas!
How to Make a Christmas Floral Arrangement
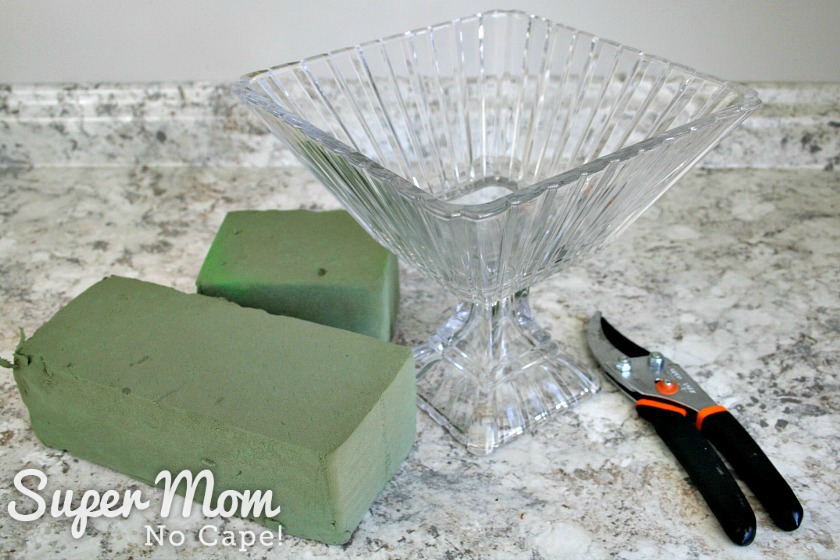
Materials needed to make your Christmas Floral Arrangement:
- Pretty footed fruit bowl or other container to hold the arrangement
- Wet floral foam
A variety of flowers
- Branches of winter greenery such as pine and cedar
- Pruning shears
For this DIY Christmas floral arrangement, I chose a nice variety of flowers and greenery so that I could make a large arrangement to go in the front room to greet our holiday guests as they arrive. An arrangement this size could quite easily cost well over $100. My purchases came to $60 and I had flowers leftover to make more arrangements.
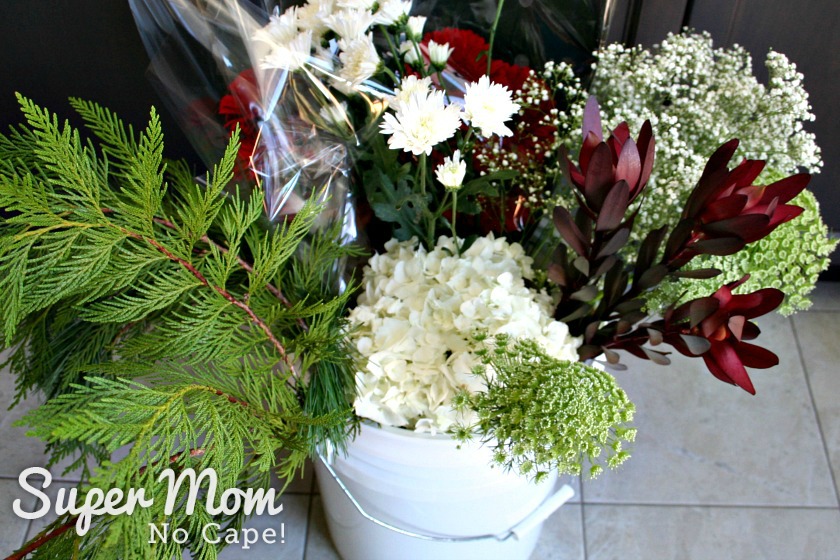
The flowers and greenery were purchased the day before. To keep them fresh, they were placed in a bucket of water overnight.
Pictured below are white Hydrangea, Queen Anne’s Lace, white Winter Mums, Baby’s Breath, red Gerbera Daisies, Safari Sunset Leucadendron (the red leafy spikes,) cedar and long needle pine branches.
A footed crystal fruit bowl works really well for large floral arrangements as it adds height and provides a good sturdy base.
No need to spend a bunch of money buying a new one if you don’t already have a footed fruit bowl. I picked this one up at a thrift store for $5.
The wet floral foam comes in blocks like the ones pictured below. A bread knife makes quick work of carving it to the shape you need.
After shaping the floral foam, add water and allow it to soak for about 10 minutes.
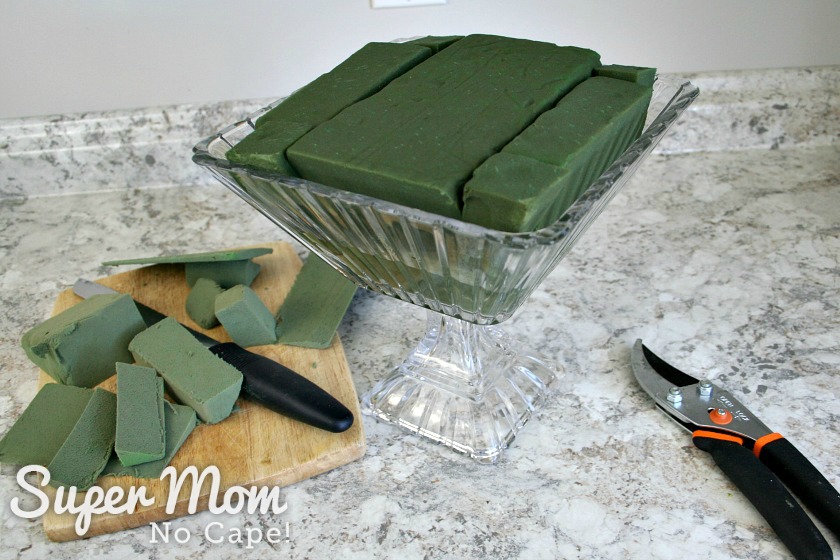
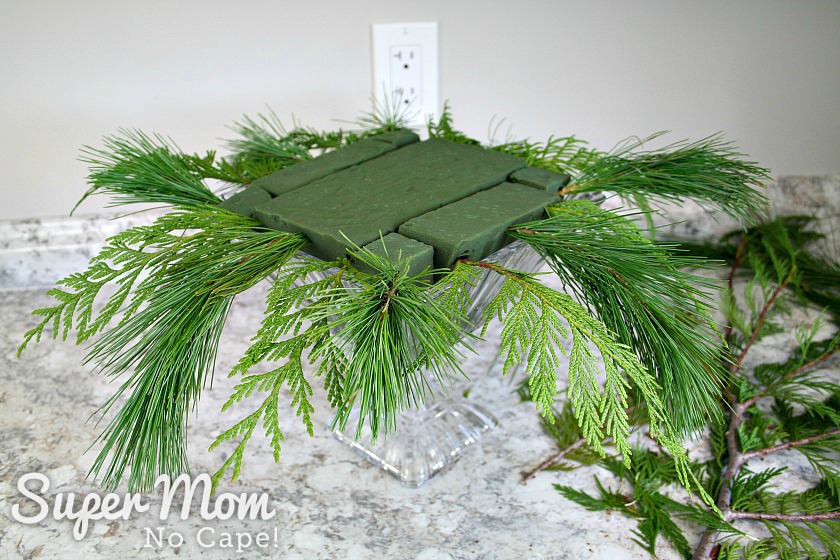
You’ll be working in layers beginning with the layer closest to the top of the footed fruit bowl.
Begin by adding some greenery. One piece of long needle pine branch was added to the center of each side and in all four corners.
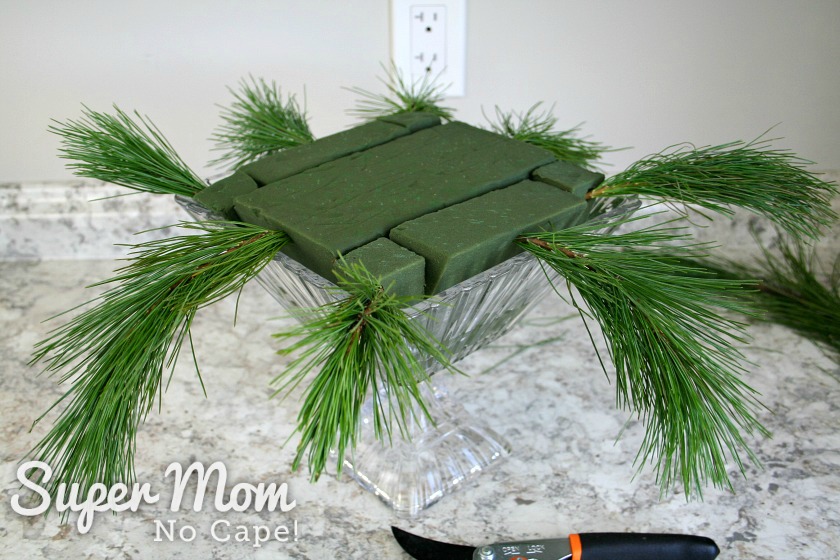
Then cedar was added in between the pine.
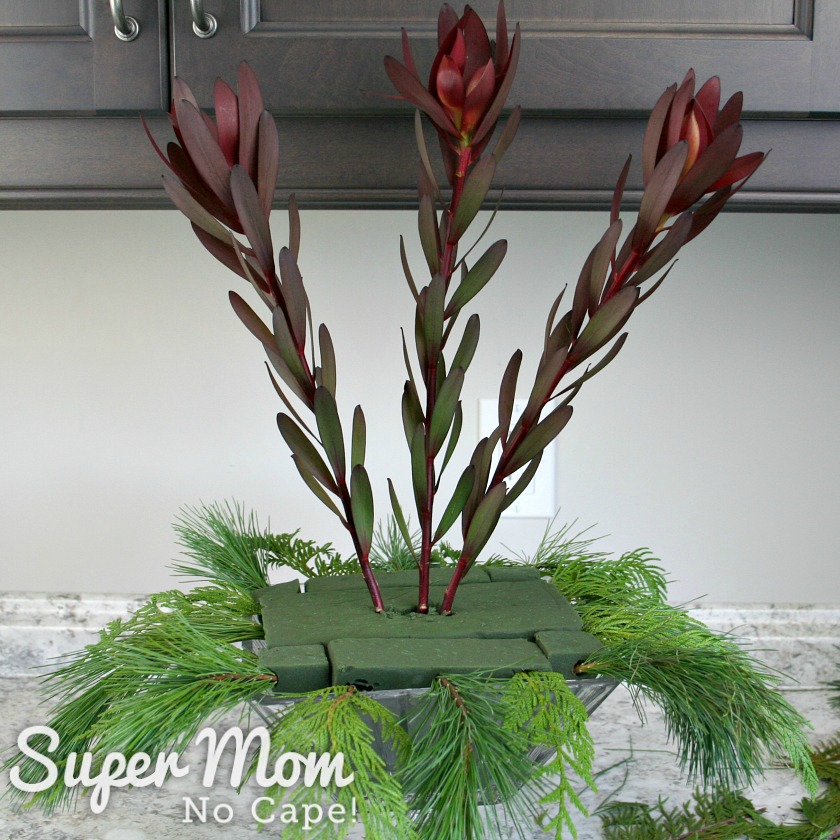
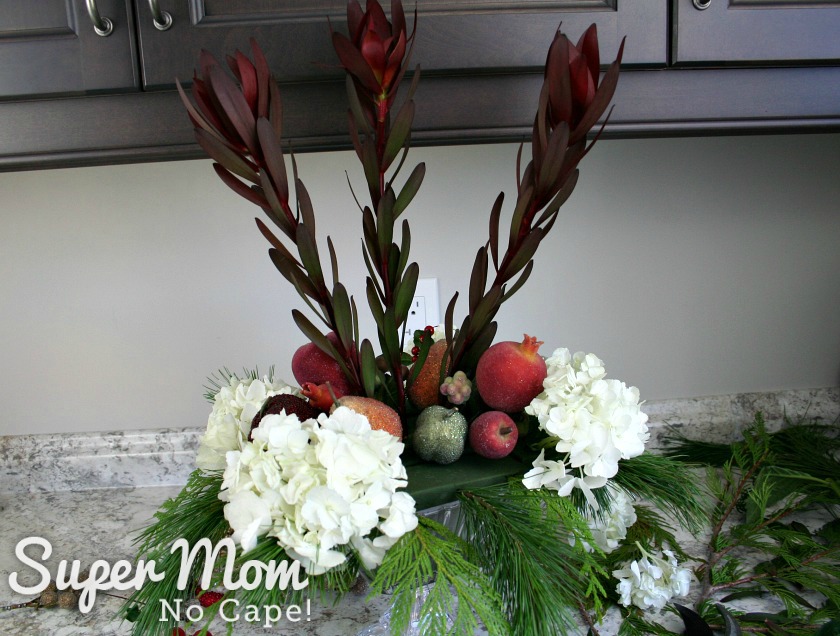
The three Safari Sunset Leucadendron give height to the floral arrangement when placed in the center of the wet floral foam.
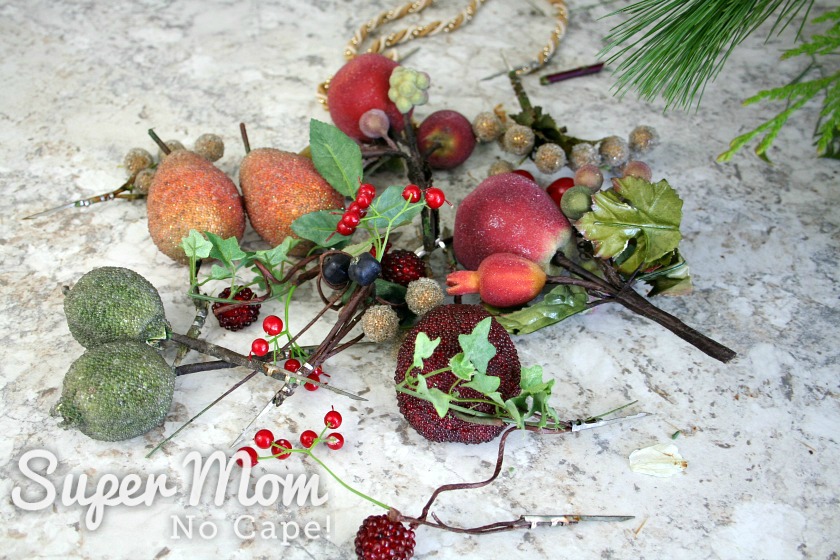
These vintage faux sugared fruit were another thrift store find that will be used for added interest and as filler in the arrangement.
You can look for something similar to add to your flower arrangement or create your own filler with Christmas baubles, pine cones or other holiday decor that you already have.
Large white Hydrangea blooms can be split into smaller sections and inserted into each of the four corners to begin creating the second layer of the arrangement.
Then the larger of the faux sugared fruit get added.

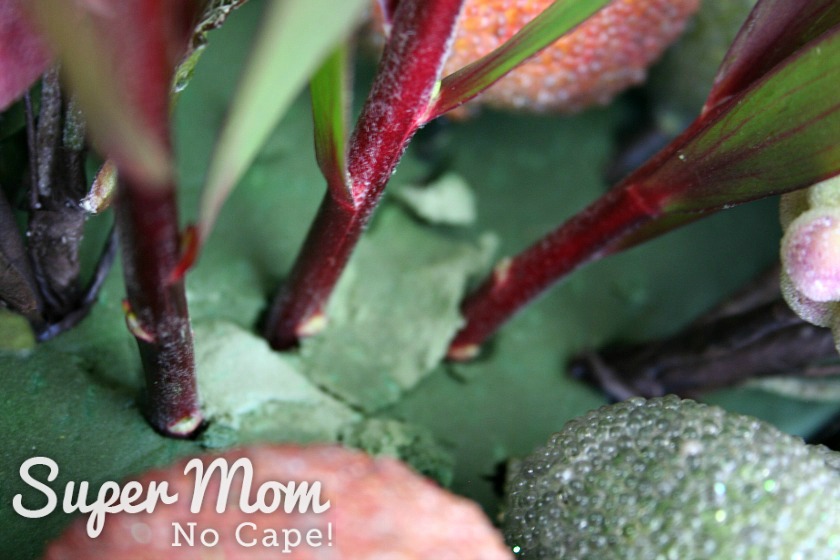
Quick tip: If, while inserting the flowers, you decide to re-position them and end up with holes that aren’t supporting the flowers… patch the holes by filling them with small pieces of the wet floral foam.
Add more of the faux sugared fruit.
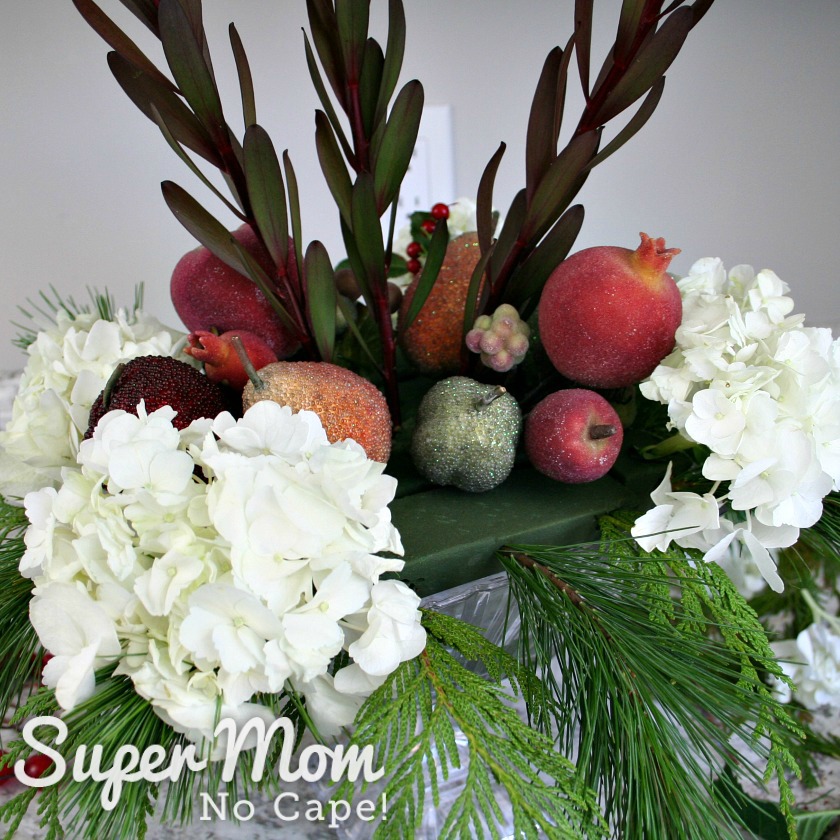
Take a step back and decide what to add next.
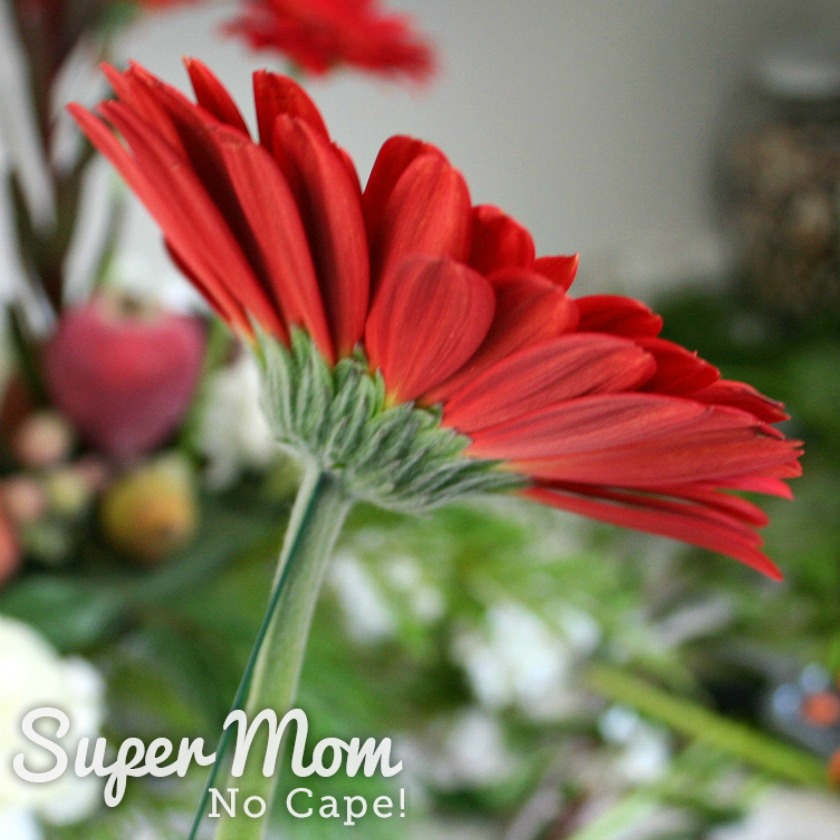
Gerbera daises have a tendency to droop if they aren’t supported.
The super helpful florist at one of the shops where I bought the flowers showed me how to add a wire support to them.
Insert the end of the wire into the base of the flower being careful not to push it all the way through.
Wrap the wire around the stem as pictured below.
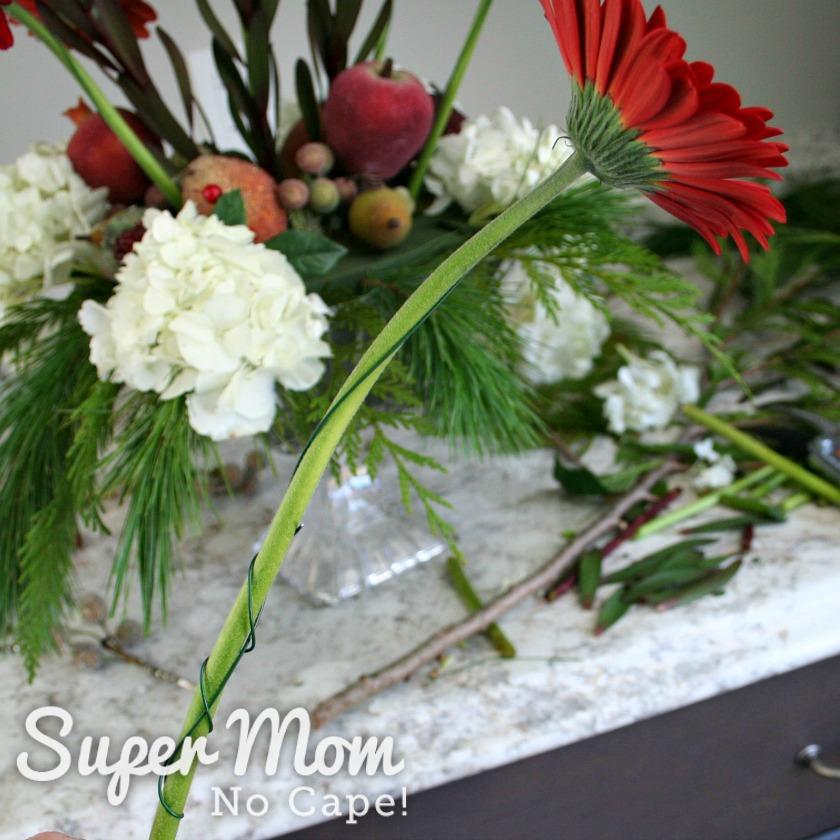
Insert the Gerbera Daisies into the arrangement.
This floral arrangement will be seen from three sides so 3 Gerbera were added to one side and 3 to the opposite side.
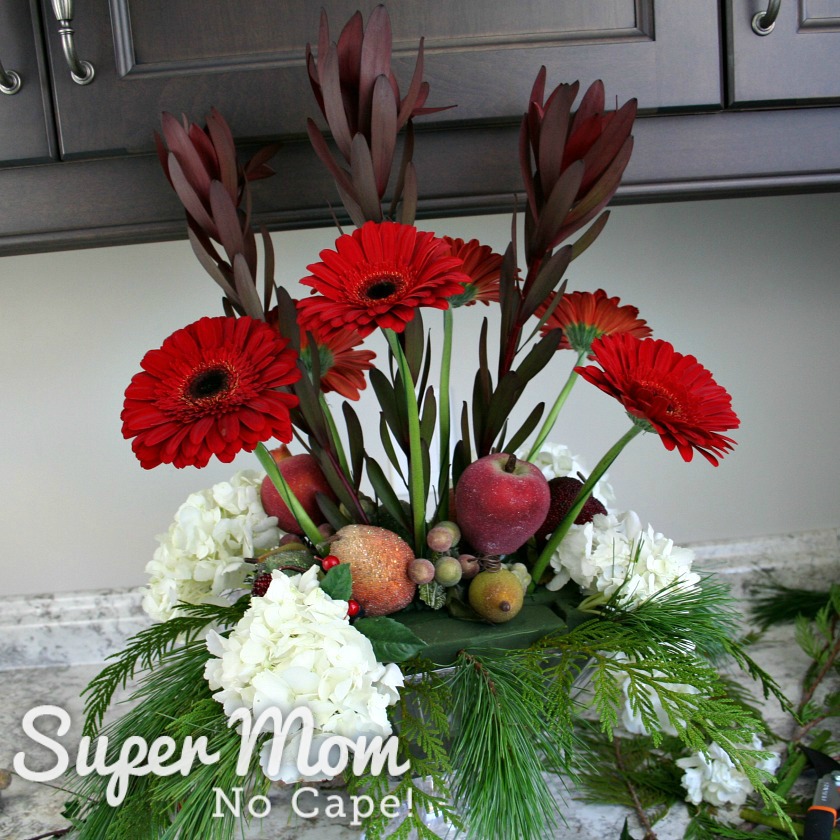
Next one bloom of Queen Anne’s Lace was inserted into the center of each side of the arrangement.
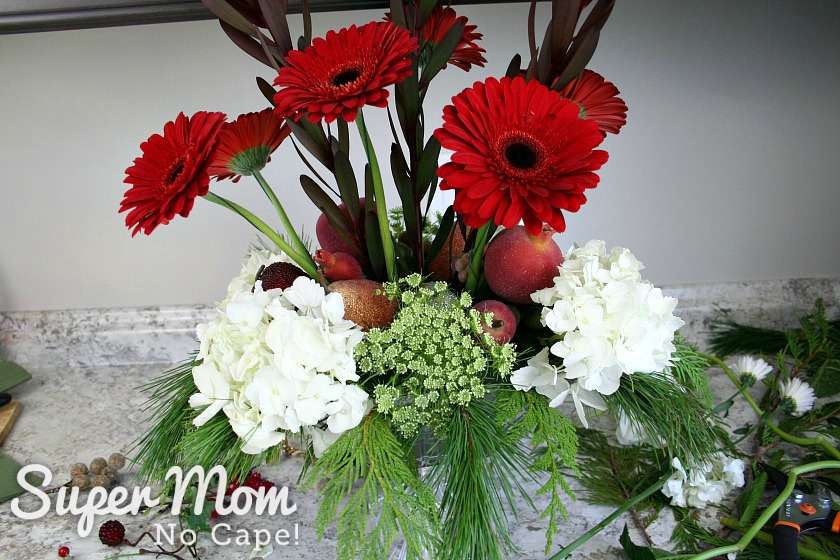
Once all the main flowers have been added, it’s time to fill the empty spaces.
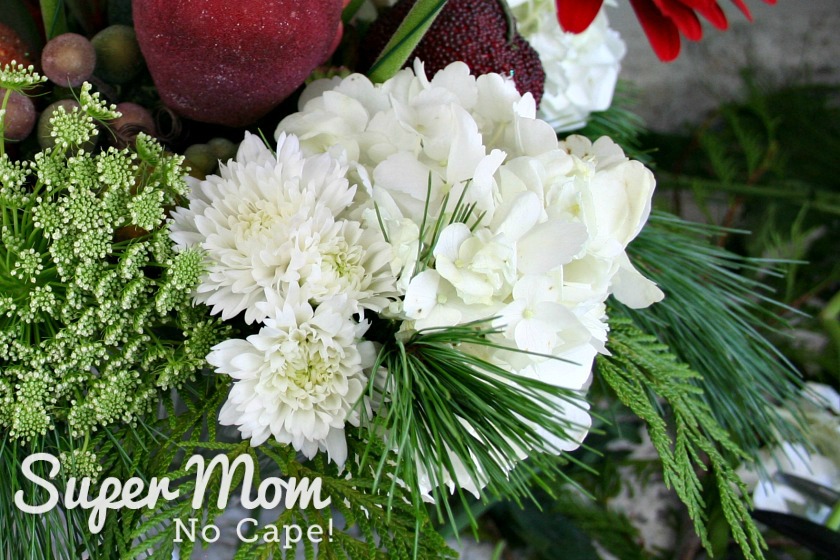
The white Winter Mums make great filler flowers.
Here they were grouped in threes and inserted on either side of the hydrangeas.
Smaller pieces of the faux sugared fruit can be added for filler as well.
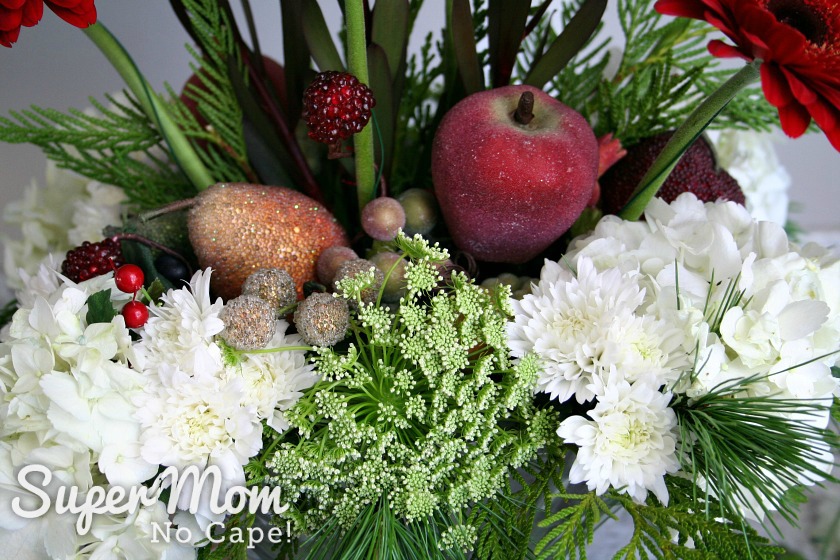
Additional greenery is another option for filling those empty spaces.
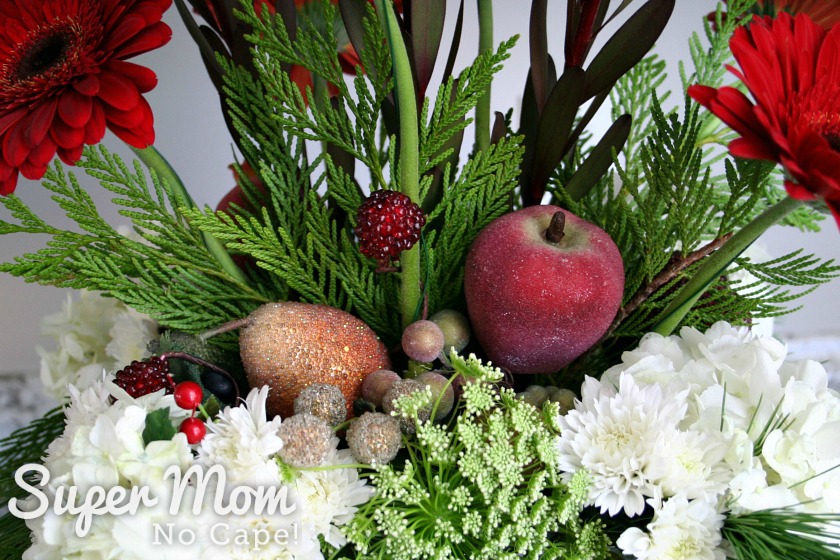
Lastly, add several stems of the Baby’s Breath.
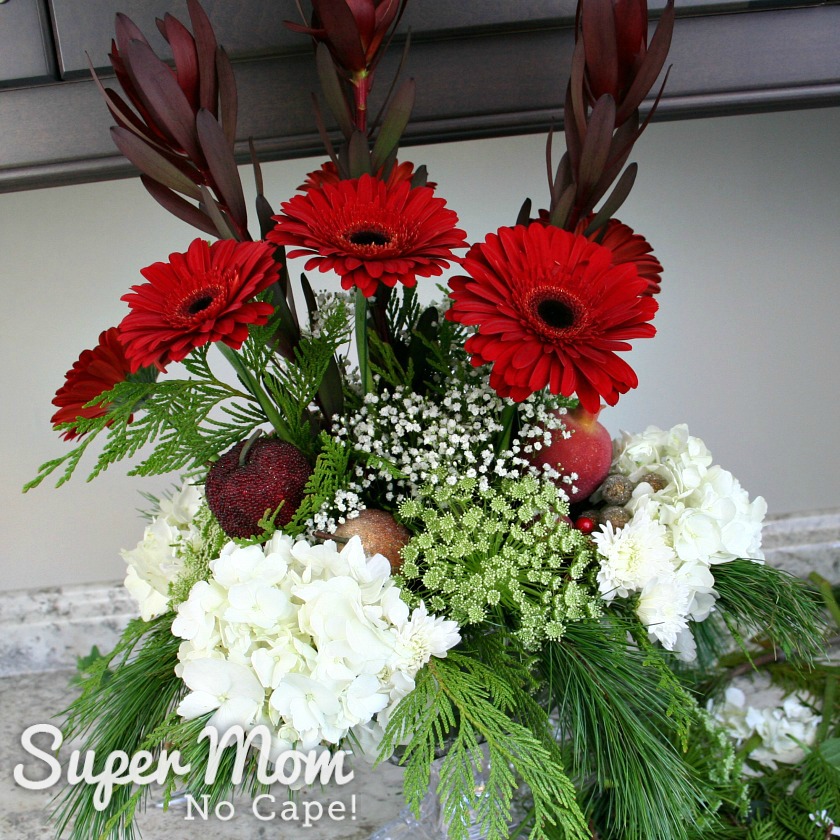
Remember to turn the arrangement as you are adding filler.
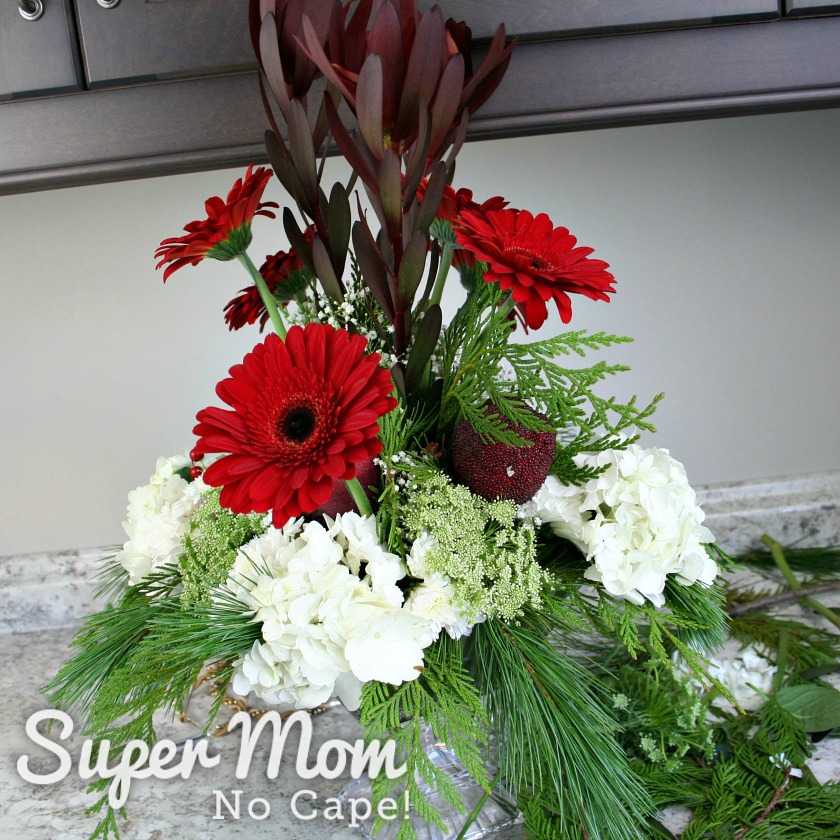
Keep turning and adding Baby’s Breath until the arrangement is as full looking as you like.
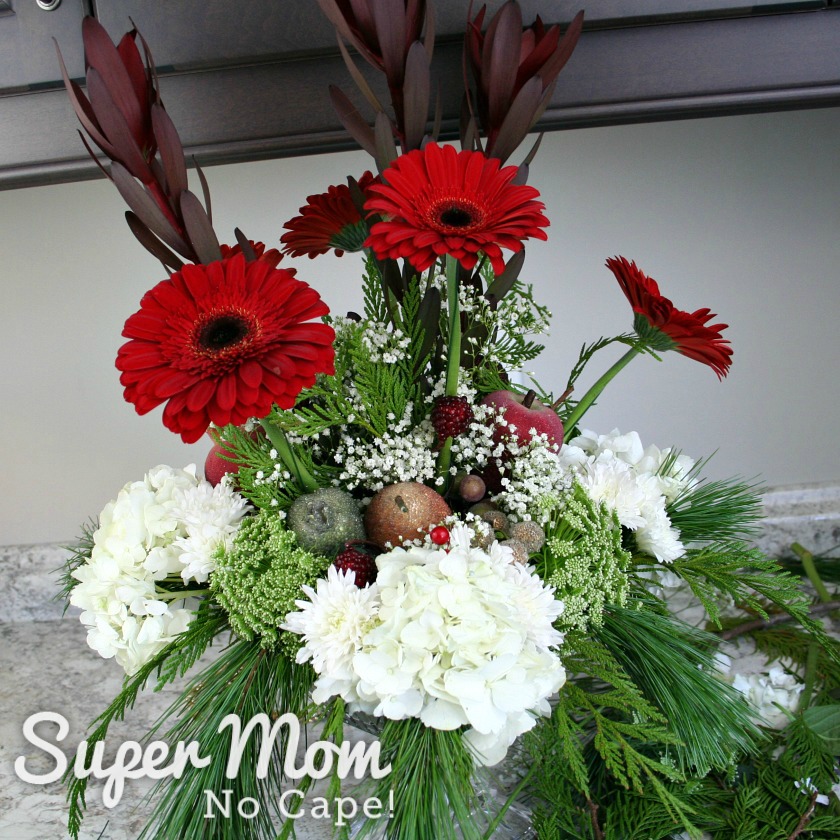
You can even go back and add more greenery to the first layer, if you wish.
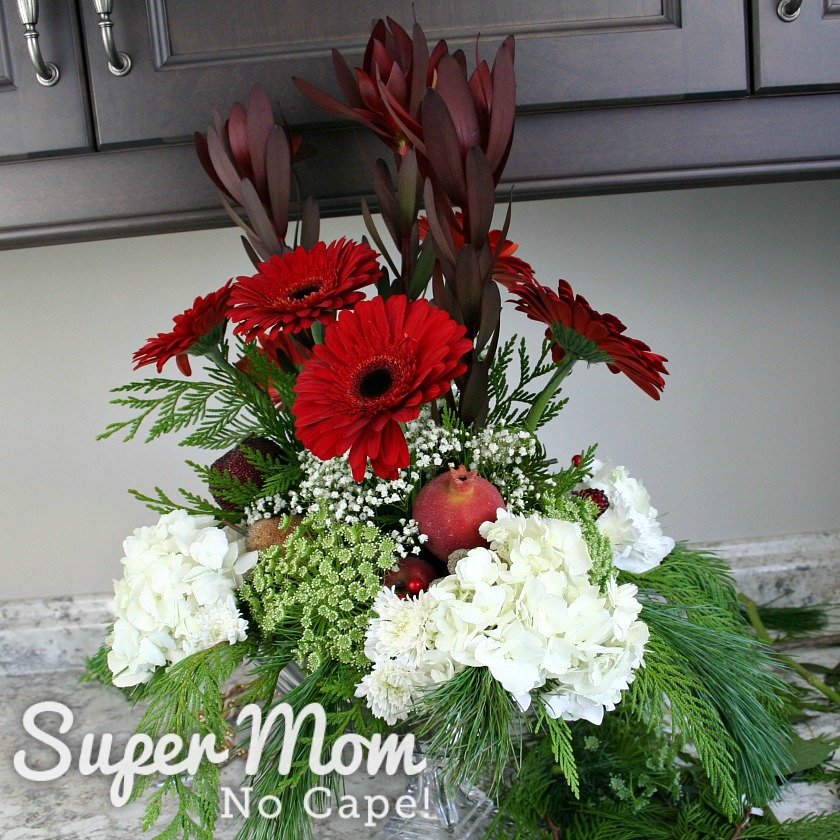
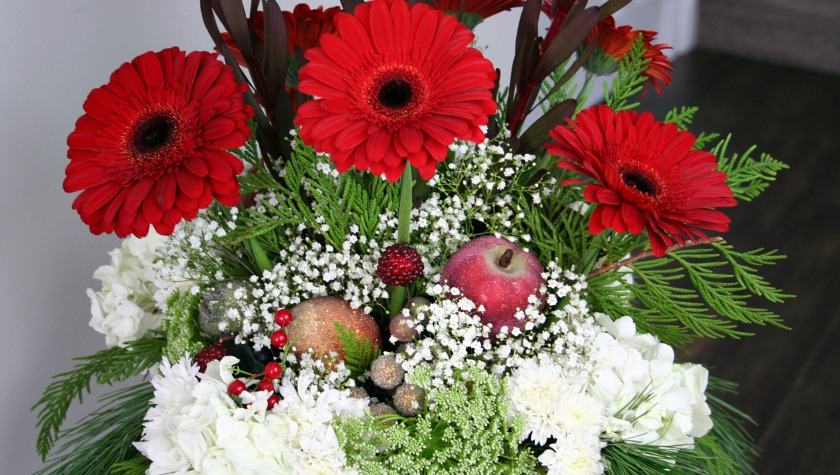
Here’s the finished Christmas floral arrangement on the table in the front room.
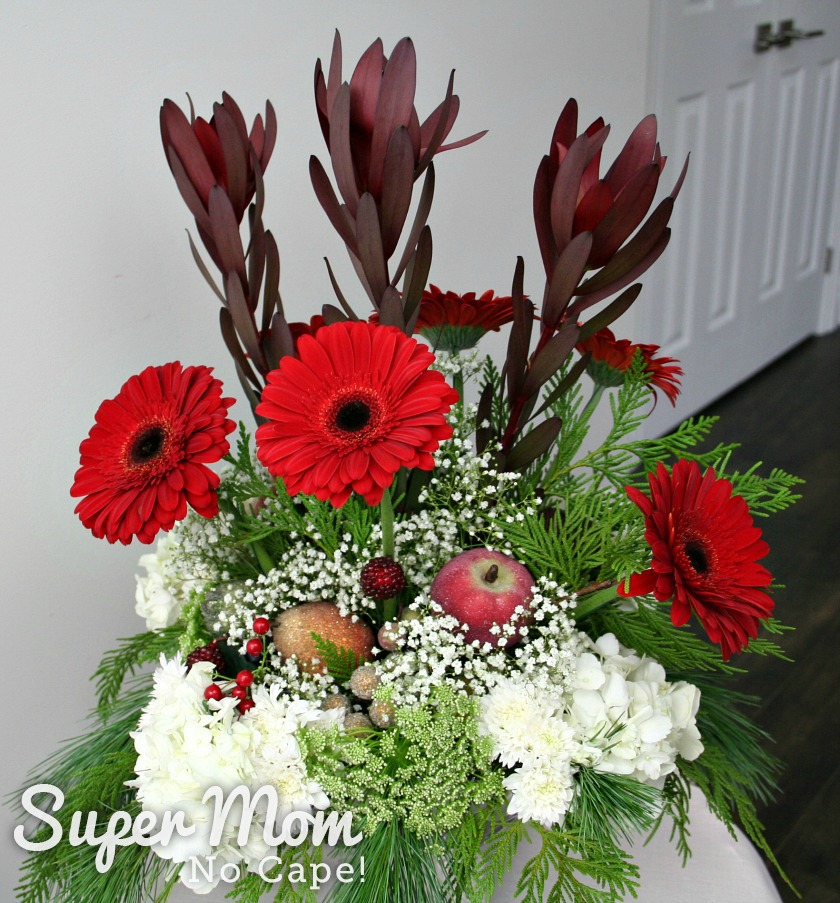
As you can see I ended up adding even more Baby’s Breath. It gives the arrangement a nice airy feel.
I’m thinking it might just become home to some Christmas fairies.
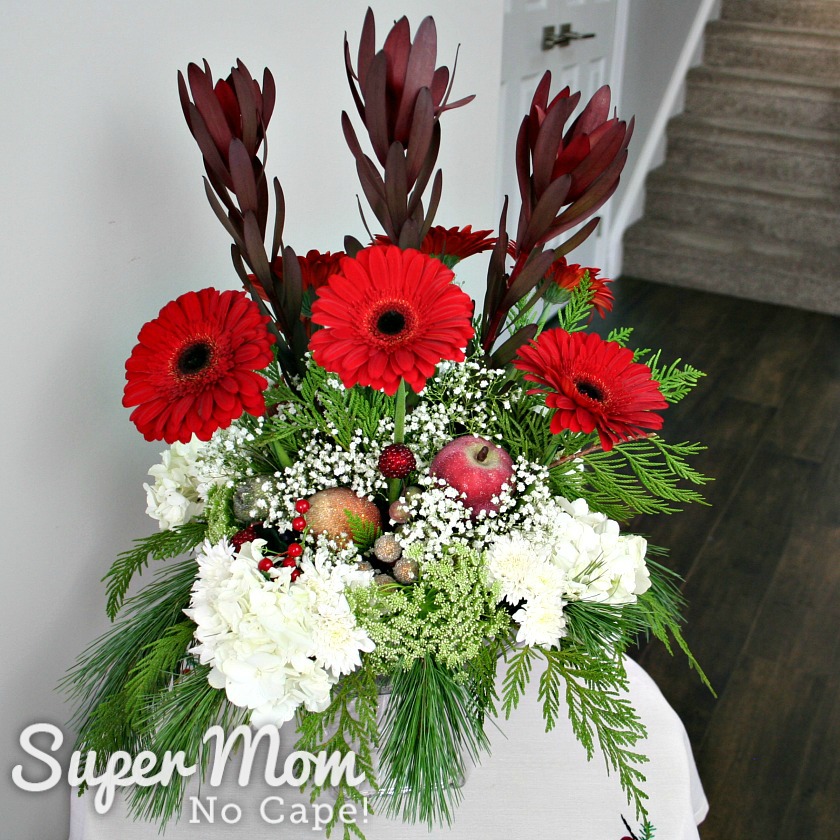
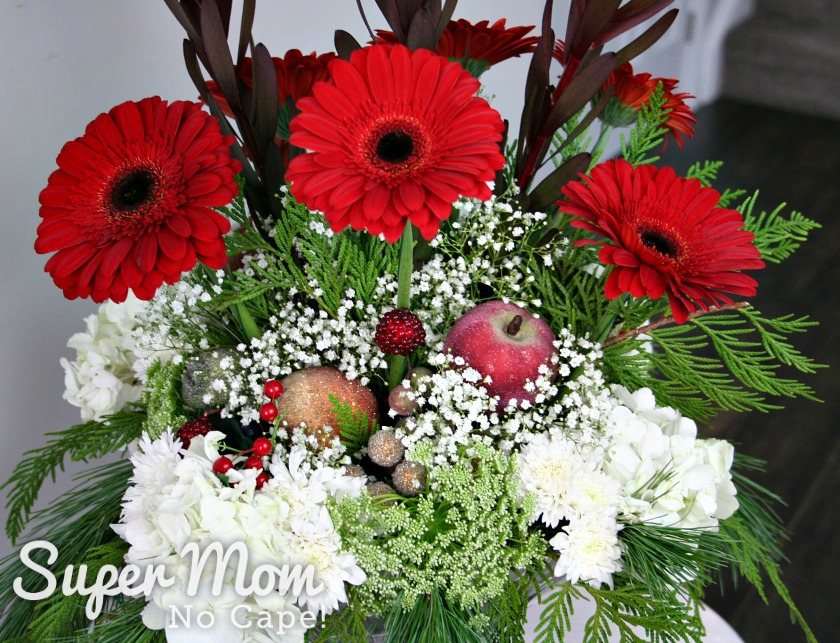
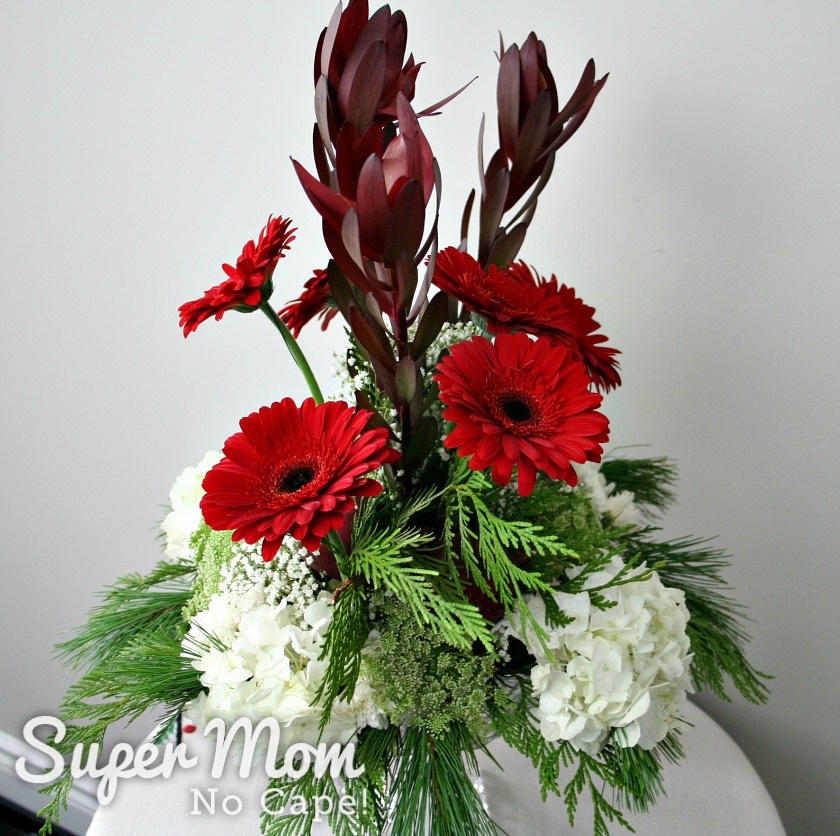
This is the side of the arrangement that I see while sitting at my desk.
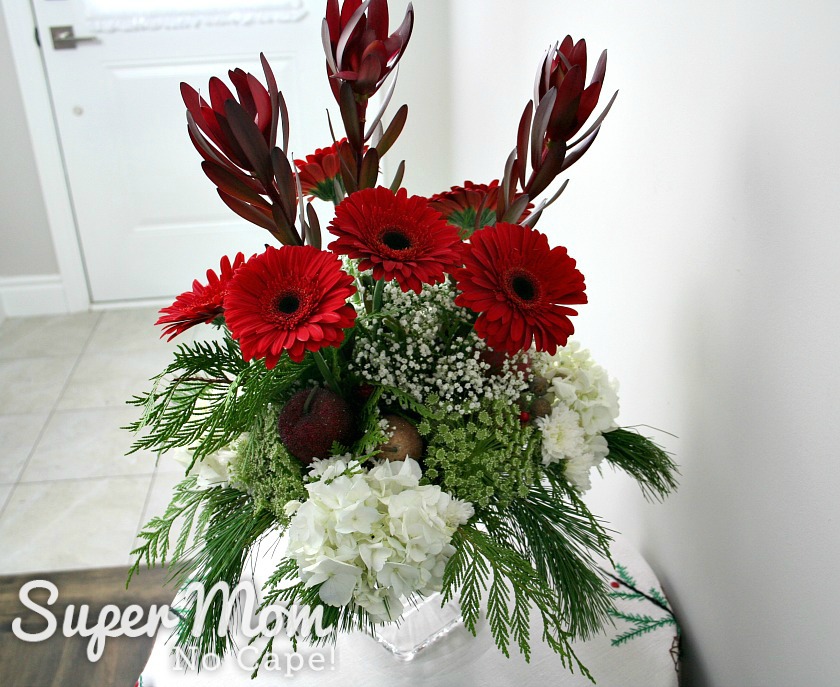
And this is the side you see when walking down the stairs to go to the front door.
There was one hydrangea bloom and one Queen Anne’s Lace bloom that I’d cut but that didn’t get used in the arrangement so I made two mini floral arrangements with them. They’ll look really sweet on the dining room table until I make the larger arrangement closer to Christmas.

Also left over were 5 of the Gerbera Daisies and several stems of Baby’s Breath which will be made into a floral arrangement for my desk.
It’s amazing how many arrangements you can make with $60 worth of flowers and greenery!
I hope you’ll give making your own floral arrangements a try. Once you’ve made one, you’ll know how easy they are to do and will be able to continue making them not only for Christmas but for occasions throughout the year.
If you do decided to your hand at making some Christmas flower arrangements to add to your holiday decor, please do post about it somewhere online and tag me so I can come see. I’m @supermomnocape on Instragram, @1SuperMomNoCape on Twitter and @1SuperMomNoCape on Facebook.
Please feel free to follow me on any or all of the above social media.
To see other floral arrangements that you might like, click the links below:
Candy Cane Vase filled with Roses
Easy Christmas Table Centerpiece
Scroll down for many more Holiday Decor Ideas to creative a festive atmosphere in your home!
 Loading InLinkz ...
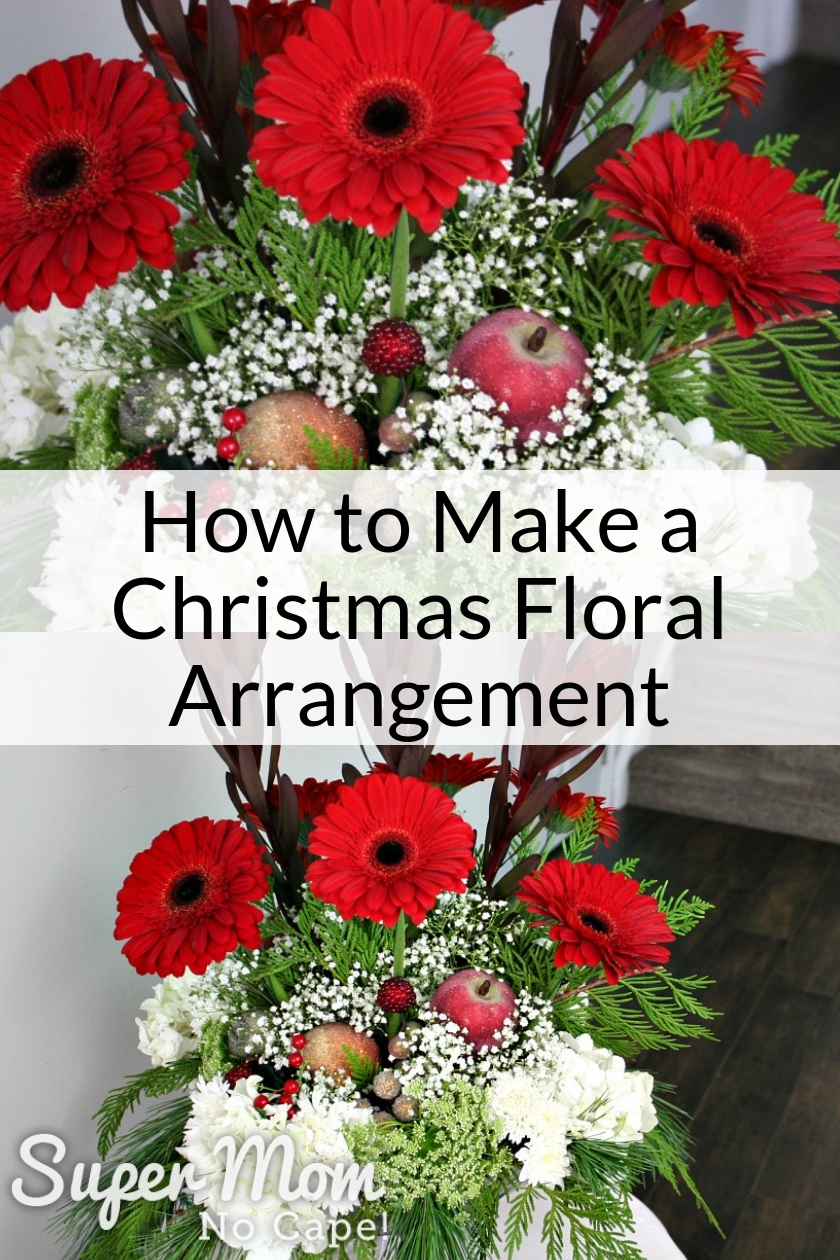
Be sure to save How to Make a Christmas Floral Arrangement by clicking on the Pinterest button underneath this post.
And of course, I’d love it if you shared it on Facebook and Twitter as well.





7 Comments
Leanna
December 12, 2018 3:42 pmFresh flowers are always welcome eh? In a whole house decorated for Christmas, a fresh bouquet steals the show. So elegant and a sign that Winter will end. Your DIY arrangement is very well done.
Hena Tayeb
December 4, 2018 10:01 amBeautiful.. thanks for sharing.
http://www.henatayeb.blogspot.com
Addie
December 3, 2018 9:01 pm“Think in layers…” so that is what I’ve been doing wrong all these years. So simple!!!!
Great job!!!! thanks.
Wanda | From House To Home
December 3, 2018 8:07 pmGreat tutorial for a Christmas floral arrangement! I love how you show it step-by-step so those of us who are floral challenged can follow along
Kelly
December 3, 2018 7:43 pmSuch a beautiful arrangement! I love the step-by-step; it’s so helpful for those of us that aren’t the best at putting arrangements together… not that I’d know
Best,
Kelly
Marie InteriorFrugalista
December 3, 2018 3:40 pmThank you so much for this tutorial! Christmas arrangements are crazy expensive but I could never get mine to look as good as the professionals. Pinned to share but definitely to refer back to because I just happen to have that same vase!
Jenny
December 3, 2018 8:17 amYour arrangement is beautiful! Gerber Daisies are one of my favorites and the fruit is a nice added bonus. Beautiful!
Comments are closed.