I have the pleasure today of introducing my very first guest contributor to Super Mom – No Cape and I have to admit that I’m pretty excited because not only is she a wonderful teacher whose students adore her, she is our oldest daughter, Krystal.
She has a great teaching aide to share with you today, complete with a tutorial for how to make it. So without further ado, I’ll let her explain.
Hi everyone,
When Mom first asked me to do a guest post on her blog, I was kind of nervous, for two reasons. One, because this would be my first blog post ever and two, this is my Mom’s blog we’re talking about. There are certain standards that I have to live up to!
In regards to the first reason, please forgive me if this is a bit wordy. In regards to the second, well hopefully I don’t have to worry about that. Anyway, on with the show…
As my mother has mentioned a few times in different posts, I am teaching in Shanghai, China, mostly children from ages 2-6, though I tutor a couple of elementary school aged children.
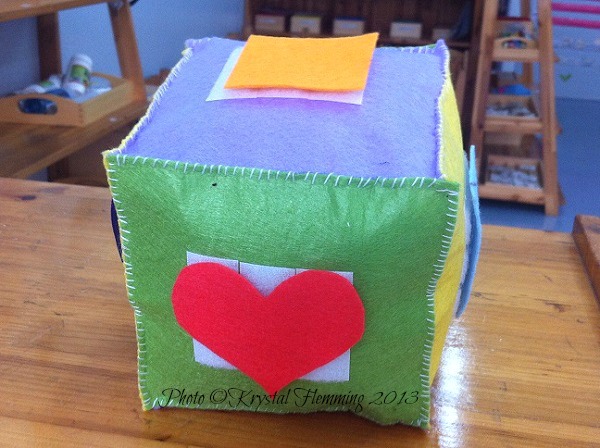
In my regular teaching, I make a lot of the materials that I use, which includes teaching aids. I’ve found that dice are a good way to drill home different parts of the theme that I’m teaching, particularly vocabulary. The children love to answer questions about the different parts of the cube that come up, try to choose the side they want to answer, and toss the die themselves.
For this particular die, I was teaching shapes with my class (that’s a bit of my classroom in the background. I teach in a Montessori school).
So I chose 6 shapes to teach: circle, square, rectangle, triangle, heart and star (basic shapes that children of the 3-4 years should know).
For the younger kids (2-4), I ask rather simple questions, like “What shape is this?”, “What color is it?”
For the older kids, I ask more complex questions like “How many sides does it have?” or “How many corners does the shape have?”
Because I have a mixture of children, I have to adapt what questions I ask depending on the child and English level of the children I’m speaking to.
When I use these in my class, generally I start the rolling. I’ll call on a child and then roll the die towards the child. Whatever it lands on, and depending on the child, I’ll then ask a question. When they get the answer correct, they can either toss it back to me (most children choose this, lol) or roll it back to me and then we move onto the next child.
After the children have all had a chance, the children then get to roll the die and ask each other questions about the die.
I’ve found the children really like to use the die. My youngest child will actually go and get the die if I haven’t put it among the teaching materials that I’m going to use that day because he wants to play with it.
And my co-teachers are also very impressed with the die as well. One has even asked to use it for her own lessons. It’s a very good manipulative.
So for those of you who would like to make a similar item for your little ones, or perhaps you are also a teacher, here’s how I made my die.
Materials you will need:
- Felt of at least four different colors
- Self adhesive Velcro
- Thread of either complimentary or contrasting color
- Stuffing (inexpensive pillows from Walmart or Kmart are the cheapest way to go)
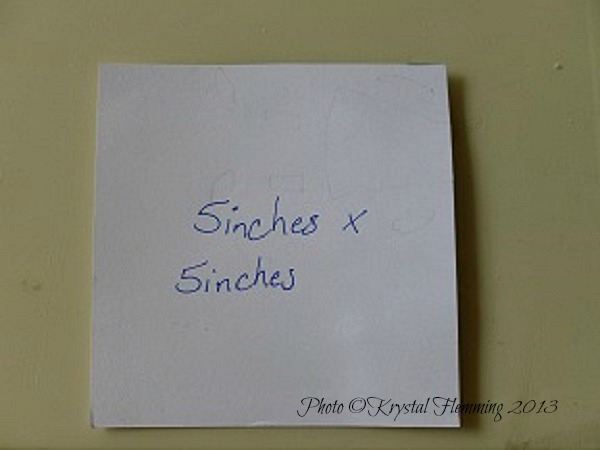
First off I make one pattern piece: a 5in x 5in square. I feel that the five by five is a good size for the children to handle, their hands aren’t really that big, even at the older level. I did make one that was 6 by 6, but for me that just felt too large, and anything smaller would have been very interesting to sew, as well as very easy to lose.
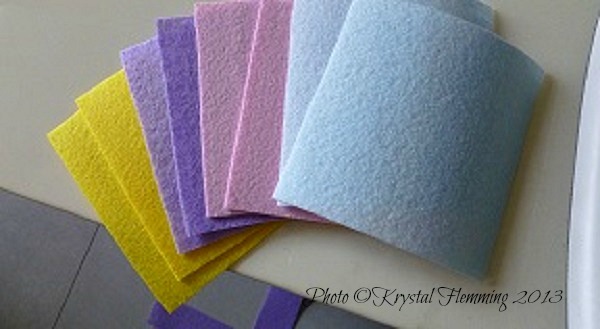
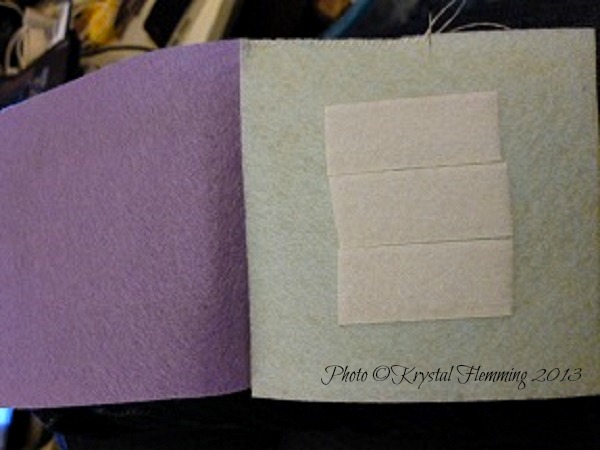
Once you have your pattern piece, cut out 6 squares of felt. I’ve chosen to make mine out of three different colors, that will be opposite themselves when the die is finished. The fourth color that I’ve listed will be used to make the items that will be taught (shapes, letters, etc).
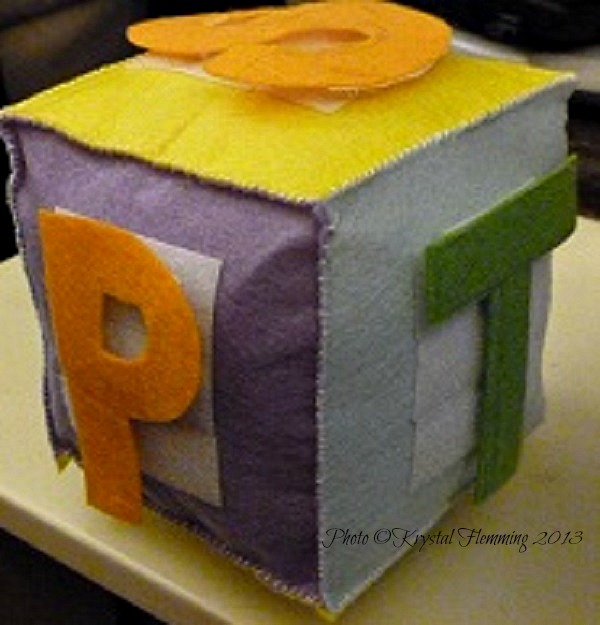
For this new one, my partner has asked that I make him a die with letters on it so that he can have one for his phonics lesson with his 4-5 year old classes.
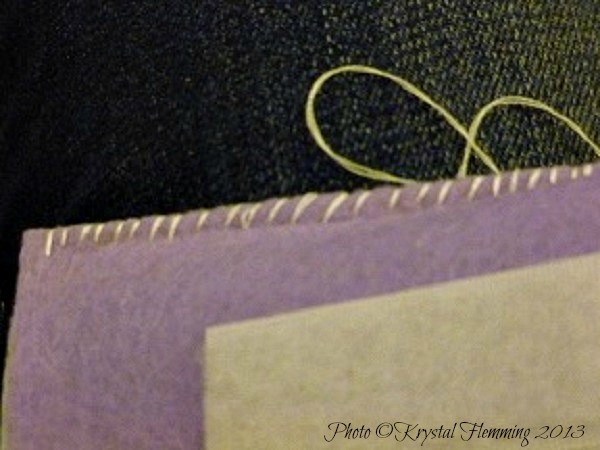
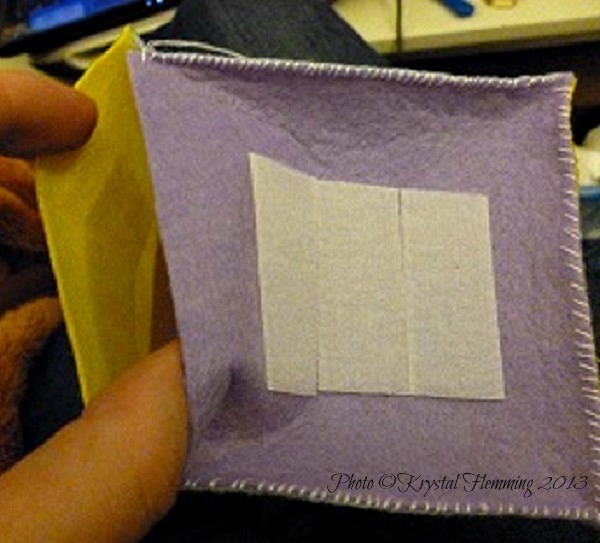
Next, attach your strips of Velcro to each of the sides. After that, go ahead and choose which two you want to start with. Place them Velcro sides out, and blanket stitch around one edge (in the pictures I’m using a whip stitch but now that I think about it, it would probably look even better with a blanket stitch.)
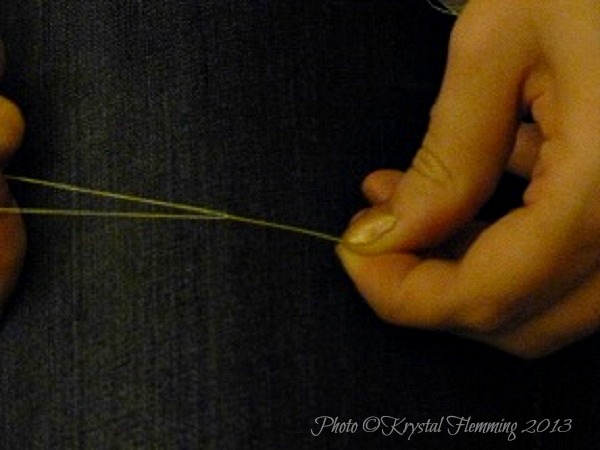
Note: the thread I’m using is doubled over. It gives a stronger seam which is useful when making things for younger kids.
Open gently.
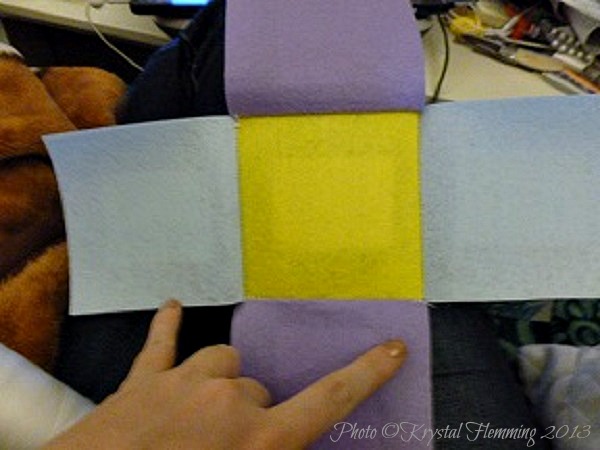
Take your next square and match it up with the base square. Blanket stitch around. Continue around until all four sides have been attached.
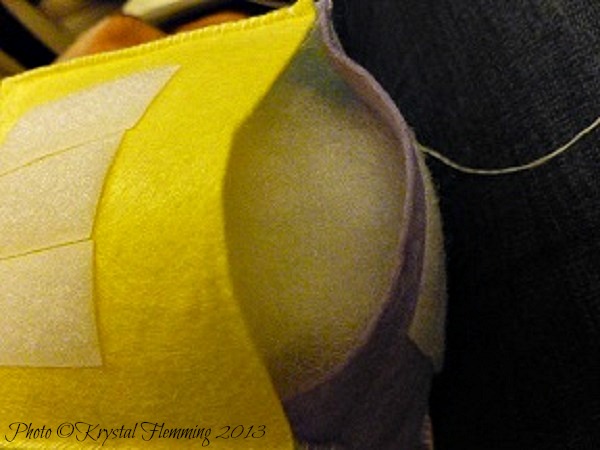
Sew the adjacent sides together, so that you form a topless box. Sew the top of your box on, but only on three sides, you’ll need the last opening in order to stuff the die.
Stuff your die as full as you’d like.
Sew the die shut.
Attach your teaching material to each side and there you go… one teaching die.




3 Comments
marilyn
May 3, 2013 9:15 amGreat idea.
Vickie Horsfall
April 26, 2013 8:56 amWhat a great learning tool! Changing the items on the die gives you so many teaching topics, and I know how much children love learning with a fun prop. This would make a good gift for a teacher or parent. Thanks for sharing this. Congrats on your first guest blog! Enjoy your day! ~~Vickie
Gretchen
April 26, 2013 7:55 amGreat idea, Krystal! I really like the fact that you can use the velcro to change the lesson’s topic! I teach adults to read and I can use this idea to teach those pesky short vowel sounds and sight words. My students, ages 22-85, also like to play games to reinforce a lesson!
Comments are closed.