In our new apartment, the kitchen counter has an overhang on the living room side that creates a breakfast/eating area. This neccessitated the purchase of two bar stools.
When we went shopping we picked out ones that we thought would be comfortable to sit on during meals and also while working on our laptops since the breakfast bar doubles as our desk/work area. And they are comfortable to sit on with the exception of the metal band you rest your feet on. When we were shopping we were wearing shoes but here at home I’m often barefoot and resting my feet on that band starts to hurt after a while. Dave is much taller than I am so his feet reach the floor.
The search was then on for a small footstool for me. The weekend before last we were at the local Goodwill store because I wanted to see if Dave liked a picture I had found there that I thought would look good in the living room. (More on my thrifting adventures in another post.) They were just putting out a whole bunch of newly arrived stuff and one of those was a small footstool.
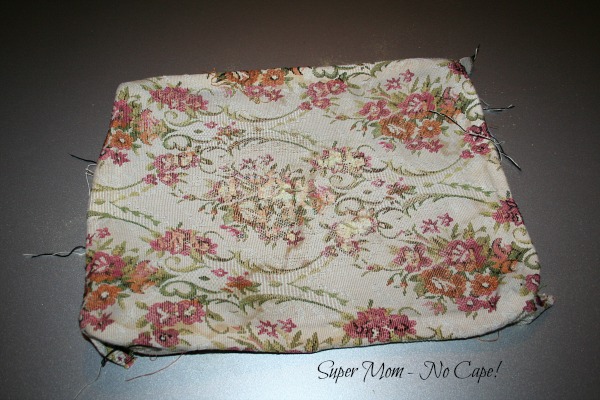
The cover was old, ratty and quite dirty but the solid wood base was in good condition. Both the picture and the stool came home with us.
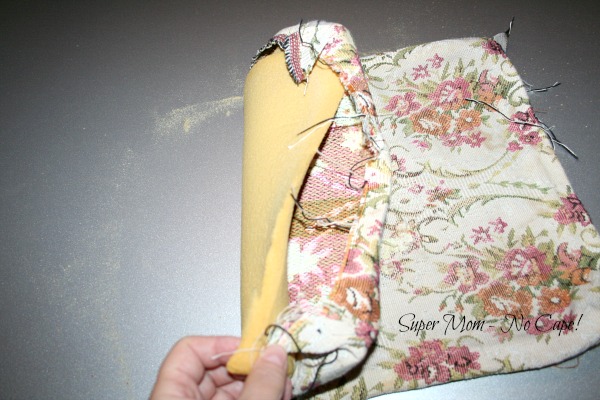
While I headed off to air conditioned Joann’s for fabric and foam, Dad worked in the hot garage to remove the old cover.
It’s a good thing he did remove the cover in the garage. Look at all that dirt!
Once I got back from Joann’s, we busied ourselves making a new cover for the stool.
It turned out that the top of the footstool was actually a lid, so Dave had removed the hinges before removing the cover.
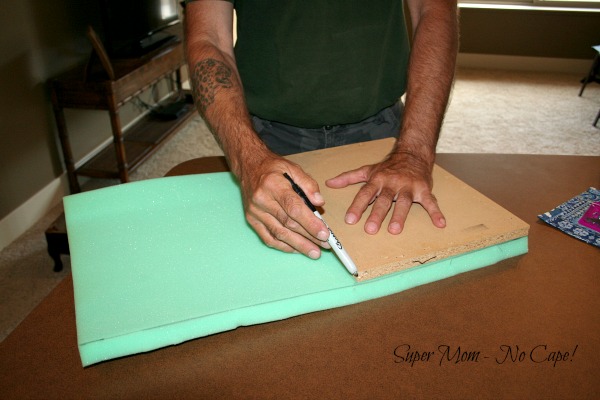
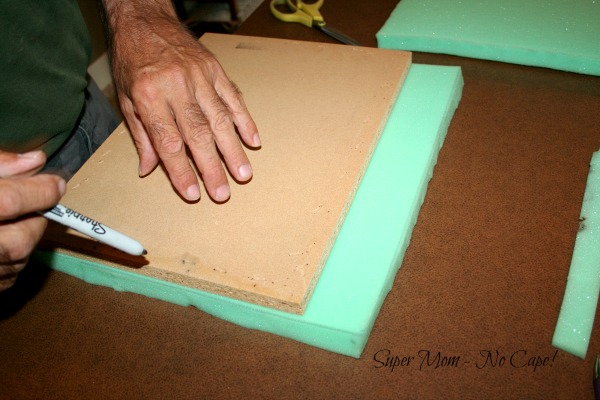
Next he placed the wood base on the ½” foam and traced around it.
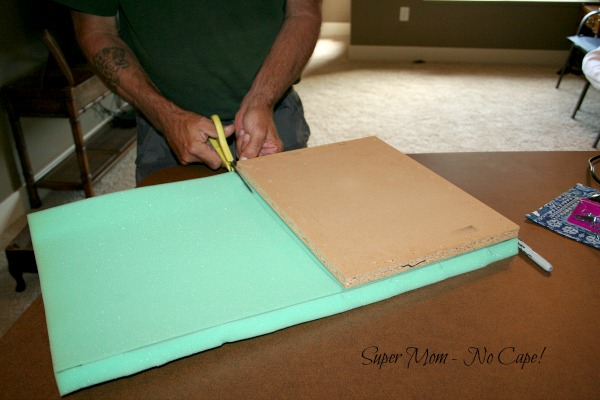
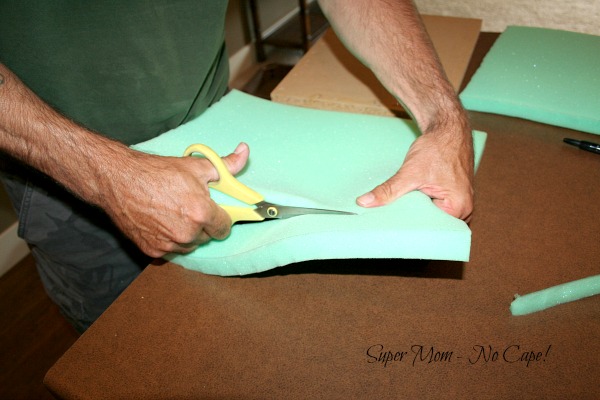
Then he cut along the traced lines.
Joann’s was out of 1” foam so I bought enough of the ½” to be able to stack it double.
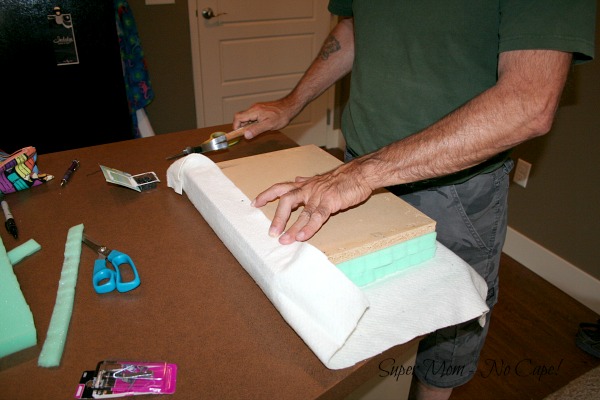
Next we stacked the foam and wood base on a piece of batting.
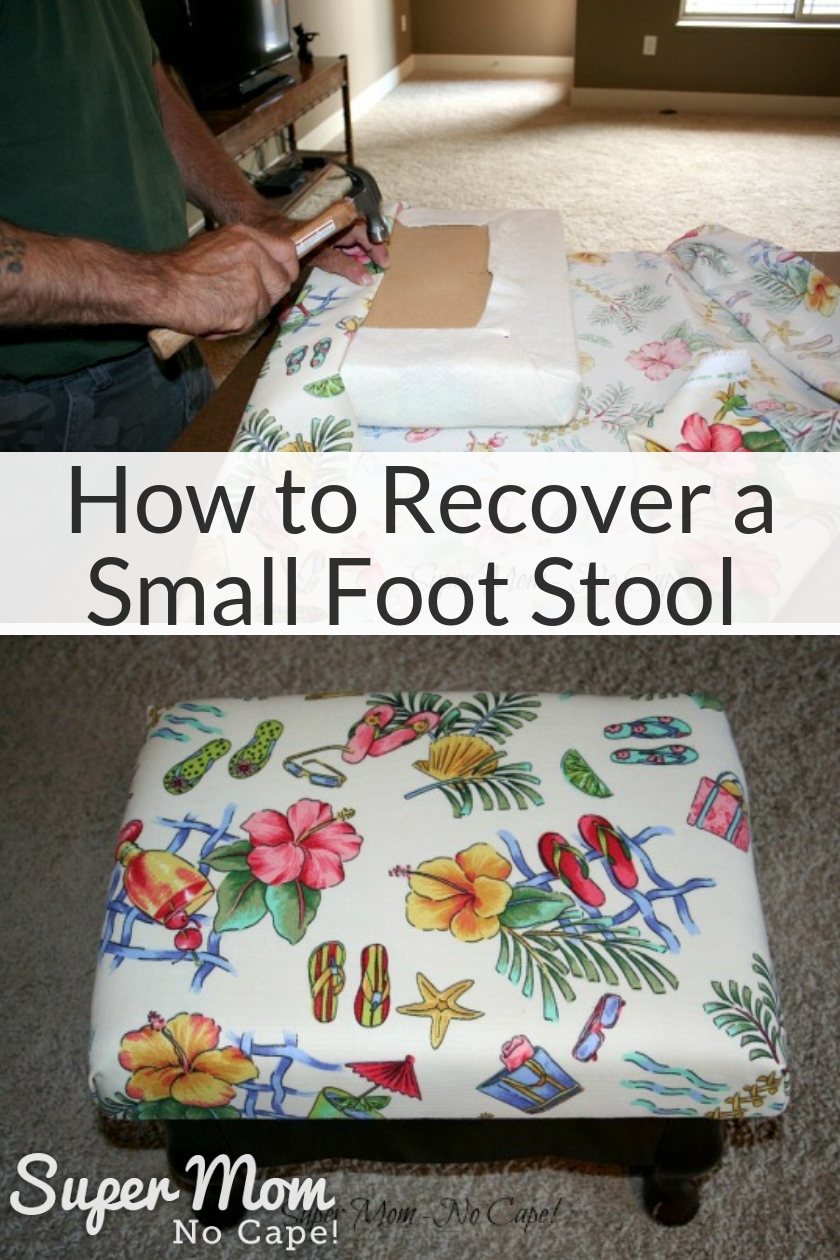
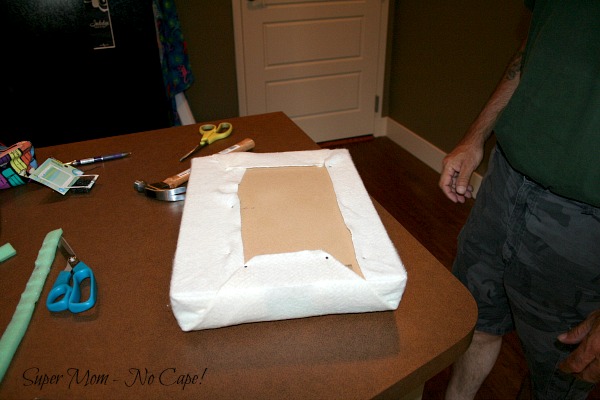
Then Dave tacked the batting in place using ½” upholstery tacks.
I know that most people use a staple gun for this step but ours is packed away in storage and a small package of upholstery tacks was $2 compared to the price of buying a new staple gun and package of staples that may or may not get used again while we’re living here.
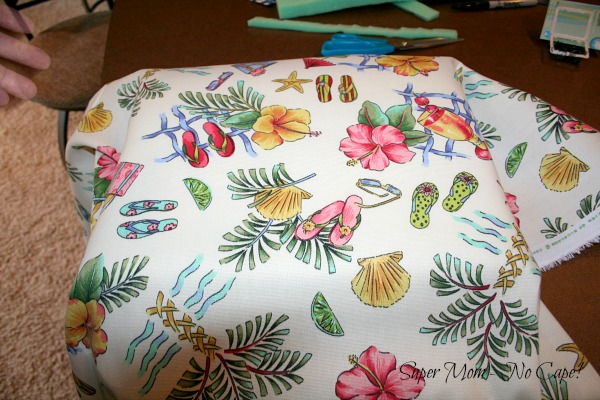
For the next step, we flipped the batting covered base over and I positioned the fabric I’d chosen with the portion of the printed design that I wanted centered on the cover.
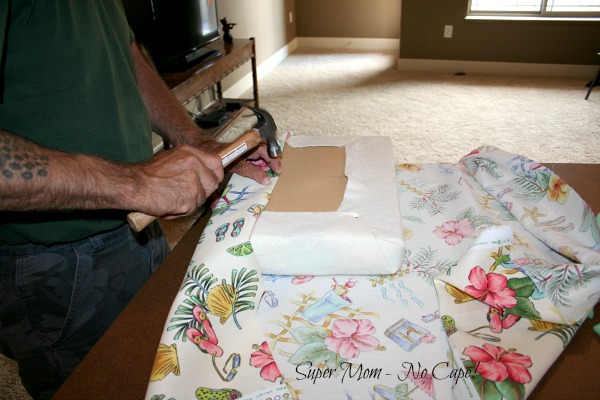
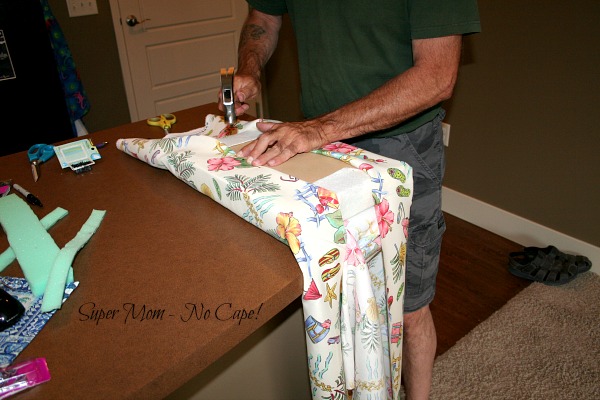
Then we carefully flipped it back over and started tacking the fabric in place.
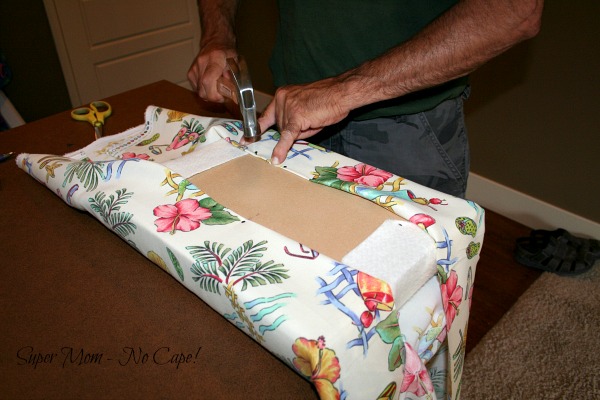
Dave began in the center of one long side, then the center of the other long side and alternated back and forth, tacking each side evenly.
Once both long sides were tacked in place, I trimmed off the excess fabric on the short ends.
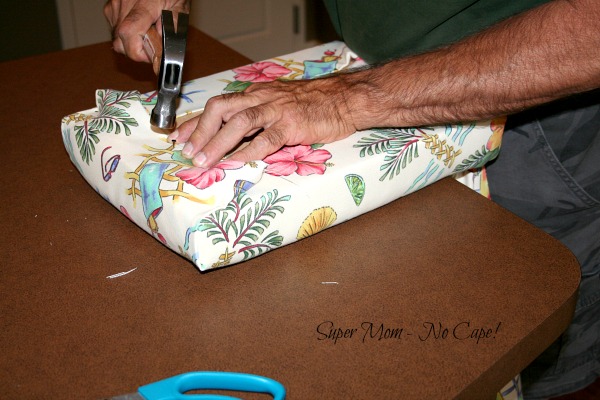
I folded the corners neatly and held them in place while Dave hammered in a tack to secure it. No photo of that step as there was no one to hold the camera.
Once the corners were secured in place, Dave continued as for the two long sides.
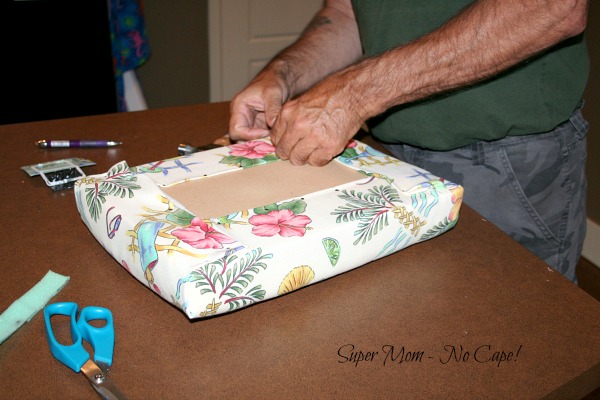
The final step was to reattach the hinges.
This proved more challenging than we had anticipated. We had marked an arrow on the wood base to indicate which side the hinges had been on but it took a bit to find the original screw holes that were now covered by a layer of batting and a layer of fabric.
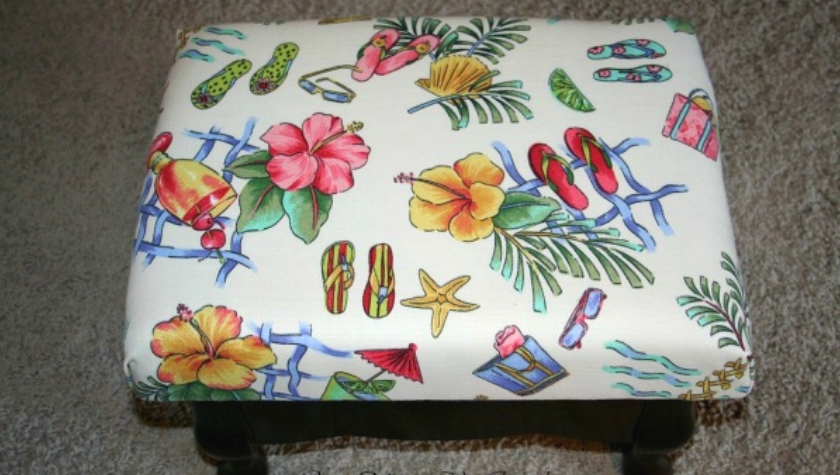
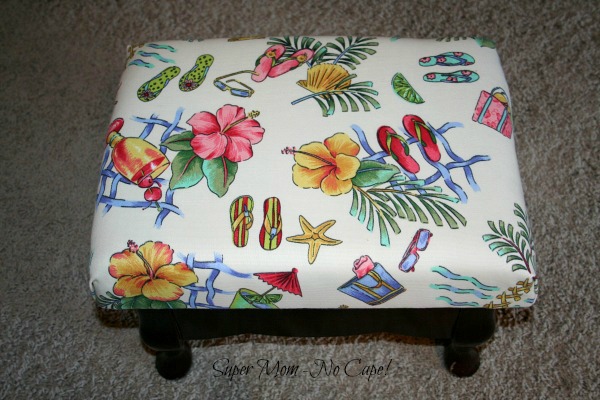
I am so pleased with the way this turned out!!
I love that fabric. The slippahs, hibiscus flowers and palm leaves remind me so much of Hawaii.
A little story about slippahs…
When we moved to Maui in September of 2000, on our son’s first day of classes at his new school, his teacher told me that is was school policy that the children were not allowed to come to school barefoot and must at the very least have a pair of slippers to wear. Showing my lack of local knowledge I asked, “Slippers? Really? He just got new running shoes.” At that she laughed and said, “Oh right, you’re from the mainland. Here we call flip flops, slippahs.”
It wasn’t long before our kids gave up their running shoes for slippahs. Me too for that matter. We’ve been back on the mainland for several years now, but we still call them slippahs rather than flip flops.
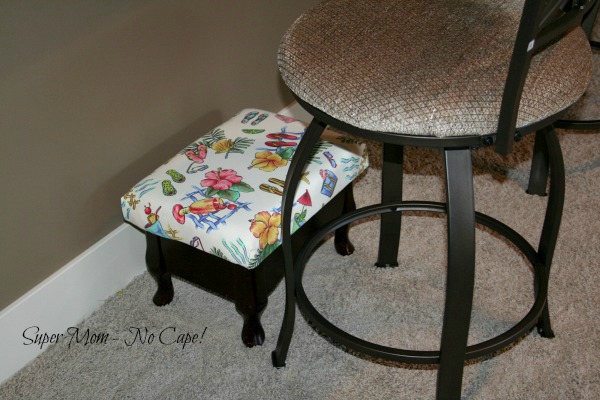
One final picture of my slippah stool ready to rest my feet on.
If you’d like to be able to refer back to this How to Recover a Small Footstool post, please be sure to save it by clicking on the Pinterest button underneath this post.
And of course, I’d love it if you shared it on Facebook and Twitter as well. 🙂





4 Comments
Yvonne @ Quilting Jetgirl
July 19, 2014 11:12 amThe stool turned out so well! I made a covered headboard using this exact method (and a staple gun, as you mention) a few years ago. I like how the fabric has so many wonderful memories for you, too!
Sue
July 18, 2014 9:08 amYes, I agree with Wendy, that was a great post and a project I’d feel less shy of tackling. Glad to see you are settling in 🙂
wendy
July 18, 2014 6:54 amgreat post Susan, I never would have thought it was so easy to reupholster a foot stool – or did you just make it look easy?!?
Super Mom No Cape
July 18, 2014 2:30 pmIt’s just as easy as it looks, Wendy. It probably took me longer to pick out the fabric at the store than it did to actually recover the stool. The only trick, if you could call it that is to alternate from side to side as you put the tacks/staples in so that whatever design you’re wanting centered on the top stays centered.
Now I can’t tell you if this is how a professional would have done it, but I figure as long as it looks good when you’re finished what difference does it make if someone else would have done it differently.
Comments are closed.