Have you seen the gnomes of all sorts cropping up everywhere? They’re all the rage in Christmas decor, inside and out.
And is it any wonder… they’re just so much fun that you just can’t help but smile!
You can find stuffed gnomes, gnomes appliqued onto pillows, big gnomes, little gnomes and everything in between gnomes. There are even tomato cage gnomes where the cage is used for his hat with pine branches sticking out the bottom for the gnome’s beard.
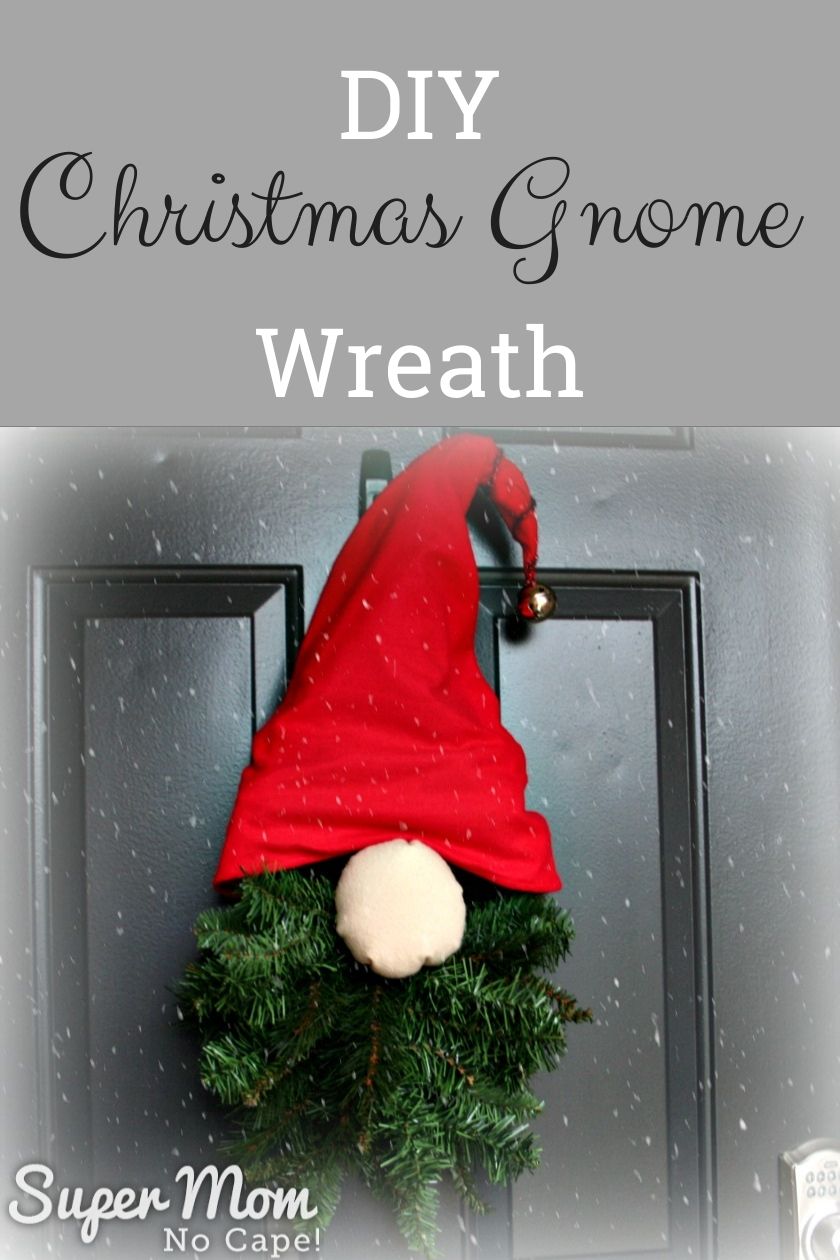
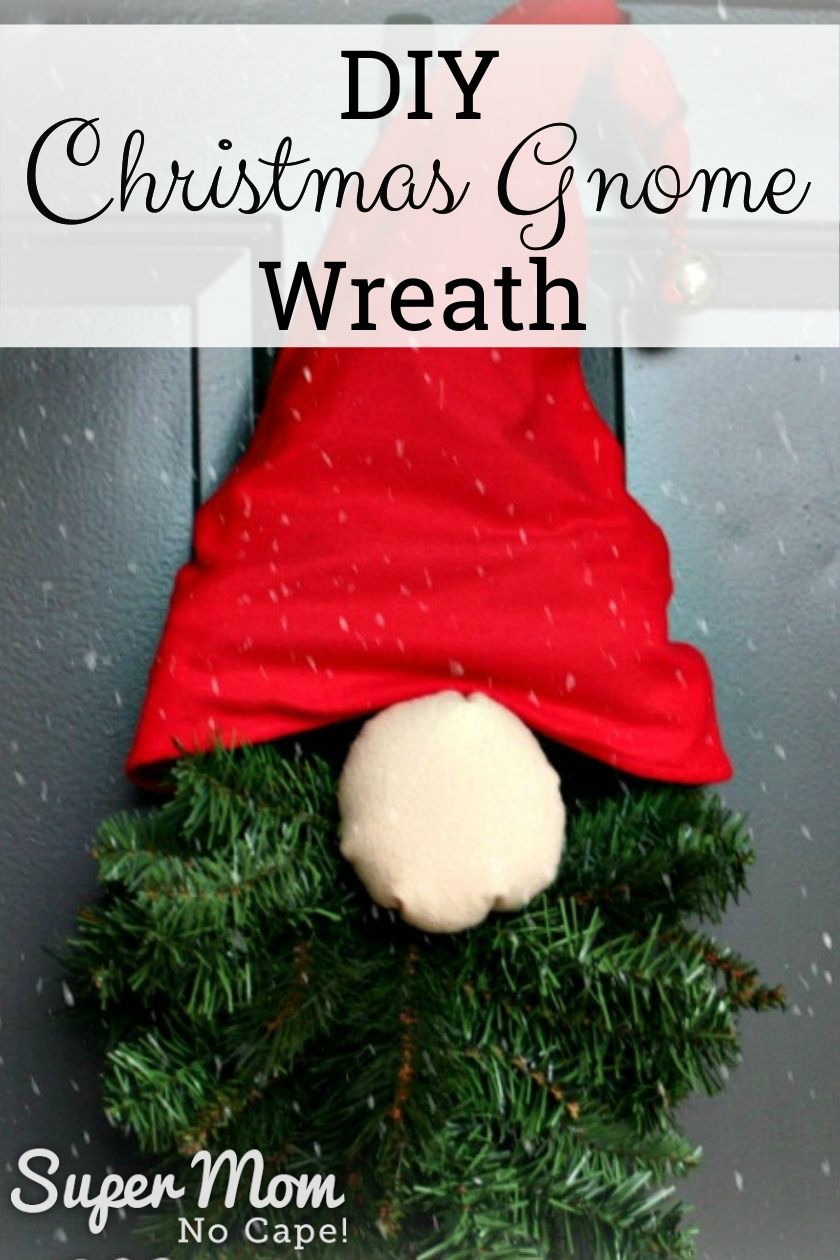
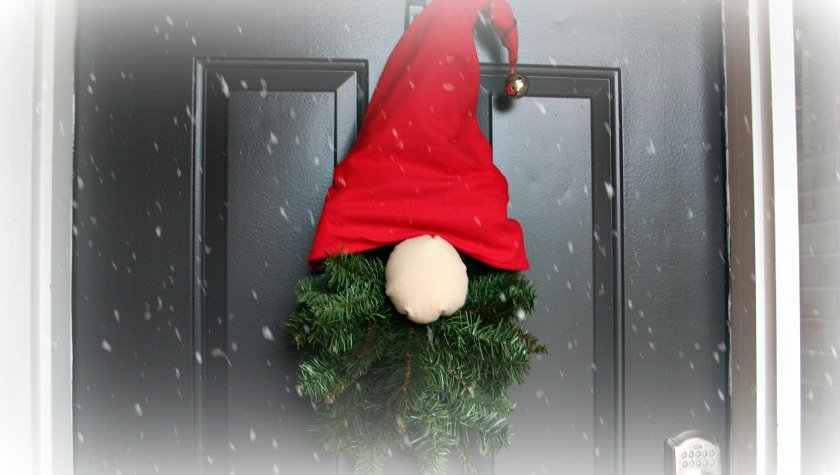
Those are what gave me the idea for this adorable Christmas Gnome Wreath. And I’m going to show you how to make one.
But first, I wanted to mention that if you love the idea of making things for Christmas but never seem to get around to all the projects that you’d like to make, I run a fun membership called Handmade Homemade Christmas: Your Guide to a Debt Free, Stress Free Christmas.
New members are provided with a starter Christmas Planner to help them set up a savings and spending plan. Additional planner worksheets are provided each month to help them to get everything organized for a stress free Christmas.
As well, each month, I provide members with handmade projects to work on throughout the year so that when Christmas comes around, they’re not left scrambling to get things done and can really enjoy the holiday season.
We’re closed for enrollment at the moment, but I’m thinking about having a 48 hour flash sale soon for those who are on the waitlist. So if you think this is something you might be interesting in doing, head on over to Handmade Homemade Holidays, scroll down and get your name on that waitlist.
Welcome to the 5th annual 12 Days of Holiday Ideas event, hosted by Shirley of Intelligent Domestications and Erlene of My Pinterventures. Between Nov. 11th and December 6th there will be hundreds of new ideas shared by over 55 Co-host bloggers!
If you want to find even more inspiration than what we’re all sharing today, be sure to check our kick-off collection of 50+ Holiday ideas featuring the most popular posts from all of this years talented participating DIY and Foodie Blogs.
DIY Christmas Wreath Gnome
Materials you’ll need:
1 teardrop door swag
1/3 yard of tan flannel or a scrap at least 12″ square
1 yard of red flannel
1 round 1.5″ jingle bell
1 tinsel pipe cleaner
You’ll also need a good pair of wire cutters like these 6″ diagonal cutting pliers.
I bought my pine teardrop swag at Michaels when they were 50% off. If they’re not on sale at your local Michael’s, you’ll be able to use a 40% off coupon.
Mine was about 35″ long. If the one you buy is longer, you will need to increase the height of the gnomes’s hat accordingly. If it’s shorter, his hat will just slouch a bit more.
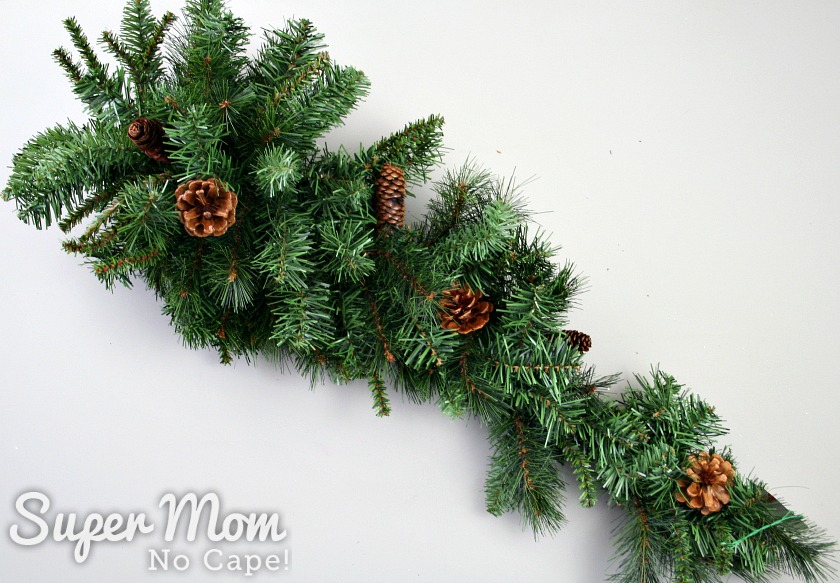
Normally, these teardrop swags are hung with the largest part at the top but to make the Christmas Gnome Wreath, that part will be at the bottom to form the gnome’s beard.
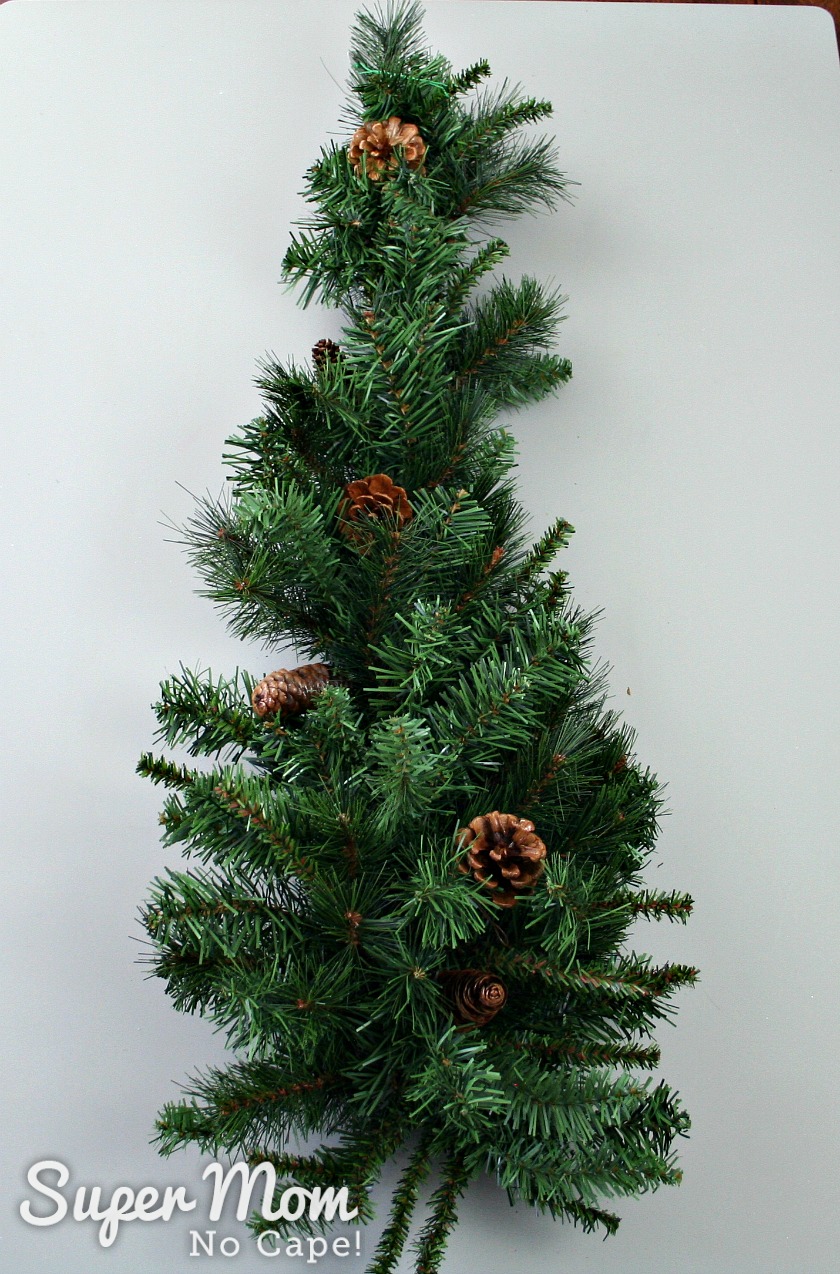
Begin by removing the pine cones from the swag.
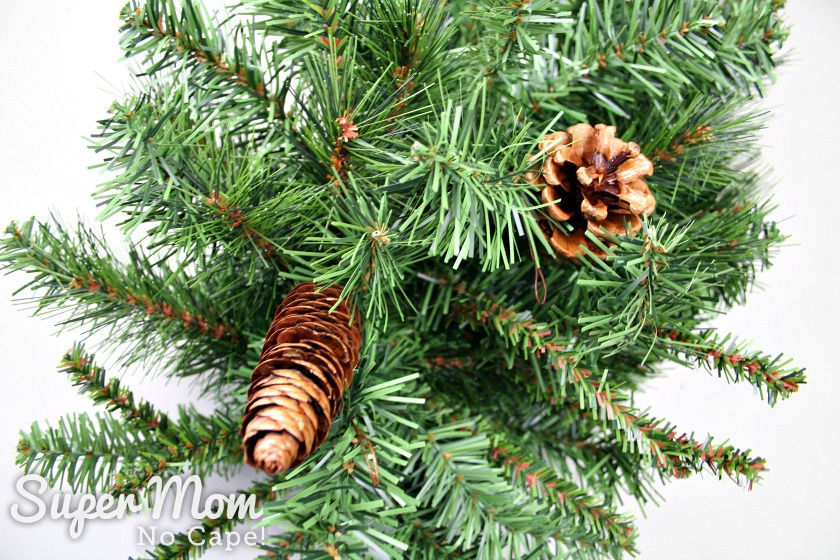
The ones on mine were wrapped around the branches and easy to remove. Don’t throw those pine cones away through. They can be used in other holiday decor projects.
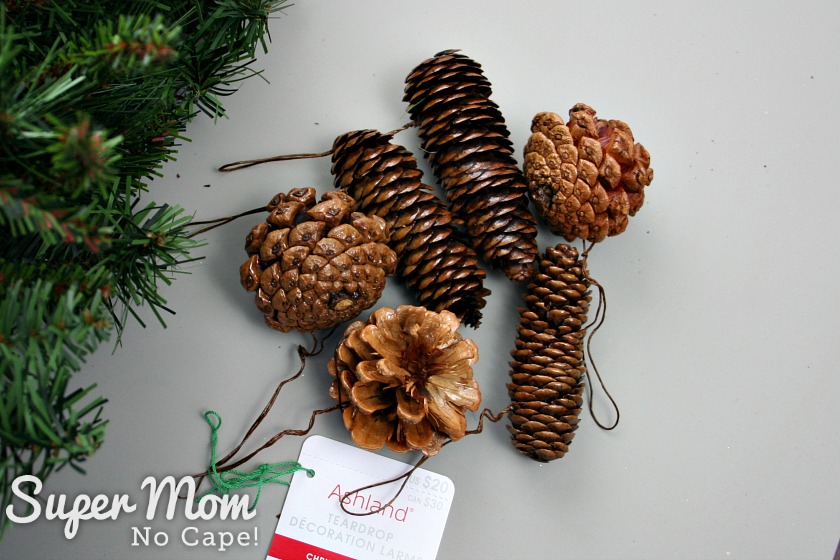
Gather the rest of your materials.

Press both pieces of flannel fabric to remove any wrinkles.
Then lay the tan flannel on a table, place an 11″ dinner plate upside down on the flannel. Draw around the plate with a pencil. Remove the plate.
Cut out the circle of fabric.
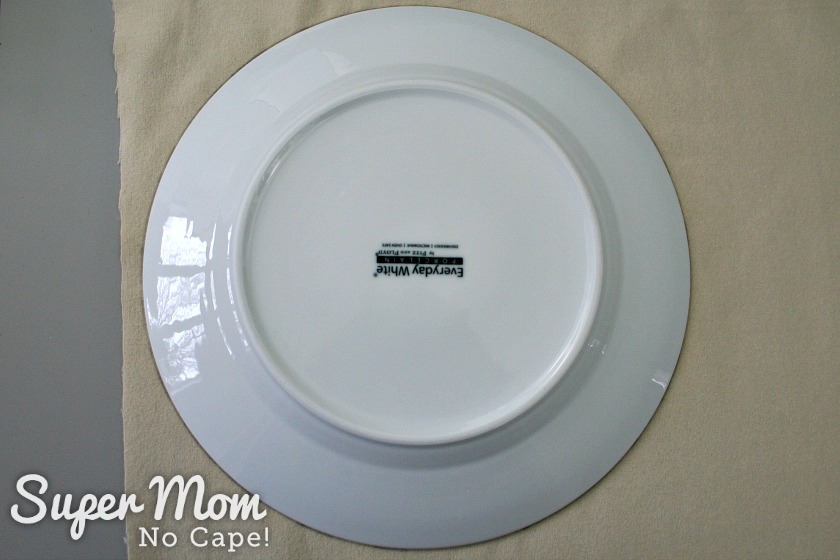
Mark a series of dashes ¾” from the edge of the circle for the gathering line.
Thread a needle with about 30″ of thread. Run a gathering stitch around way around the circle on the dashed line.
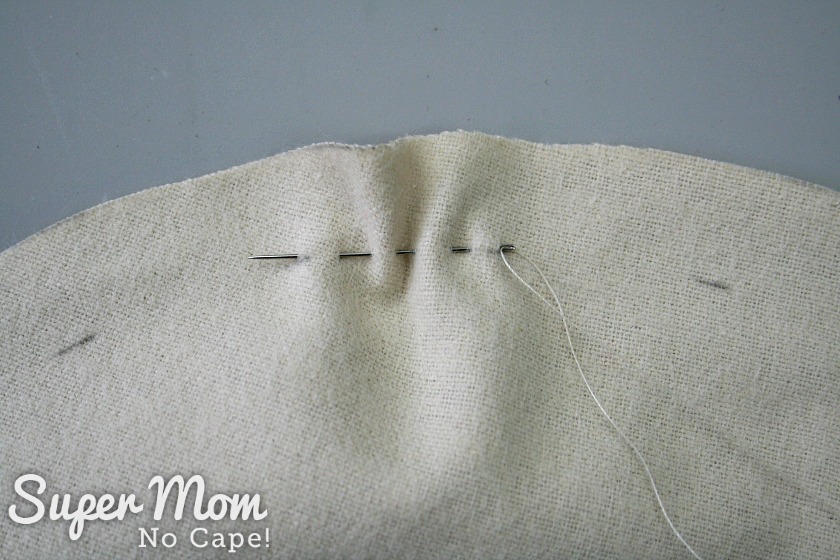
As you stitch, begin to gather the circle.
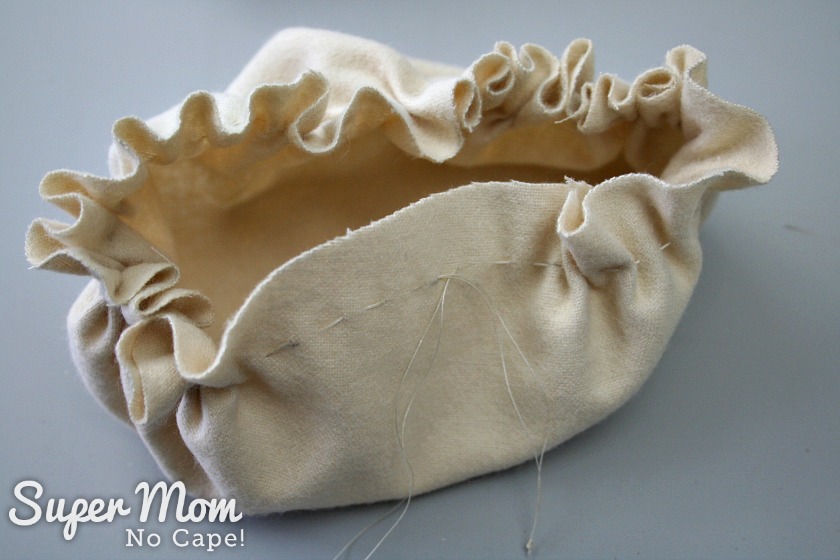
Stuff the gnome nose with the polyester filling. Pull the thread tight and knot the threads. Trim off the thread ends.
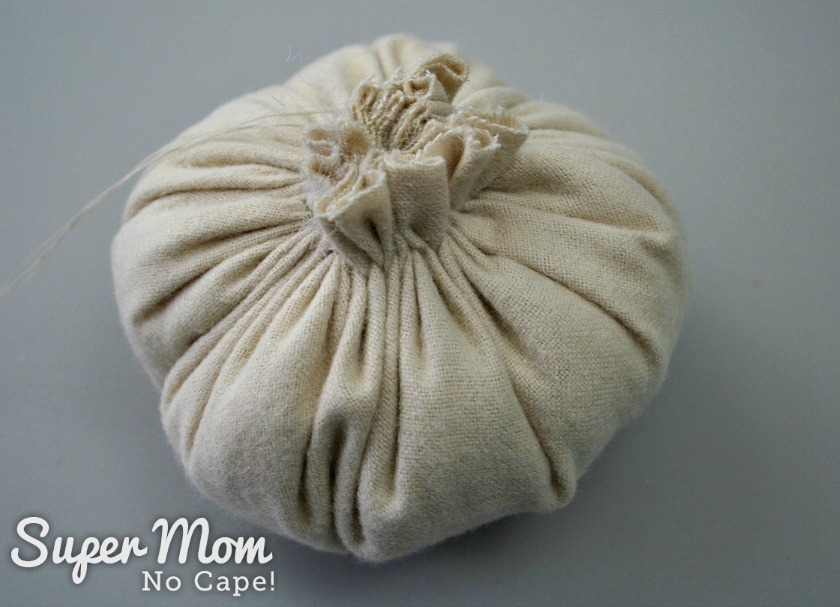
Cut a 15″ length of floral wire. Thread the ends of the wire through the back of the nose at the base of the gathered fabric as shown in the photo below.
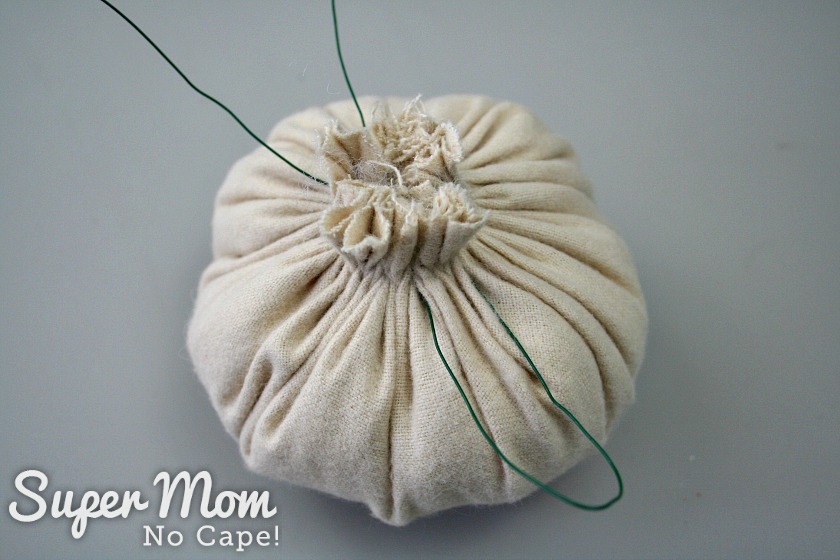
Insert the ends of the floral wire into the loop on the other side and pull through.
Wrap the wire around the gathers a couple of times.

Choose a spot on the teardrop door swag between 1/4 and 1/3 of the way from the bottom of what will be the gnome’s beard and wire the nose to the swag..
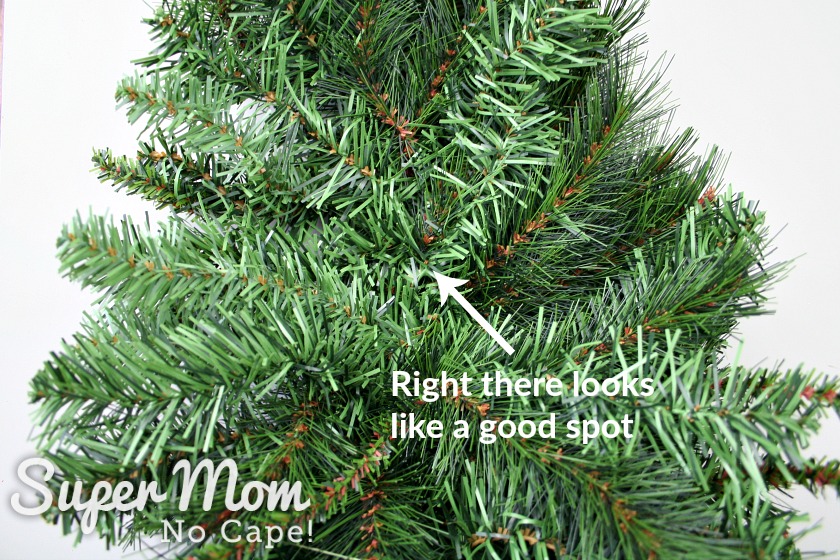
Once the gnome’s nose is wired in place, measure from the top of the nose to the tip of the swag. On this one, it measures a little over 20″.
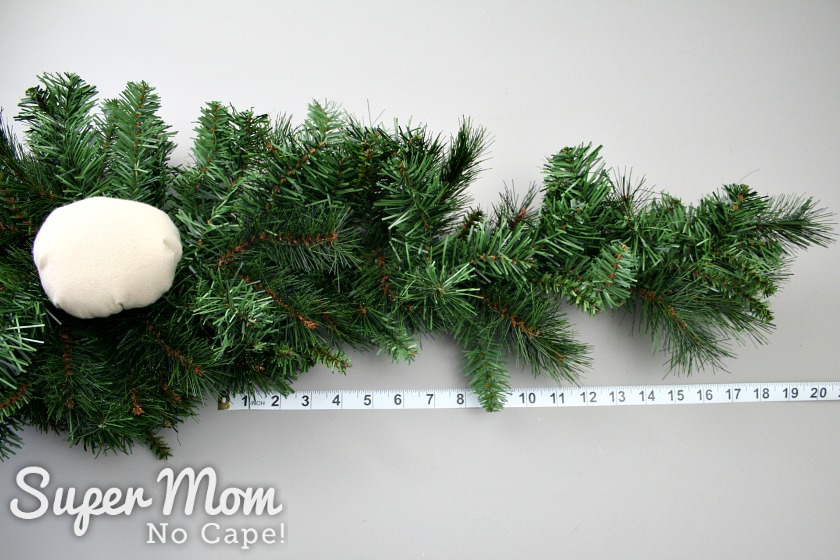
Next, measure around the teardrop swag just above the gnome’s nose.

Those measurements will be used to determine how big to make the gnome’s hat.
To allow for seam allowances and hemming, I decided to cut the fabric for the hat 24″ for height and 30″ for width.
Square up one edge of the red fabric. Cut it to 24″ by the width of the fabric.
Fold over 15 inch of the fabric so that you have 2 layers of fabric.
Draw a diagonal line from the edge of the fold on one side to the corner on the opposite side as indicated below.
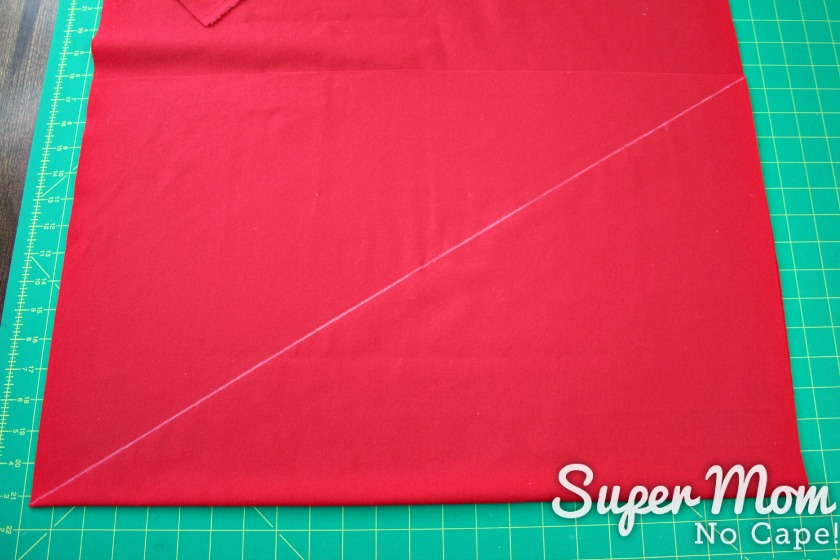
Cut along that line. Pin along the side you just cut. Sew using a 1/4′ seam allowance starting from the bottom and sewing towards the point.
Press the seam allowance open. Turn the hat right side out.
Lay the hat on the cutting surface with the center front of the hat matched to the seam at the back.
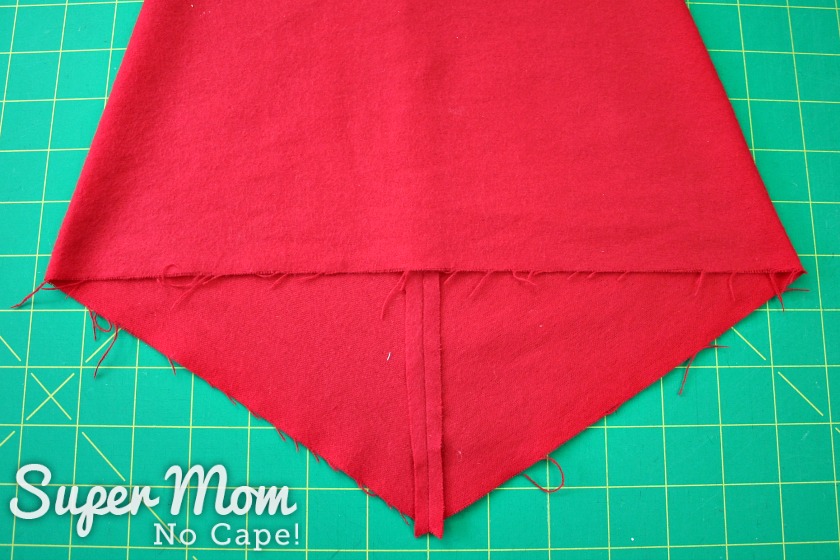
Starting at the center, 1 ½” from the bottom of the front, draw a line that curves gently until it meets the side of the hat. Do the same going in the opposite direction.
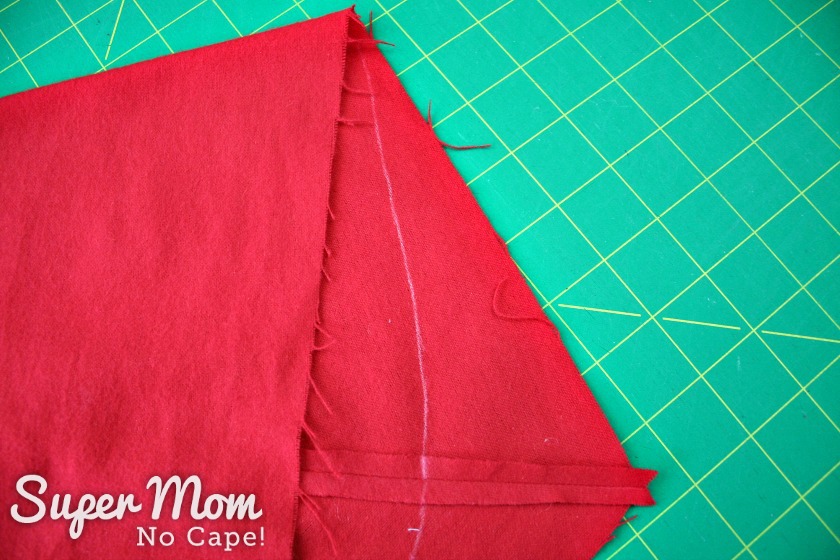
Trim along that line to create the curved back of the gnome hat.
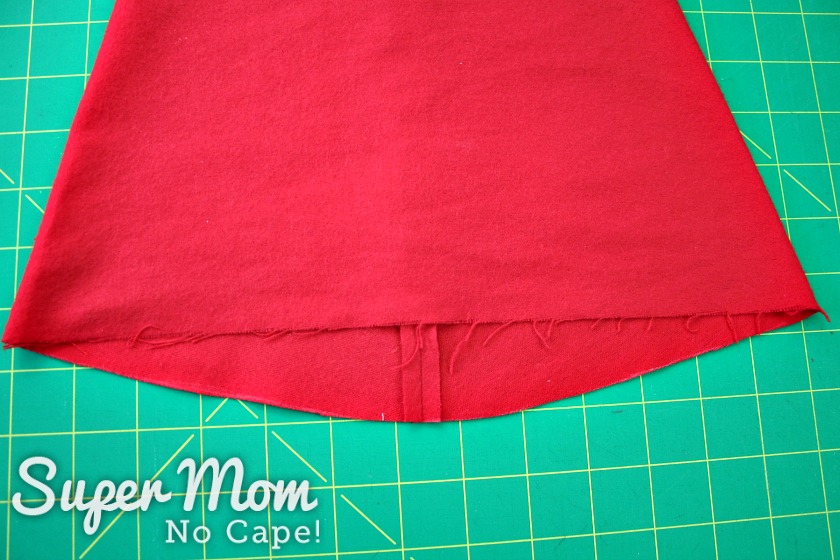
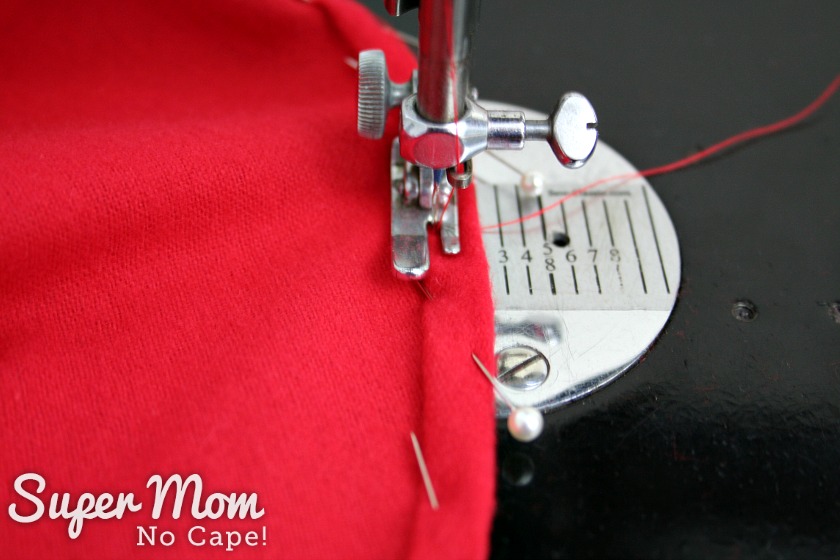
To hem the gnome hat, fold under ¼”, then fold under another ¼” all the way around the bottom of the hat, pinning as you go. Sew close to the folded edge.
Set the hat aside.
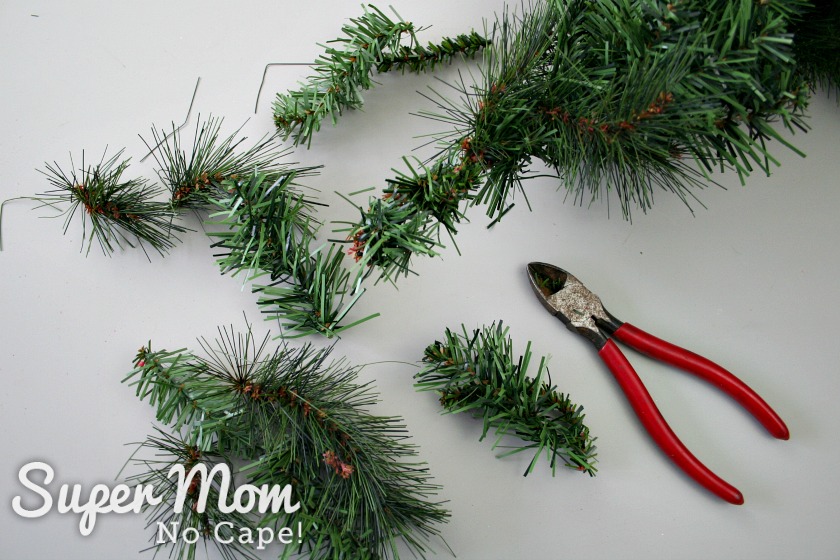
In order for the hat to fit properly, trim off several inches of branches at the pointed end of the teardrop door swag.
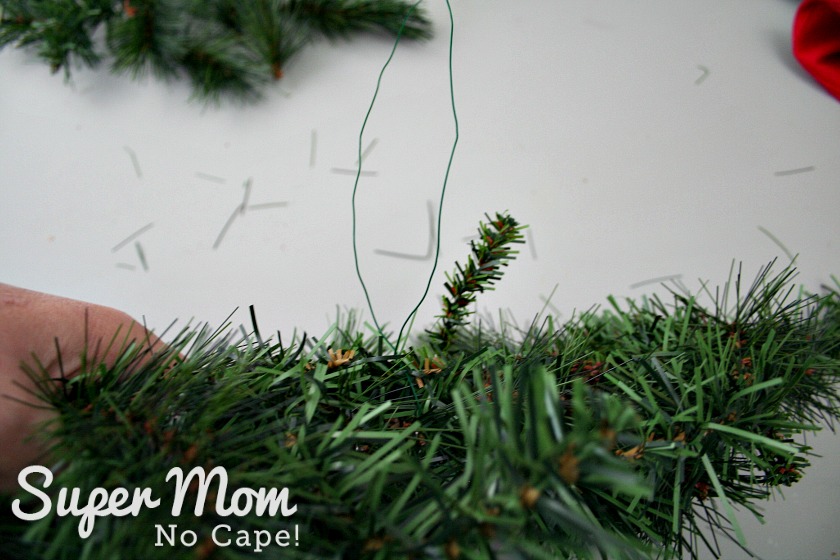
Cut a 30″ length of floral wire, wrap it around the swag about 2/3 of the way up from the bottom. Twist the wires a few times to secure it to the swag. These will be used to make the hanging loop.
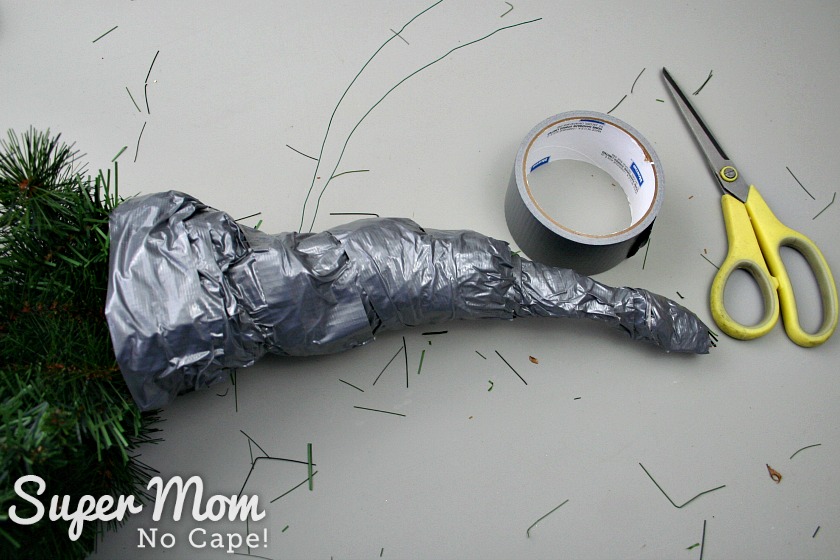
Next, tape the top half of the swag with duct tape. This will help the gnome hat slide on more easily and also keep the pine needles from poking through the fabric of the hat.
Put the hat on the gnome, adjust it so that the center front of the hat is on the center front of the gnome and the seam of the hat runs down the center back.
At the point where the back of the hat, meets the hanging wires, thread each wire through the hat.
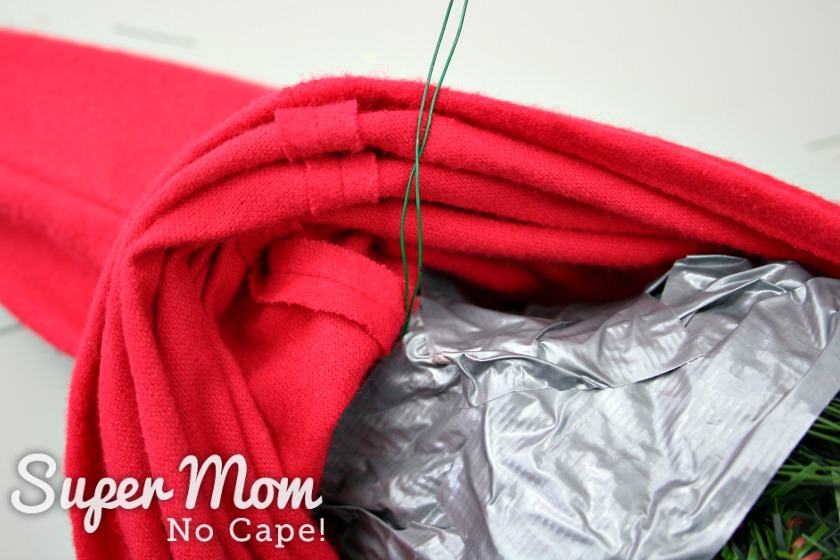
Twist the two wires around each other, form a loop and then wrap the wires close to the hat. Trim off any excess wire close to the loop.
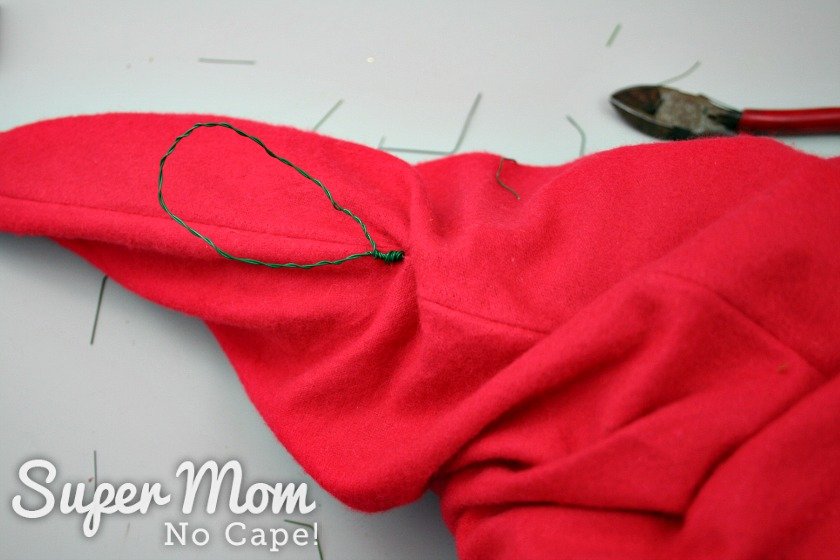
Flip the gnome over.
Sew the round jingle bell to the point of the hat. (Red embroidery floss works well for this.)

For a bit of added sparkle, wrap the red tinsel pipe cleaner around the tip of the hat starting at the bell. Tuck the ends of the pipe cleaners to the back of the hat.
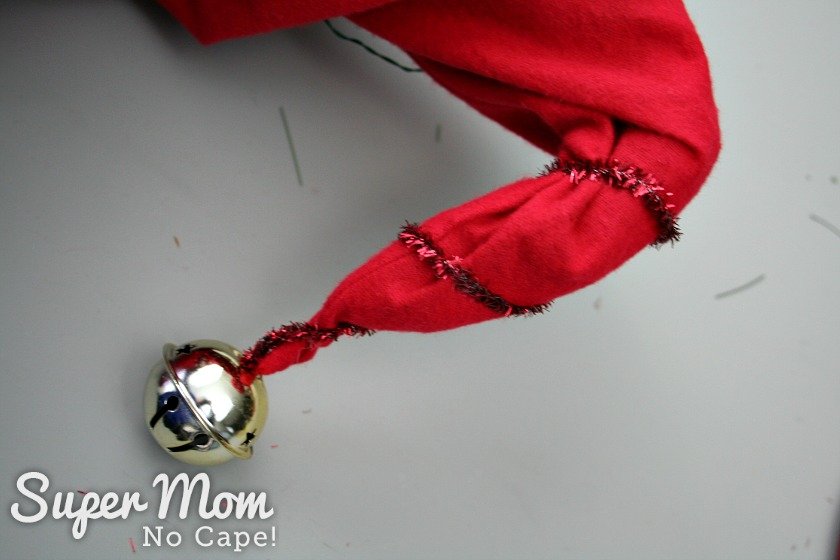
Adjust the hat so that the bottom rests over the top of the gnome’s nose and your Christmas Gnome Wreath is ready to hang.
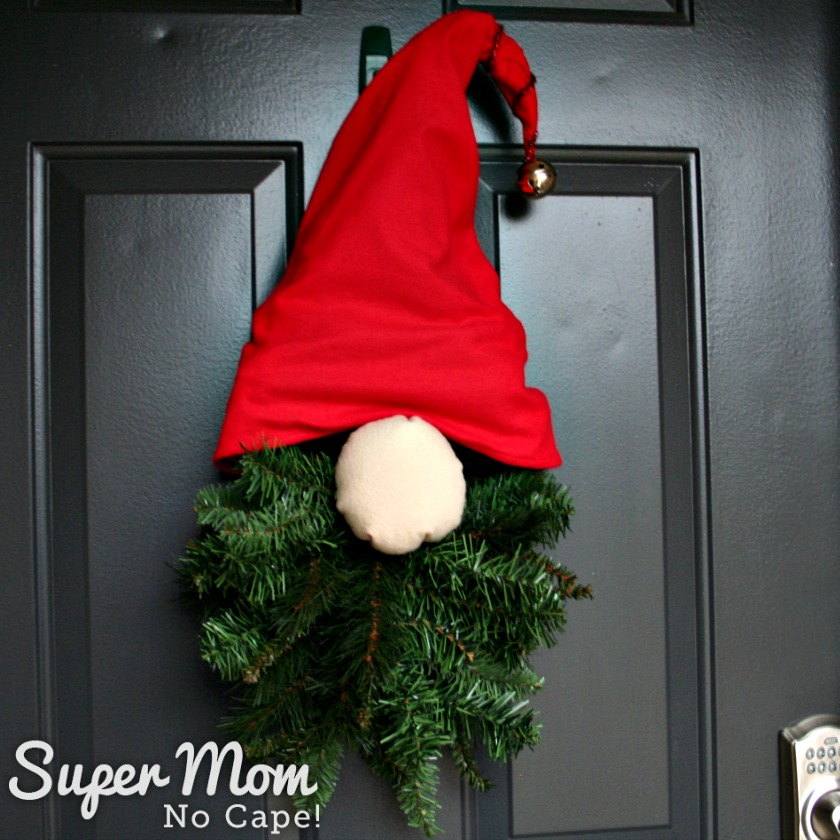
Isn’t he just the cutest!!
I hope you’ll make a Christmas Gnome Wreath for yourself and if you do, please post a photo somewhere on social media and tag me so I can come see. I’m @supermomnocape on Instragram, @1SuperMomNoCape on Twitter and @1SuperMomNoCape on Facebook.
You might also like to check out last year’s DIY wreath, where I showed you how to make a Christmas wreath kit to give as a gift and then I included instructions for how to make put the wreath together. I ended up with the sweetest Hedgehog Wreath ever and I can’t wait to hang it up this year.
MEET OUR SPONSORS!
DecoArt winner will receive a prize package valued at $100!
Dixie Crystals/Imperial Sugar winner will receive a Keurig Coffee Maker valued at $100!
Oriental Trading winner will receive an OrientalTrading.com gift card valued at $200!
Cabot Cheese winner will receive a gift basket of Cabot products valued at $75!
Burlap Fabric winner will receive a prize pack of products valued at $50!
Zulay Kitchens winner will receive one Milk Frother and a Lemon Squeezer valued at $21
It’s Home To You winner will receive one wooden Santa sign valued at $65

Be sure to save this Christmas Gnome tutorial so you can find it again when you go to make it by clicking on the Pinterest button underneath this post.
And of course, I’d love it if you shared it on Facebook and Twitter as well. 🙂




25 Comments
Wanda Simone
November 28, 2019 11:20 pmI love your gnome wreath! So cute!!
Super Mom No Cape
December 1, 2019 11:56 amThank you Wanda. I’m glad you like him.
Erlene
November 26, 2019 6:28 amThis is so fun and creative. I want to make one and I think I have the supplies too. Pinned.
Super Mom No Cape
December 1, 2019 12:06 pmThank you Erlene. If you do make one, be sure to tag me so I can come see. 🙂
Maria
November 24, 2019 7:58 amWhat a sweet gnome!
Maria
November 24, 2019 7:56 amThis is adorable I love gnomes for the holidays
Cherryl Ehlenburg
November 23, 2019 6:49 pmThat is so cute! I was never much of a gnome person until I started seeing all of the sock gnomes this year. Now I am completely obsessed, and I will probably have to make this!
Kristie
November 23, 2019 2:53 pmYour wreath is too cute! You are a Super Hero.
Jessa
November 23, 2019 9:39 amI am seeing gnomes everywhere this season and I love it! He’s adorable and a Christmasy wreath to greet your holiday guests!
Jenny
November 23, 2019 7:09 amGnomes are everywhere lately and yours is the cutest. I love this tutorial because it will be so easy to make one of my own.
Super Mom No Cape
November 23, 2019 9:25 amThank you Jenny! It is a really easy project to make.
Marie
November 23, 2019 12:15 amYour gnome wreath is ADORABLE! I’m showing this to a friend who made a bunch of Christmas gnomes for gifts. I know she’d love this hanging on her door. Pinned 🙂
Super Mom No Cape
November 23, 2019 9:25 amThank you Marie! And how fun that your friend is made Christmas gnomes for gifts. I’ll bet those will be well received. Thanks for pinning!
Susan
November 22, 2019 11:26 pmYep, that is one cute gnome! Thanks for the directions. There’s no Michael’s around here, so I’ll have to check JoAnn’s and Hobby Lobby to see if they have that kind of swag. It’s cute and inexpensive, and pretty quick, I think. Besides, it uses duct tape! LOL
Susan
November 22, 2019 11:34 pmHow long was your swag? I’m seeing from 30″ to 42″ in bigger ones.
Super Mom No Cape
November 23, 2019 9:12 amI just went and measured mine, Susan. It would have been about 35″ long before I cut off those branches at the pointed tip. I’ll go add that info to the post. Thanks for asking!
Super Mom No Cape
November 23, 2019 9:29 amThanks so much Susan. Hopefully one of those two craft stores will have one. And yes, duct taping the top part was fun!
Roseann Hampton
November 22, 2019 10:08 pmSuch a clever idea – so cute!
Super Mom No Cape
November 23, 2019 9:23 amThank you Roseann!
Mary Anne
November 22, 2019 5:31 pmSo cute! Gnomes seem to be all the rage at the moment so I’m sure lots of people will want to make one of these.
Super Mom No Cape
November 23, 2019 9:21 amThanks so much, Mary Anne. I hope lots of people make one. The world needs more smiles. 🙂
Alli Smith
November 22, 2019 8:35 amYour gnome wreath is adorable! My grandkids would go crazy over this. I love it!
Super Mom No Cape
November 23, 2019 9:20 amThank you Alli! I think your grandkids would love him. And depending how old they are, they could even help to make him. 🙂
Lynn Spencer
November 22, 2019 8:21 amIf this isn’t the cutest thing I’ve seen today, I don’t know what is! Put a smile on my face. Thanks for the smile and the tutorial
Hugs,
Lynn
Super Mom No Cape
November 23, 2019 9:19 amThanks so much Lynn, I’m glad you like him!
Comments are closed.