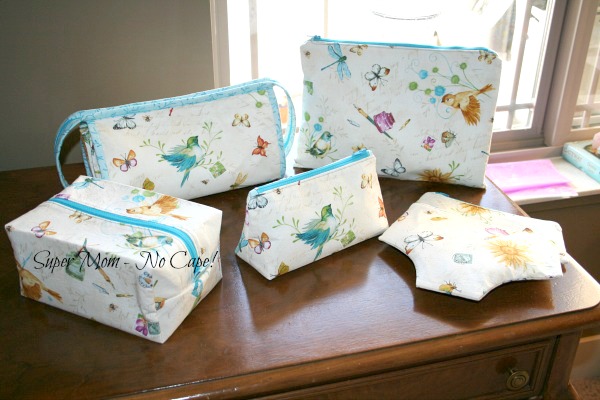
I finished my new matching set of travel bags just in time for us to set off on a new adventure. (More on that in another post.)
I absolutely love that fabric. When I was packing them for our trip, I couldn’t help but smile at how pretty they were.
For the triangular/prism shaped bag I used this fantastic tutorial that I found on Craftster.
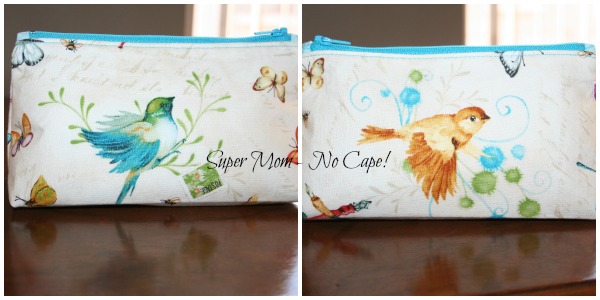
What I love about that tutorial is that she gives simple, clear instructions for how to draw up your own pattern for the bag.
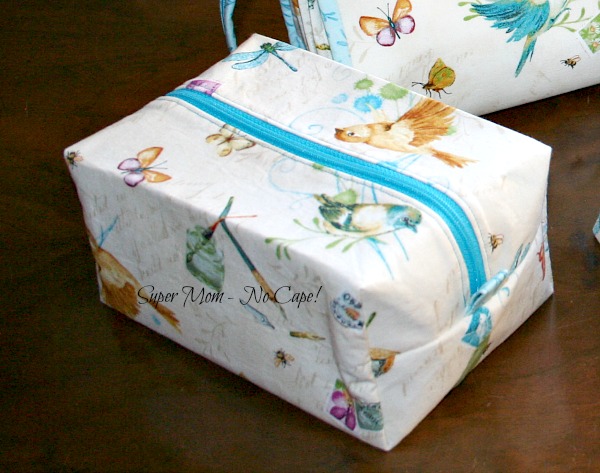
This boxy bag was made using a combination of several different tutorials that I found on-line.
It is fully lined with no exposed seams inside. When cutting the fabric I sized it so that a can of shaving cream fits perfectly inside along with a razor, plus more.
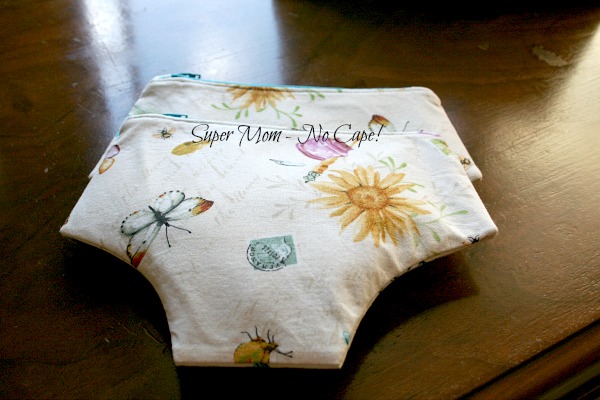
I’ve made several of these panty shaped bags in the past, so I just traced around one that I made years ago to get the pattern for these two.
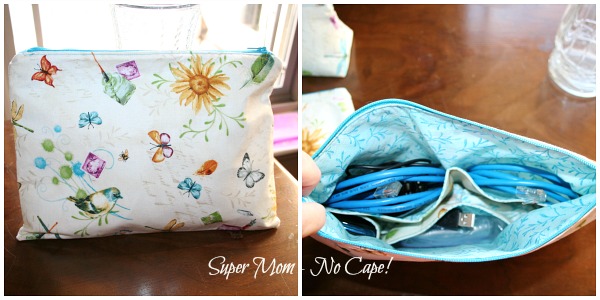
The rectangular bag, I made up as I went along. It’s just a simple zip bag with the front and back (plus lining) cut to the size I needed.
Then to the lining, I added some pockets to keep all the cables and cords separate.
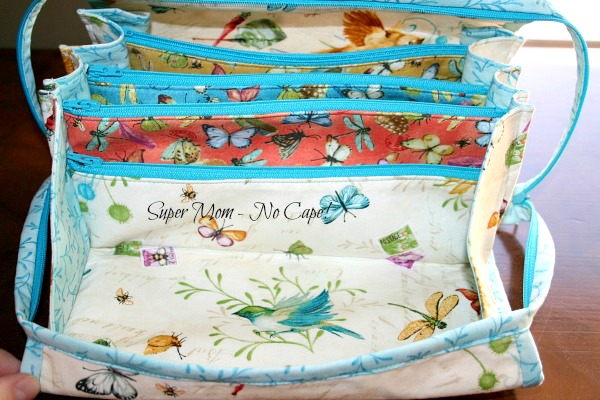
The pattern for this last bag is called the Bionic Gear Bag. Of all the bags for this travel set, this one took the longest to make.
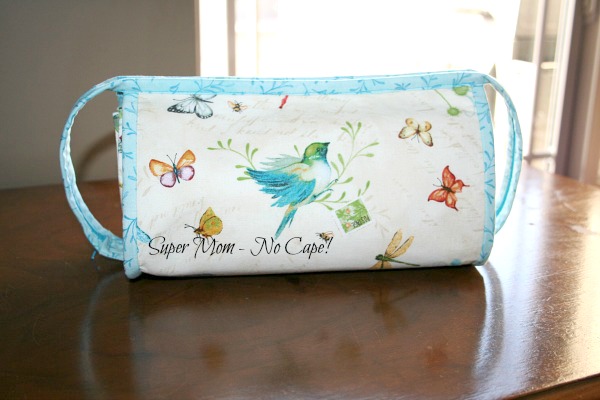
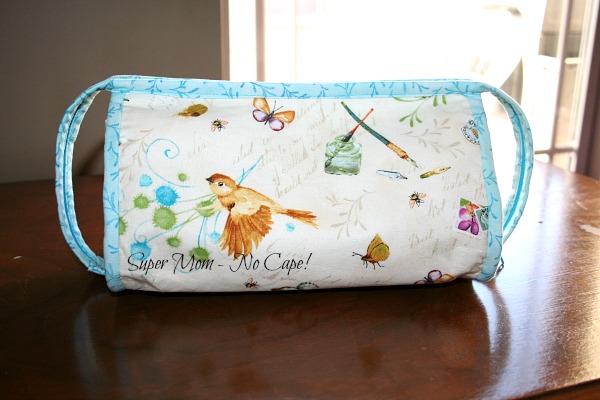
It took an evening just to cut out and fuse interfacing to all the pieces. Then another afternoon to sew the interior together plus another very long evening to sew the exterior to the interior, sew on the side binding, install the last very long zipper and add the binding to the zipper.
I consider myself a fairly accomplished seamstress but the final phase of the bag almost defeated me. The pattern is 36 pages long, has a rating of beginner and yet still I spent a considerable amount of time on-line searching to see if other people had made it and what tips and tricks they might have posted.
In the end though, I am pleased with how the bag turned out, despite the trouble I had finishing it.
This is what it looks like on the inside:
I made it to replace the make-up bag that I’ve had since before I married Dave.
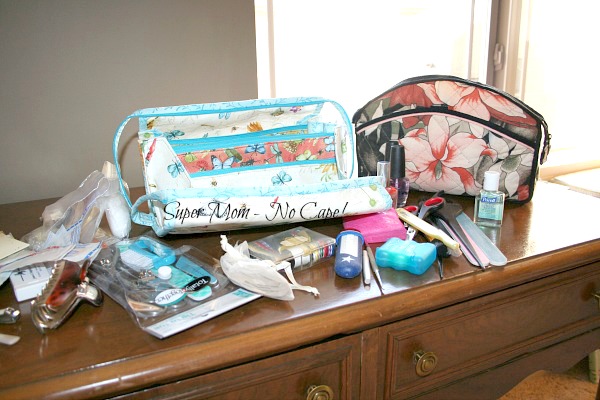
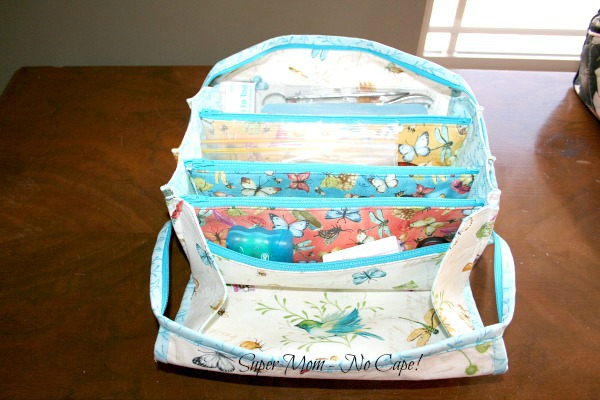
Everything pictured above plus more fit into the Bionic Gear Bag.
True to it’s name, it does hold a lot of “gear.”




10 Comments
jamie
June 3, 2016 2:33 pmI am in love with this fabric. Where did you get it or which line of fabric is it from?
Denise Russell
November 9, 2014 11:49 pmThey look awesome! The last one looks very complicated – you are courageous… I love your choice of fabric!
Vicki
November 8, 2014 2:39 amWow, these are ALL beautiful. I love this fabric. I think you have every need covered with these!!
Snowcatcher
November 7, 2014 4:54 pmWow, that last bag is really something! 36 pages?!? I don’t know that I would have been able to pay attention that long! 🙂 I love how you fussy cut so the birds are showcased. What a great travel set!
Felicia Few
November 7, 2014 1:14 pmIt looks like you are ready to hit the road with all your bags. The look great. Looking forward to hearing were you heading off to.
Kate
November 7, 2014 11:57 amAwesome bags, Sue, and I love the fabric! I hope you’re going away soon so you can use them. ^^
Wendy
November 7, 2014 12:12 pmwhat a great idea the bag for your cables is! As for the bionic bag, there’s been a lot of fuss about it as some people claim she copied the pattern for the Sew Together bag. I have no idea what the truth behind it is, but it is virtually the same, just a different size. it’s a bit late now, but if you’d googled Sew Together you would have find an enitre blog sew along which most people say is better than the pattern (and the pattern for the Sew Together bag is pretty bad!)
Mary
November 7, 2014 10:25 amThose are just wonderful! The bionic bag is amazing and I love the panty shaped bag! So cute.
Vickie Horsfall
November 7, 2014 9:13 amI can see why you love this fabric. It is beautiful and has wonderful colors. Thank you for sharing these useful and pretty travel bags. Have fun on your next adventure!
Stephanie
November 7, 2014 8:34 amWow Sue, those are awesome. As usual, the workmanship shines through.
“Pantie” bags, huh?
Comments are closed.