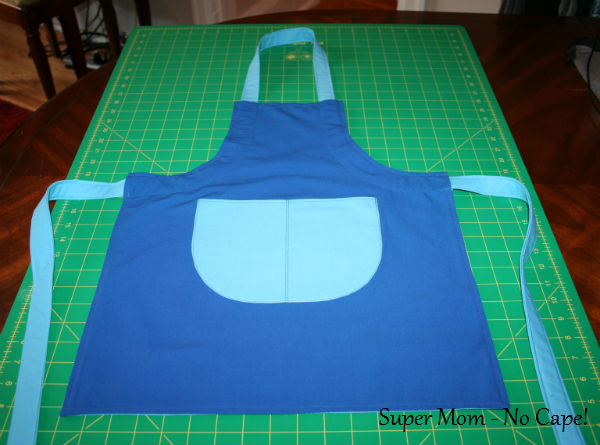
Last summer I made some reversible children’s aprons with adjustable ties for our oldest daughter’s classroom. I’ve redone the photos and accompanying instructions for this tutorial several times but was never completely satisfied with it. Hopefully this last time I’ve covered each and every step you’ll need to complete an apron for a little one in your life.
*Note: This post is photo intensive.
You’ll need:
3 fat quarters (2 for the apron body and 1 for the ties) or 3 pieces of fabric at least 18″X22″
Small scrap of light weight fabric
(*note that affiliate links are enclosed in materials needed)
Begin by printing and cutting out the armhole template.
For the body of the apron:
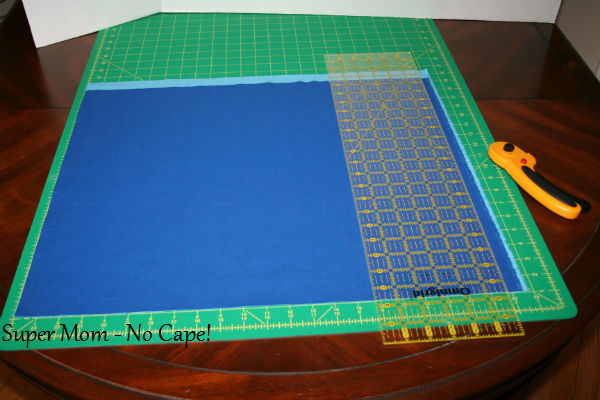
Place the two fat quarters that you want for the body of the apron, one on top of the other on your cutting board. Trim off the selvedges. Then square up the other three sides of the fat quarter.
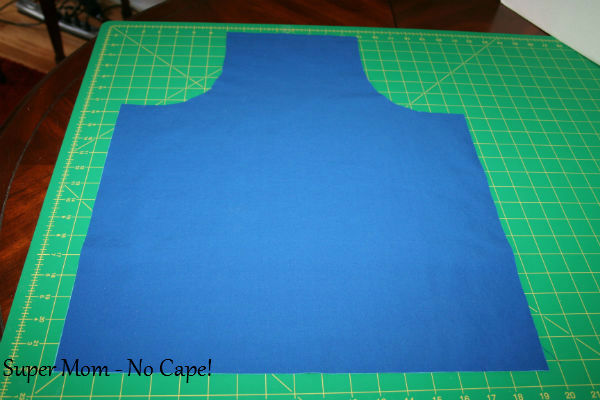
Pin the armhole template in place with the top of the template along the narrowest edge and on the corner of the fat quarters. Cut out.
Flip template over and repeat for the other armhole.
Don’t throw away the fabric you cut away. You’re going to use those cut outs to make the apron pockets.
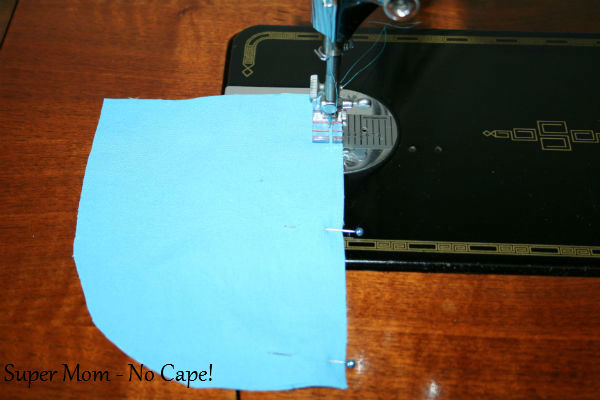
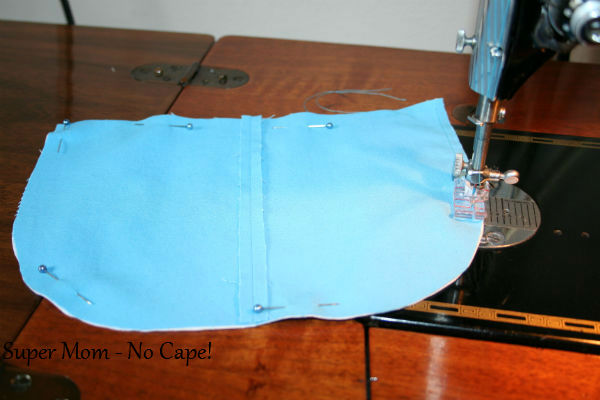
Pin the long straight edge of each pocket, right sides together. Sew using a ¼” seam allowance. Press seam open.
Repeat for second pocket.
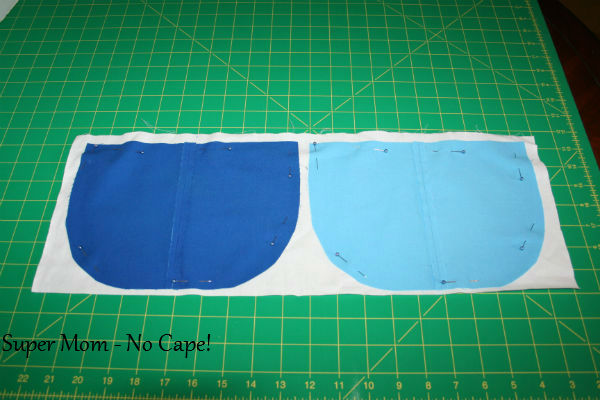
Place the pockets right side down on the scrap of light weight fabric. Pin and cut out.
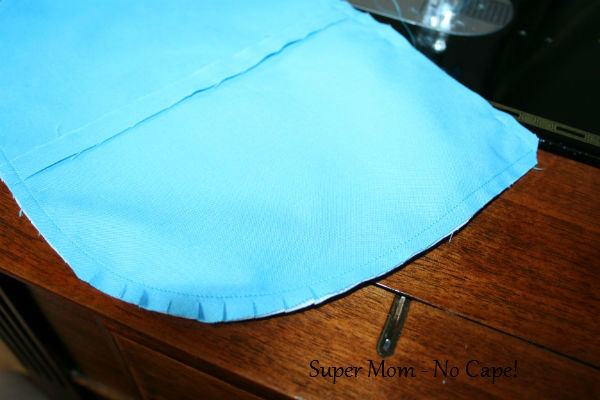
Sew all the way around using ¼” seam allowance leaving an opening for turning.
Trim corners and clip curves.
Turn right side out. Sew opening closed and press well. Repeat for second pocket.
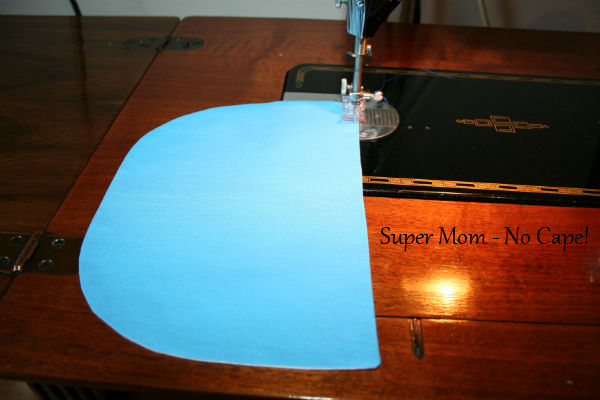
Topstitch ¼” from the top edge of the pocket.
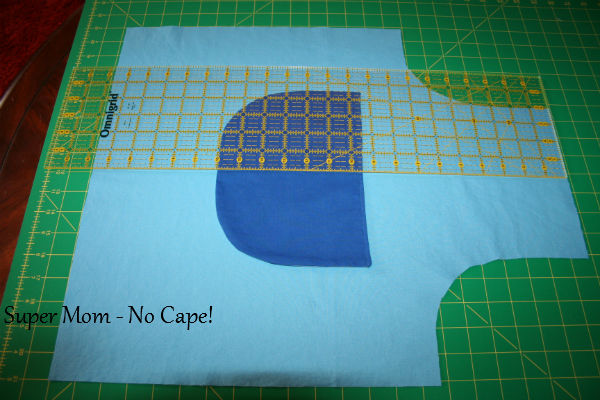
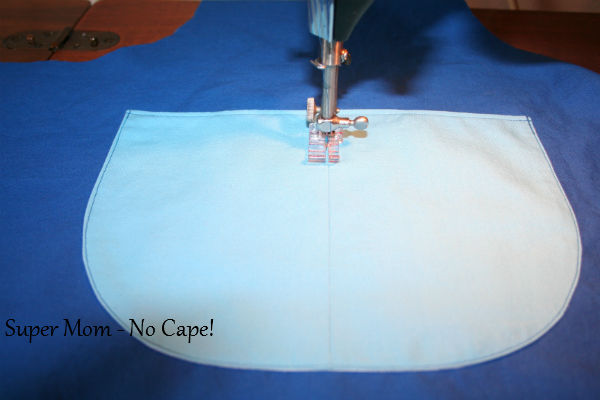
Center one contrasting pocket on right side of one apron body, 9 ½” from the top. Pin in place.
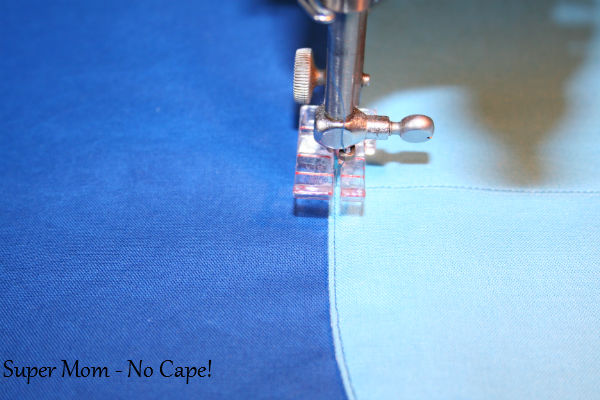
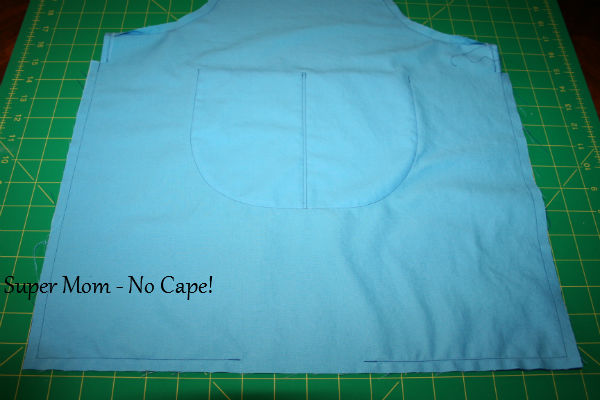
Sew close to the edge from the top of the pocket on one side around to the top of the pocket on the other side. Back tack at beginning and end of seam.
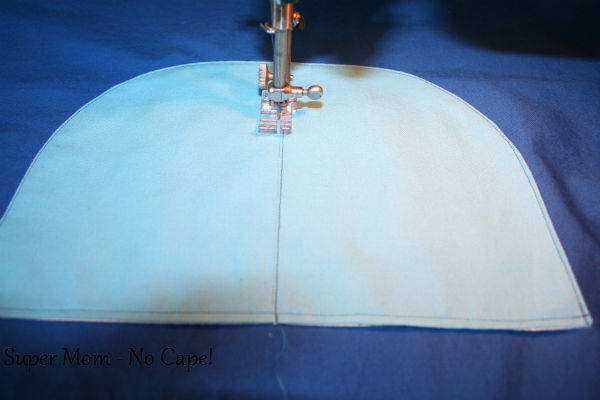
Next, sew down one side of the center seam, with the needle down, pivot, take a couple of stitches, needle down, pivot, sew back up to the top of the pocket. (Back tack at beginning and end of seam)
You have now created a divided pocket.
Repeat with second apron body and the other contrasting pocket.
Along top of each apron piece, make a mark 2” in from the armhole edge.
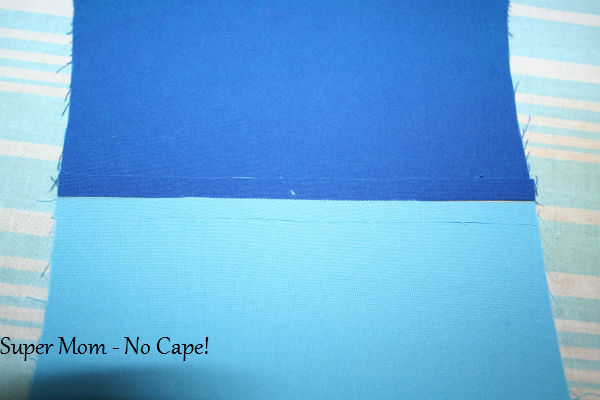
Place apron pieces right sides together and sew between marks using 3/8” seam allowance. Back tack at beginning and end of seam.
Press seam open as indicated in photo below:
Stitch ¼” on each side of seam.
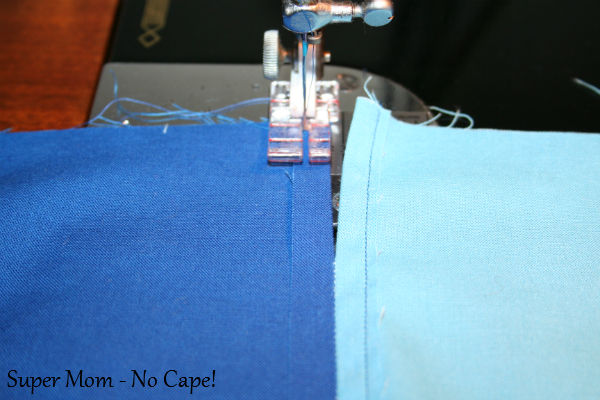
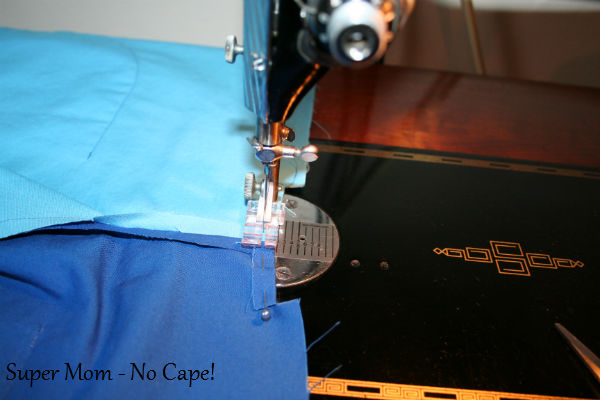
Again with right sides together, sew armhole seams using 3/8” seam allowance. Back tack at beginning and end of seam.
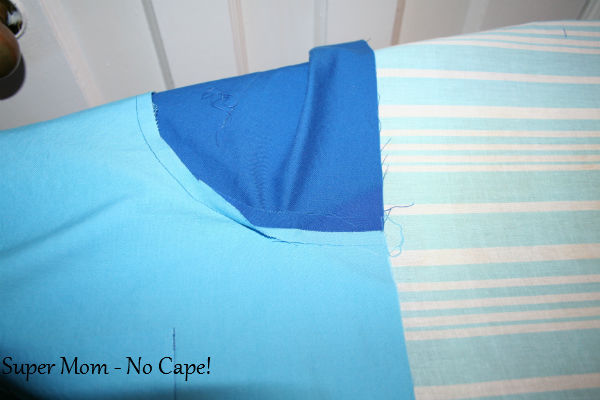
Partially press seam open at bottom of armhole as indicated below:
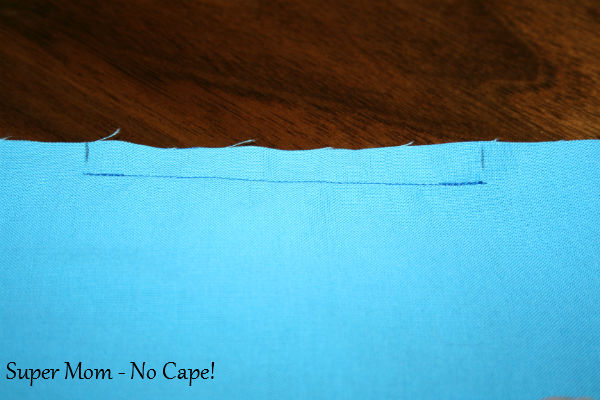
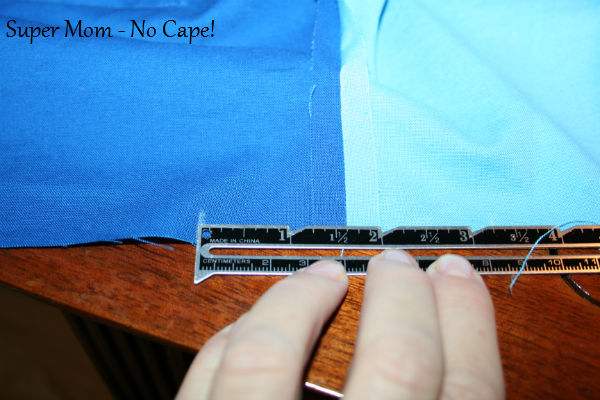
On wrong side of fabric, make a mark 1 ¾” from either side of armhole seam.
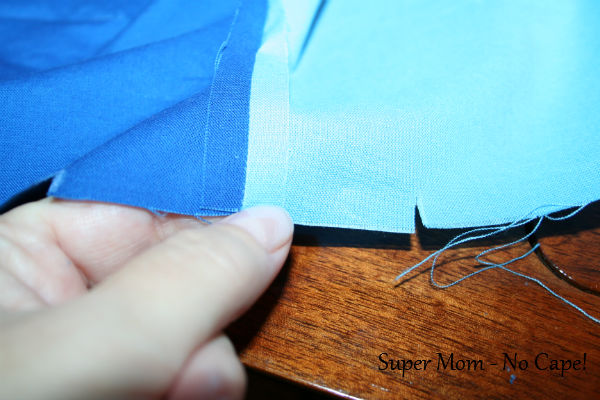
Clip at mark to a depth of 3/8”.
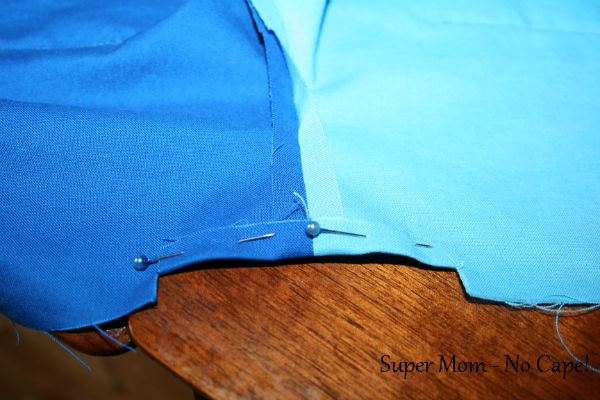
Fold under 3/8” and pin.
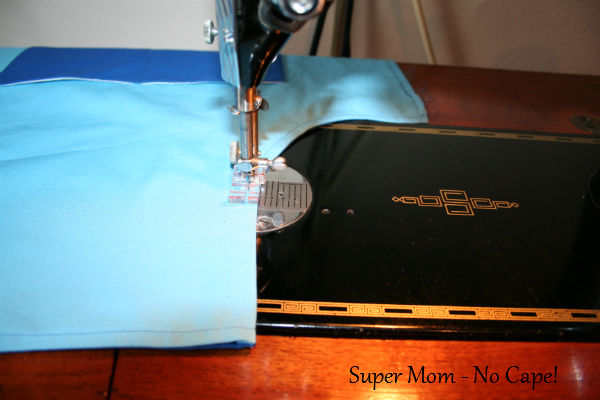
Stitch in place. (This is creating the casing for the adjustable ties)
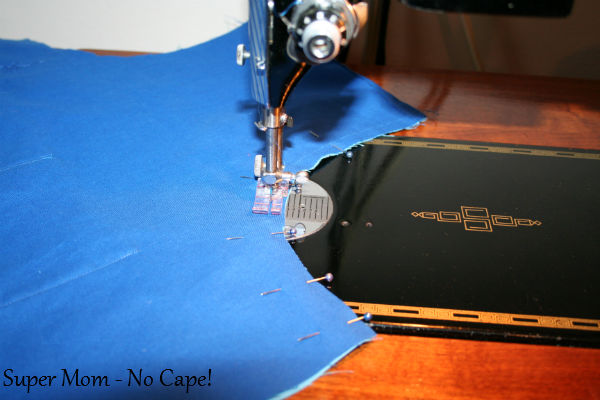
With right sides together, sew from the bottom of the casing on one side to the bottom of the casing on the other side, leaving an opening in the bottom of the apron for turning as indicated in photo.
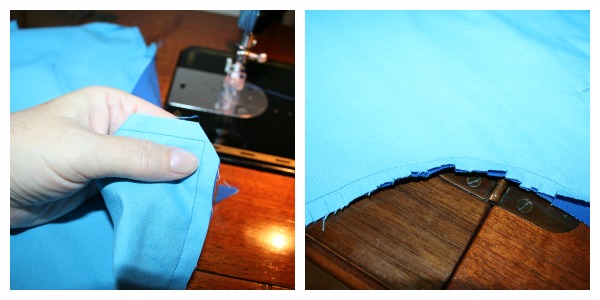
Trim the corners on the diagonal to reduce bulk after turning. Clip along curves of armholes making sure not to clip into the seam.
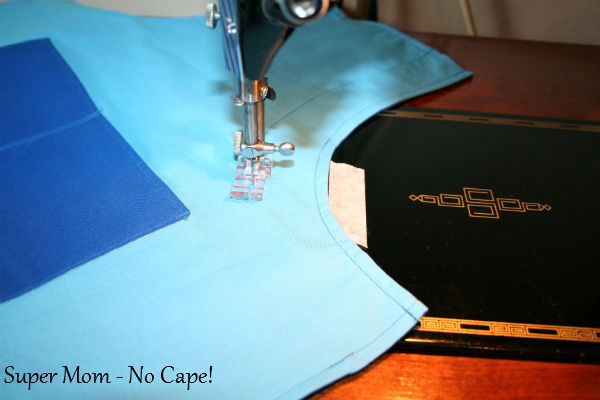
Turn the apron right side out and top stitch ¼” from edge all the way around, leaving the casings open.
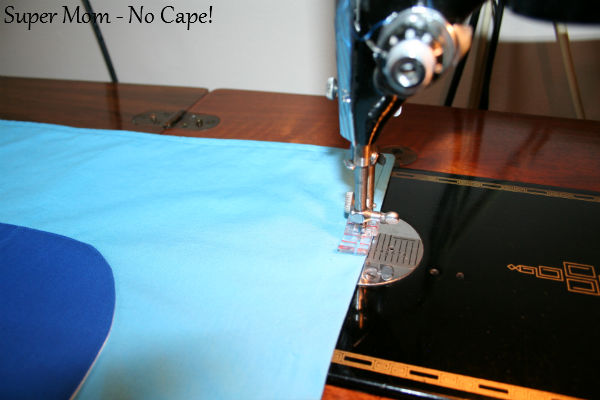
Sew a second seam 1 5/8” from armhole edge to form the casing for the tie.
To Make the Tie:
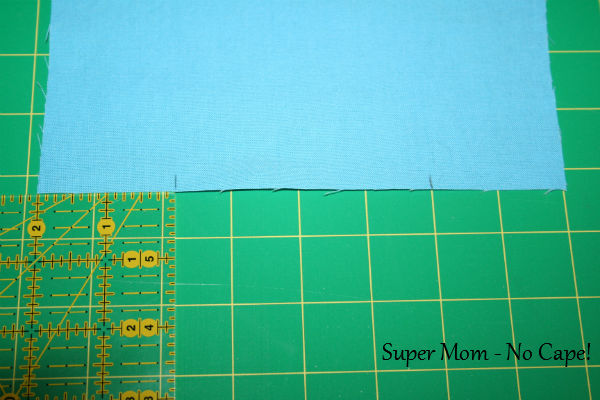
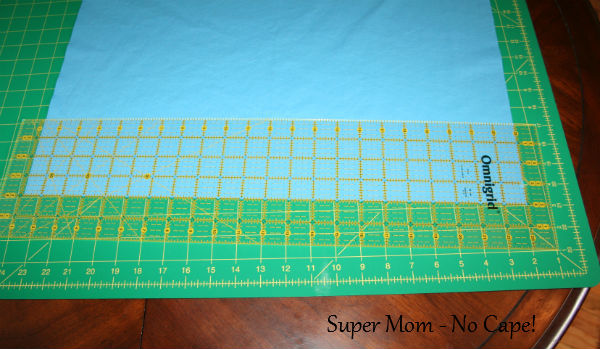
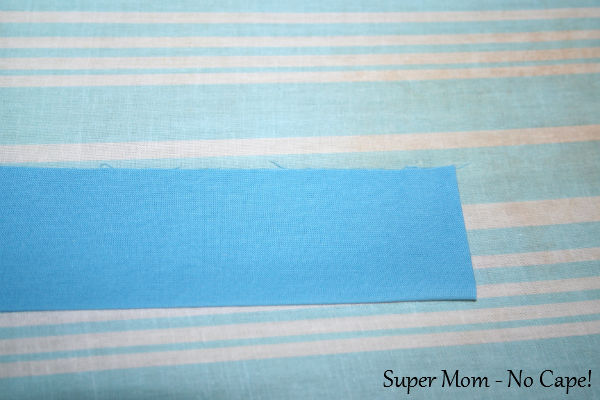
Trim selvedge off of the third fat quarter, place your ruler along the longest edge and cut four 4” wide strips.
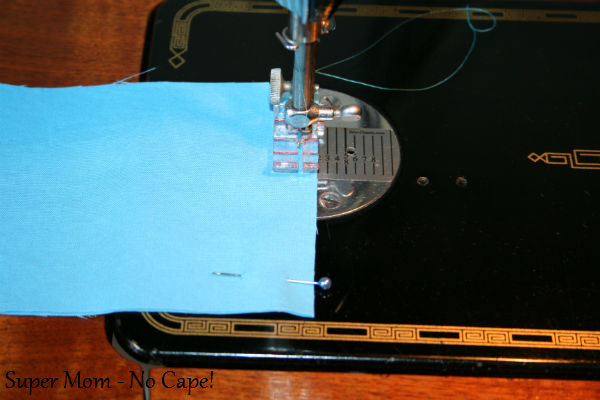
Sew strips together along short 4” edge. Press seams open.
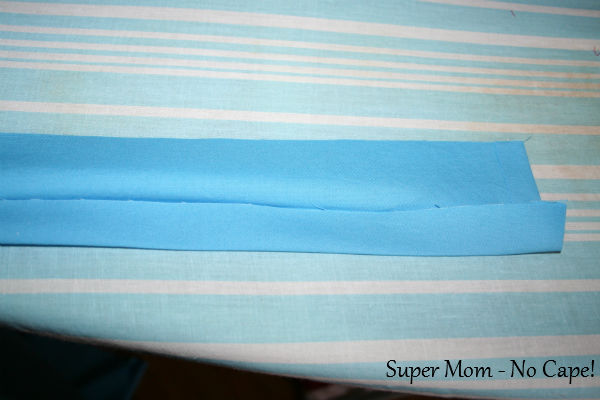
Press under ½” on each end of tie. Fold tie in half. Press.
Open out and fold each edge to center along pressed crease. Press again.
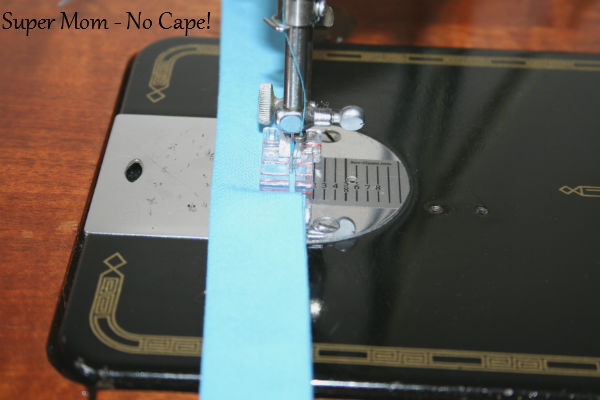
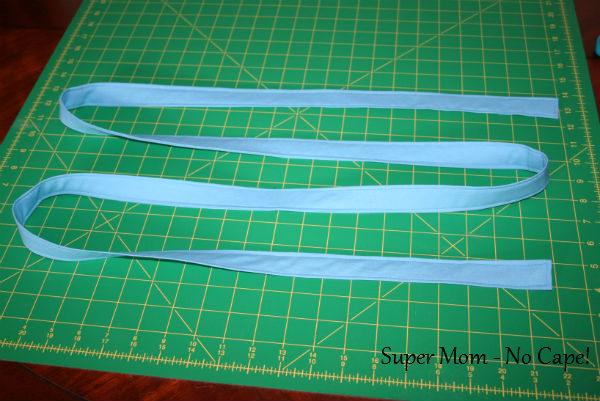
Topstitch close to the edge, all the way around the tie.
Thread tie through both armhole casings.
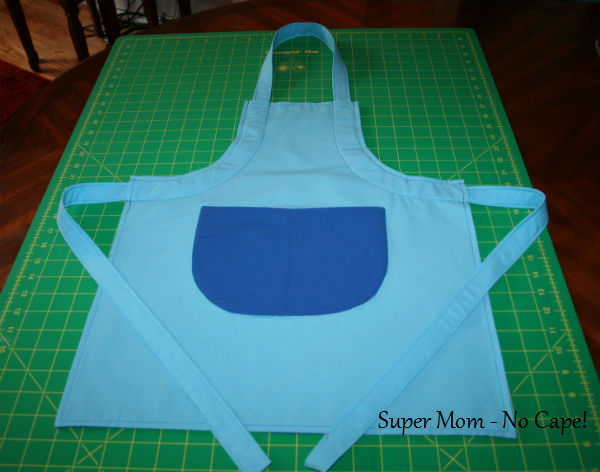
Here’s the reserve side:
If you have any questions about the instructions, feel free to ask in the comments and I’ll do my best to answer.
This post contains affiliate links. For more information please check my Disclosures and Disclaimers page. It doesn’t cost you any extra, but it does help support this site.








10 Comments
Tiffany Jones
February 17, 2021 1:22 pmGreat tutorial! I made one for my son last year, but noticed the straps seem to stick a bit when adjusting. Have you had this problem? I’m thinking of doin an angled arm hole vs curved to fix the issue for my nephews apron I’m making.
Andrea
December 20, 2019 3:26 pmThis tutorial is fantastic! Thank you for the clear and detailed instructions. The whole tutorial is easy to follow and the photos help a lot. My finished apron turned out to be just what I had imagined when I went looking for a tutorial in the first place. Thank you!
Andrea
June 10, 2019 10:45 pmSuch a great tutorial! I’ve made aprons from this about 4 years before, but now my kids needed bigger size aprons and I had to come back as I didn’t remember the steps. 🙂 Thank you for sharing this!
Mary
December 11, 2018 11:39 pmI absolutely LOVE your pattern and tutorial! Love the photos and step by step instructions. I’ve made 4 of these so far for my grandkids. They love the fun and customized fabrics selected just for each one of them and the parents love the adjustable neck strap feature! Thanks so much!
Chris
November 28, 2018 10:01 amBest tutorial ever. I just retired and want to get back into sewing by making an apron for my great granddaughter. Thank you so very much!
Ruth Wieler
December 8, 2017 2:50 pmThank You for sharing this pattern. I have just finished one for my granddaughter. She will be 4 on Monday.
Susan
January 31, 2013 11:20 pmI have a grandbaby on the way…so will definitely be giving your pattern a try! Thanks for sharing!
Sandra :)
January 31, 2013 7:20 pmCute apron – I made one for a g-nephew last year, and this year I’ll make one for his cousin!
cathy c
January 31, 2013 3:59 pmWonderful tutorial! Thanks so much!
Stephanie Drake
January 31, 2013 3:59 pmLovely pattern; well written. I shall have to save this to make when Ellie is a bit older.
Well done!
Comments are closed.