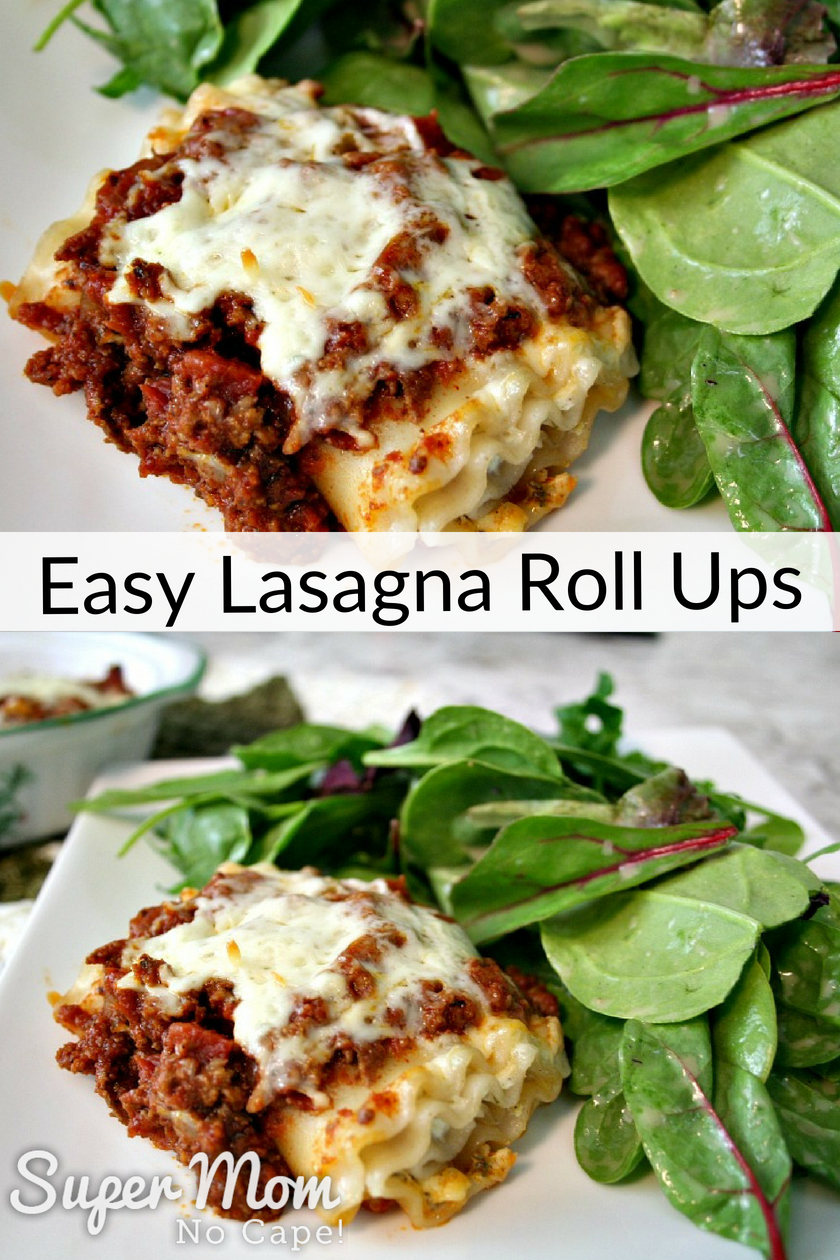
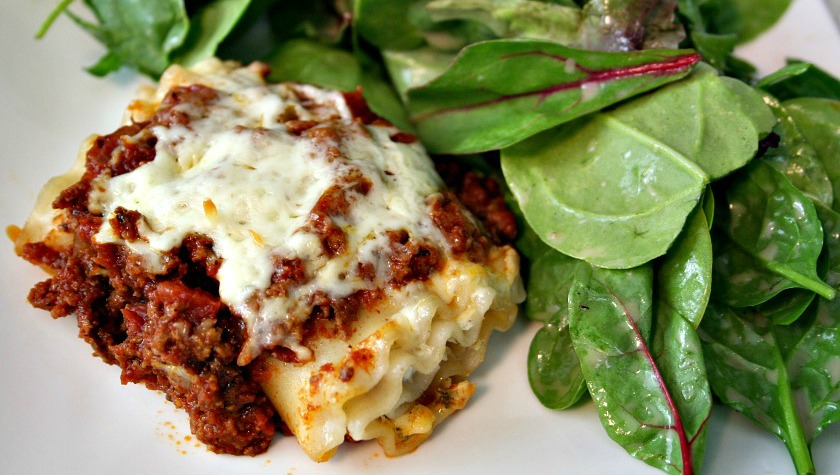
One of the best ways I know to make meal times easy on those nights when life gets a little crazy is to spend time in the kitchen making and freezing meals ahead. These Lasagna Roll Ups are a Flemming family favorite.
I make them ahead for Dave and I and recently I made them when I was doing some freezer cooking for our son to help make his meal times easier too. What with working full-time and taking courses towards his bachelor’s degree, finding the time to cook healthy meals is hard.
When I’m preparing freezer meals, I like to start with a base that does double duty. So I started by making our favorite meat sauce and then used it for both the lasagna roll up and the spaghetti and meat sauce.
Easy Lasagna Roll Ups
Ingredient list for the Lasagna Roll Ups Meat Sauce:
- 1 lb of ground beef
- ½ c of chopped onion
- 2 – 8 oz cans of diced tomatoes
- 1 – 8 oz can of tomato sauce
- 1 – 6 oz can of tomato paste
- 2 tsp of dried sweet basil
- 1 tsp of chili powder
- 1 tsp of ground oregano
- 1 clove of garlic minced or 1/8 tsp of garlic powder
- Salt and pepper to taste
Brown the ground beef. Add the chopped onions and cook until translucent.
Add the diced tomatoes, tomato sauce and tomato paste.
Stir in the sweet basil, chili powder, ground oregano, minced garlic and the salt and pepper.
At this point you’re going to want to taste the meat sauce. Don’t worry about tasting it, by now the meat has been cooked through.
You may need to add more chili or oregano. Or it might need a little more salt or pepper.
It’s always better to be a little conservative when you’re adding spices to dishes like this because you can always add more, you can’t take them out once they’re mixed in. 🙂
Turn the heat down and allow the meat sauce to simmer for 30 minutes. Stir occasionally to make sure it doesn’t burn to the bottom of the pot.
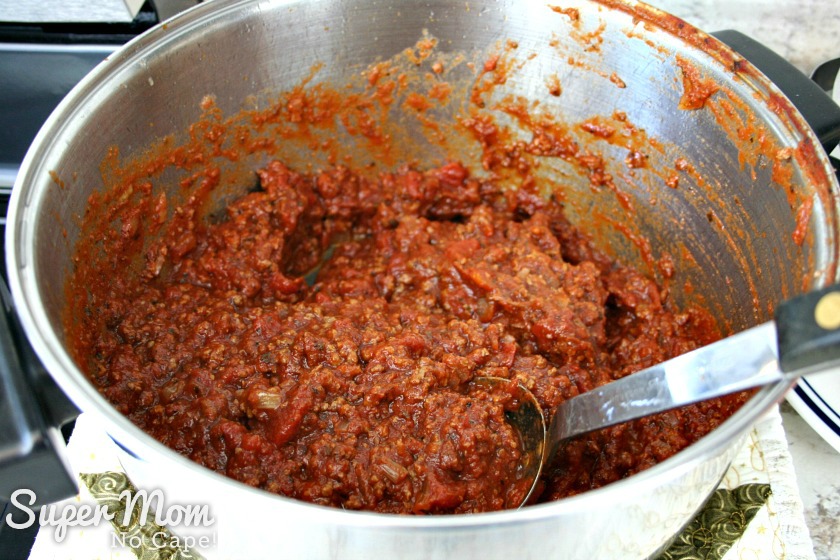
Remove from the heat and allow the meat sauce to cool slightly while you assemble the rest of the ingredients.
Prepare the lasagna noodles:
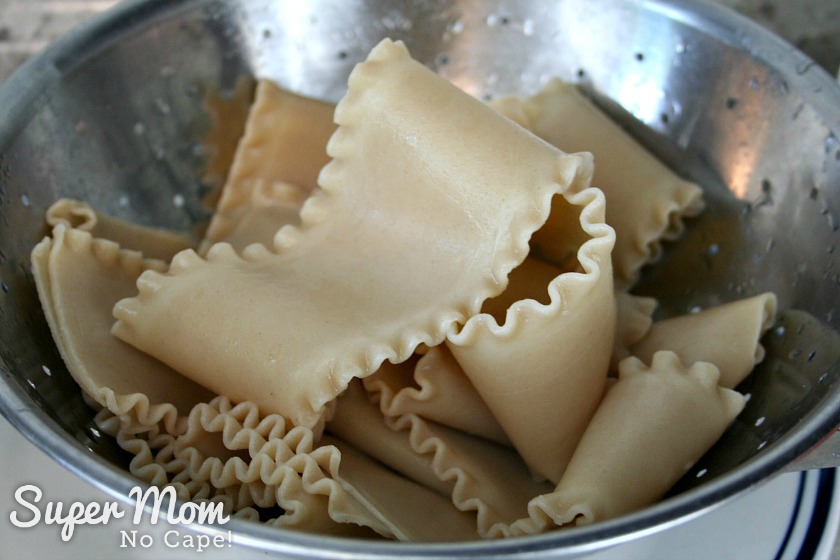
Cook the lasagna noodles according to the package directions until the noodles are al dente. You want them soft enough to roll but not so soft that they’re falling apart.
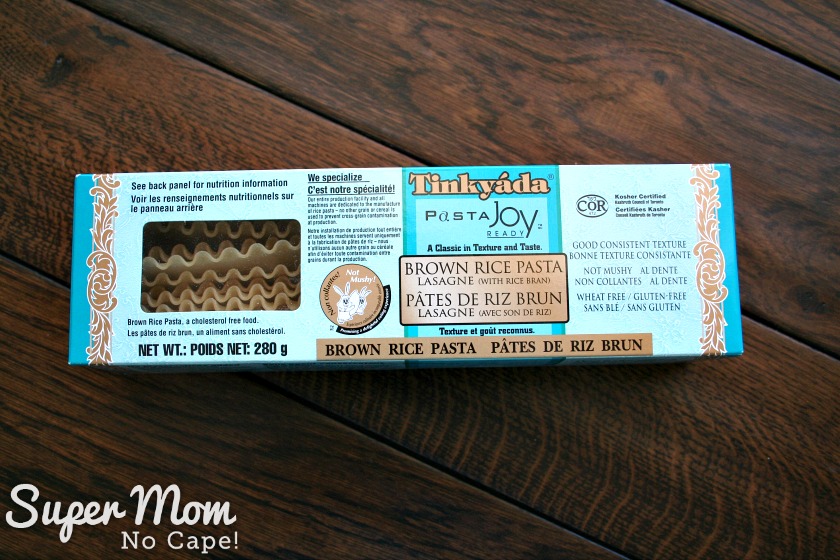
To make these Lasagna Roll Ups gluten free, I used Tinkyada Brown Rice Lasagna Noodles . What I love about the Tinkyada noodles besides the fact that those of us in the family who are gluten sensitive can still enjoy one of our favorite family recipes is that the ingredient list is short. The noodles contains only brown rice, rice bran and water… that’s it. No preservatives, no artificial coloring, nothing I can’t pronounce.
They cook up and handle just like their non-gluten versions. And they taste great!
Please note: I used one 8 oz (280 g) package of noodles because I wanted half of the meat sauce left to make spaghetti. If you’re going to be using all the meat sauce to make lasagna roll ups, you’ll want to use 2 packages of noodles.
Once the noodles are cooked, drain and rinse under cold water.
While the noodles are cooking, make the cheese filling.
Ingredients for the cheese filling for the Lasagna Roll Ups:
- 2½ cups of cream-style cottage cheese
- 2 large eggs
- ½ cup of grated Parmesan cheese
- 2 tbsp dried parsley
- 1 tsp salt
- ½ tsp pepper
Note: If you have doubled the amount of noodles, you’ll need to double the cheese mixture as well.
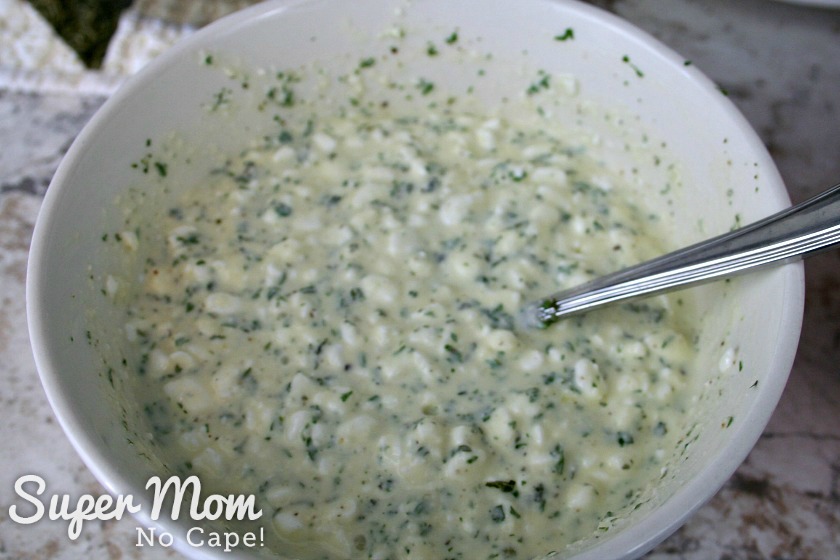
Crack the eggs to a small mixing bowl. Beat the eggs with a fork or whisk until the yolks and whites are combined.
Add the remaining ingredients and mix thoroughly. Set aside while you grate the mozzarella.
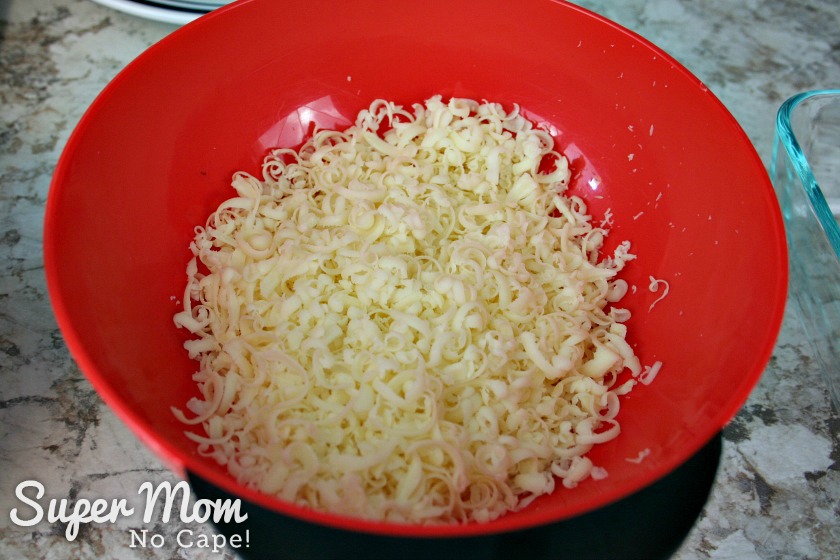
Grate approximately ½ lb of mozzarella cheese. (You’ll need to grate 1 lb if only making roll ups.)
Now that you’ve got all the ingredients assembled, it’s time to make the lasagna roll ups.
Lay one of the noodles out on the counter.
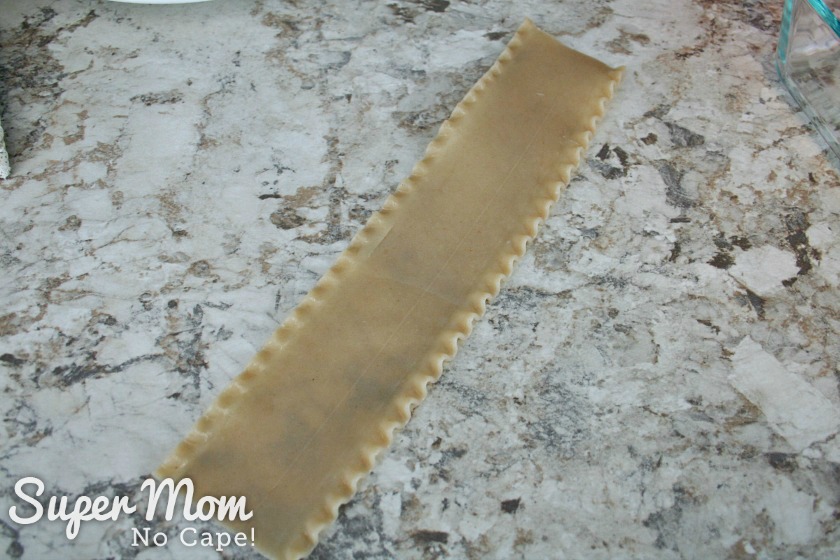
Spread a layer of the cheese mixture on the lasagna noodle, leaving about an inch at either end free of filling.
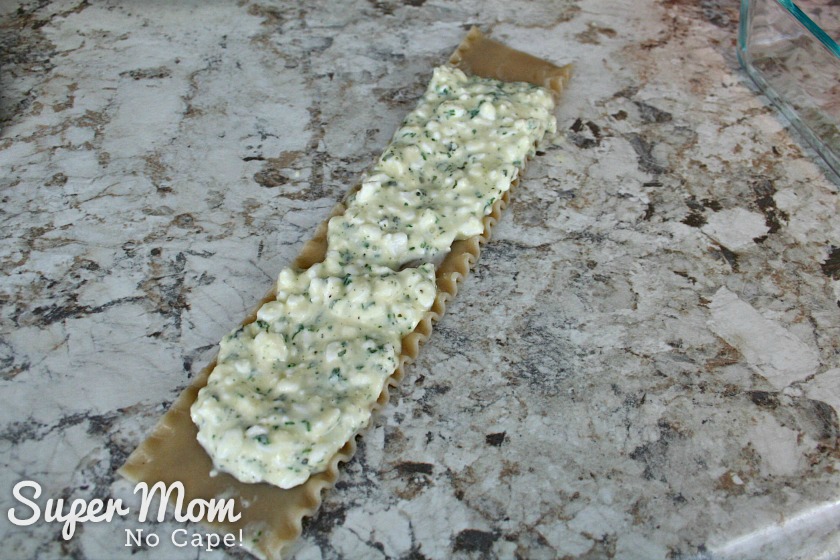
Roll up the noodle with the filling.
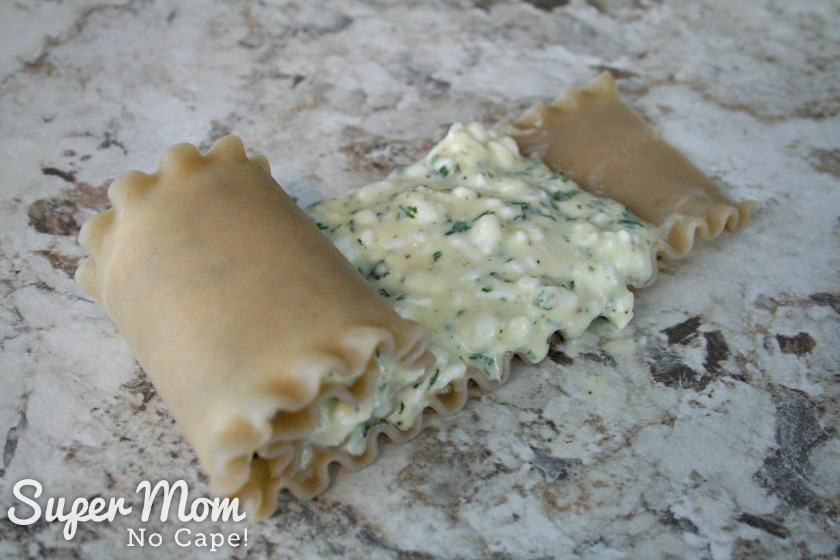
Place it in a baking dish.
Continue to make roll ups until you run out of noodles or filling, whichever comes first.
Because I was making these as freezer meals for our son, I put three roll ups in each freezer safe container.
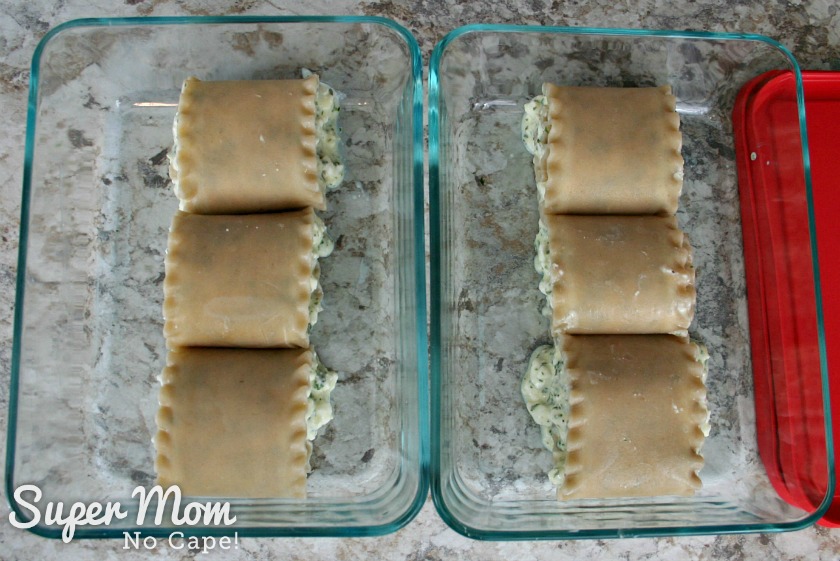
Once all the lasagna roll ups are in the baking dishes, spoon a layer of the meat sauce over top of them.
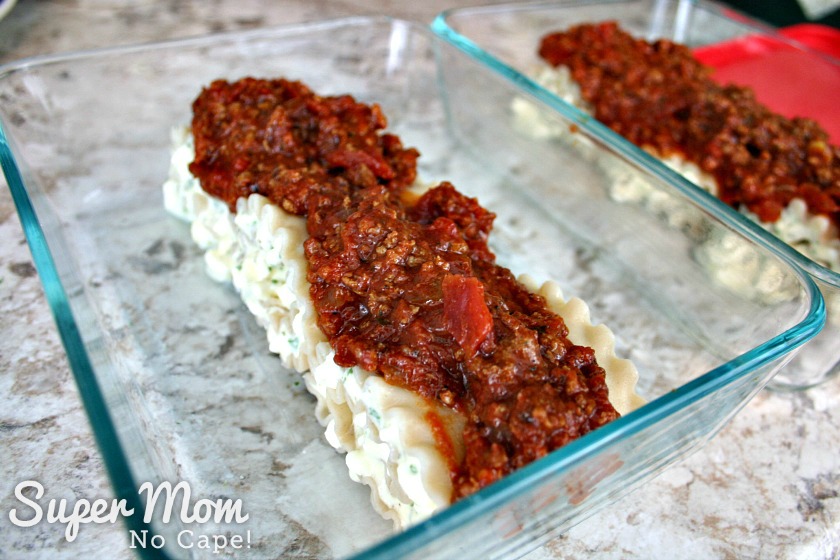
Add a layer of the grated mozzarella.
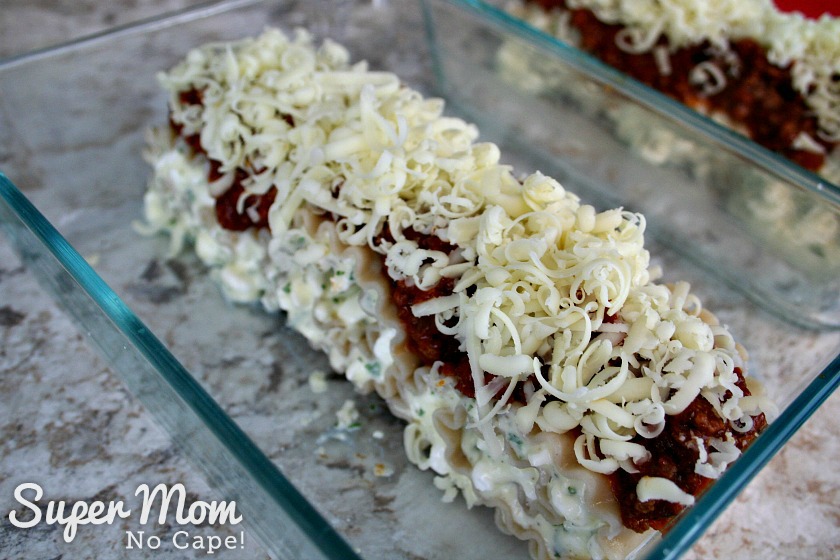
If you’re freezing these ahead, add the lid to the containers, label and freeze.
When it comes time to use them, remove the lid, cover with aluminium foil and bake for 50 to 60 minutes at 350ºF or until heated through.
Now you know I couldn’t make lasagna roll ups without making some for myself for supper. There were two noodles left and some of the cheese filling, so I divided the rest of the filling up between the two.
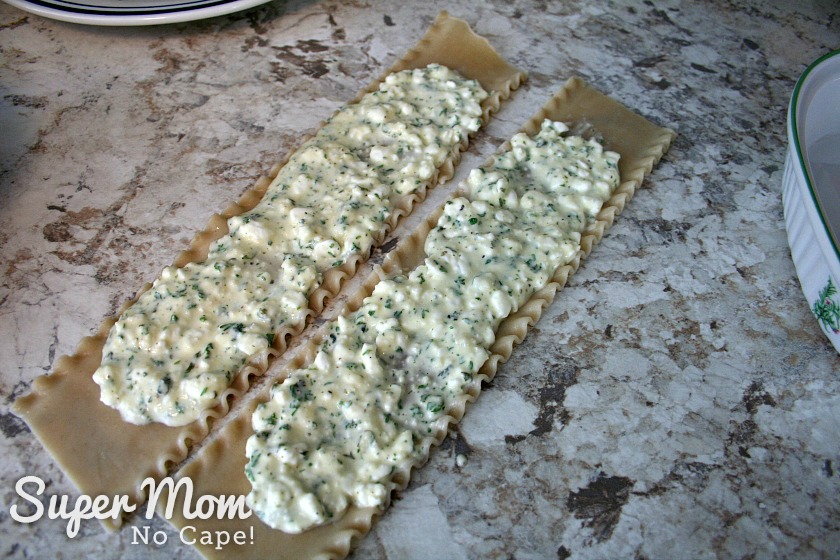
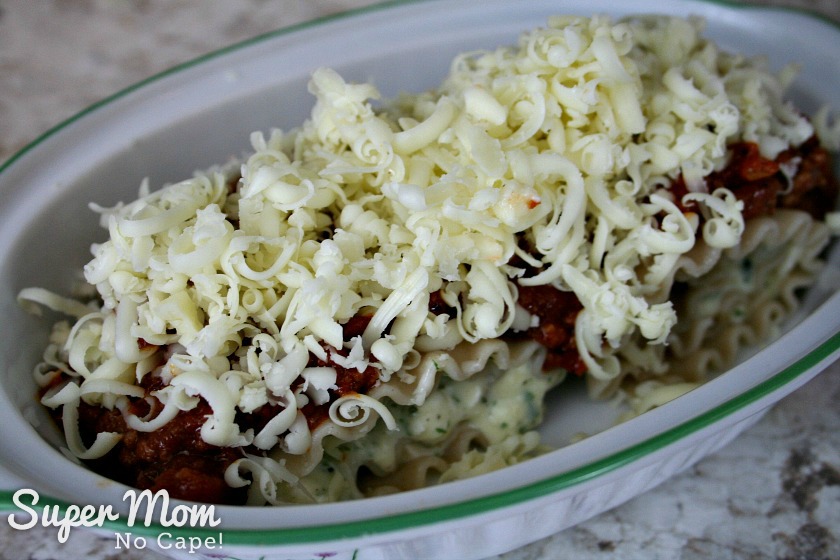
These pretty little casserole dishes come with their own lid, so here it is ready to pop in the fridge until supper time.
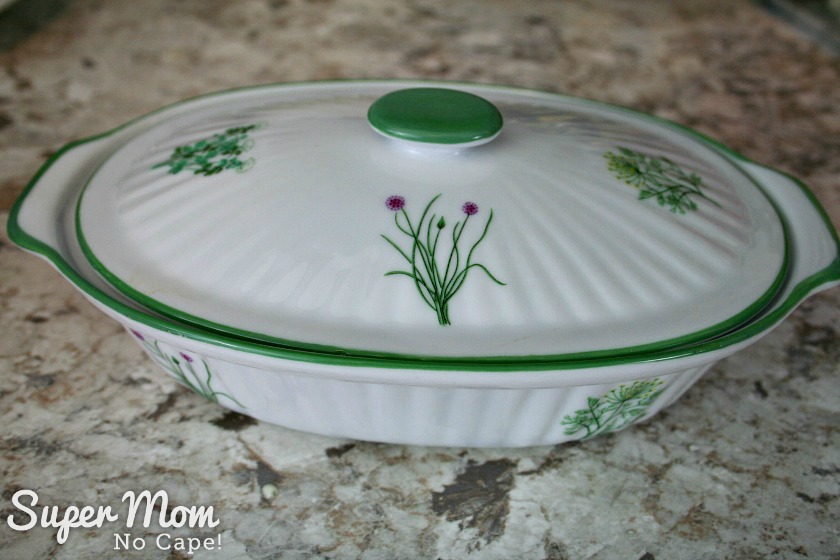
Because this was going right from the fridge into the oven, the Lasagna Roll Ups only took about 45 minutes to cook, but you’ll want to start checking them at about 35 minutes depending on how accurate your oven temperature is.
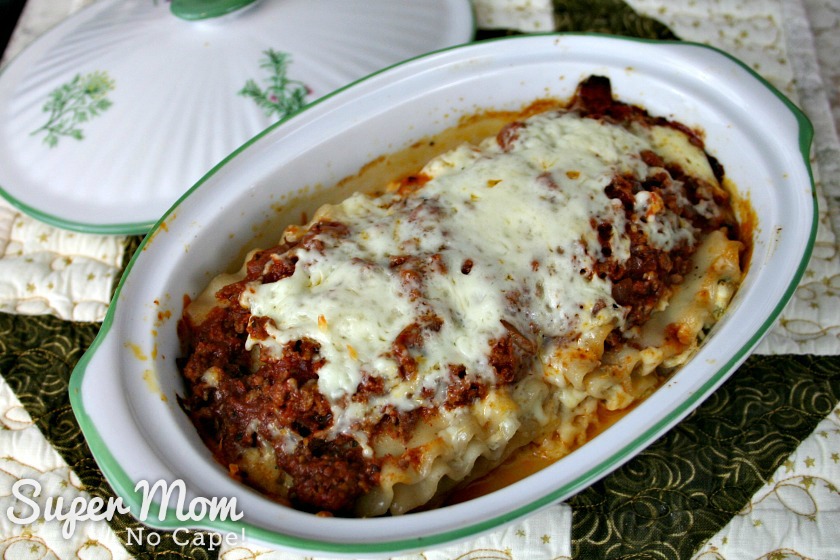
I served it with a mixed green salad.
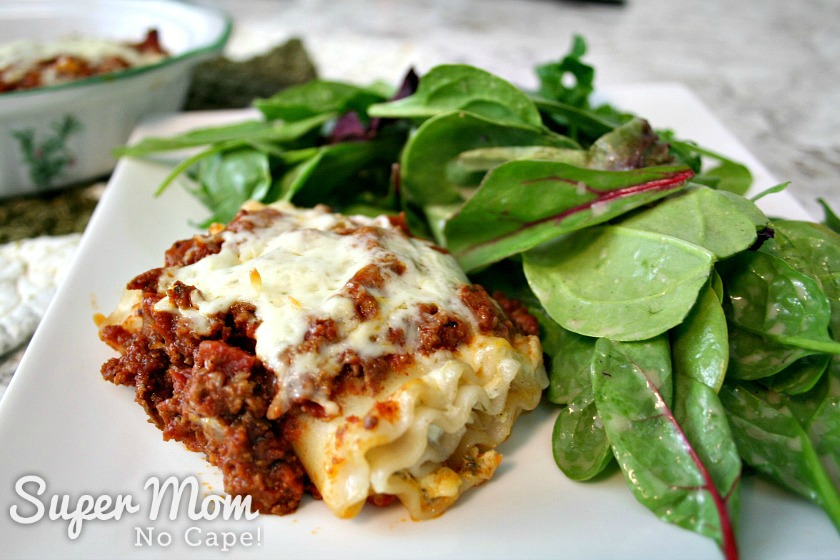
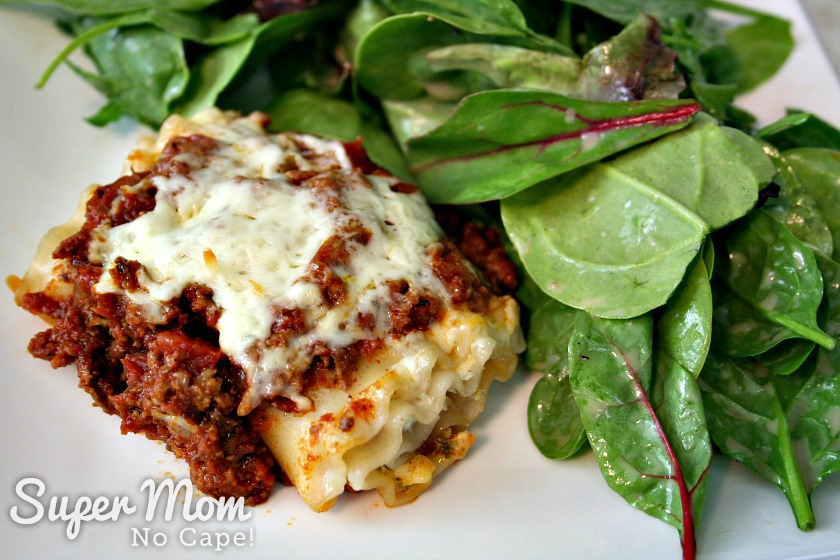
Doesn’t that look delicious!
And we can’t forget the other half of the meat sauce!
To make freeze ahead spaghetti and meat sauce:
Cook a package of the spaghetti according to the package directions. Again I chose a gluten free option: Tinkyada Brown Rice Spaghetti Noodles.
Drain the pasta and add to the rest of the meat sauce. Mix together and divide the spaghetti and meat sauce into containers. Sprinkle with some Parmesan cheese if desired.
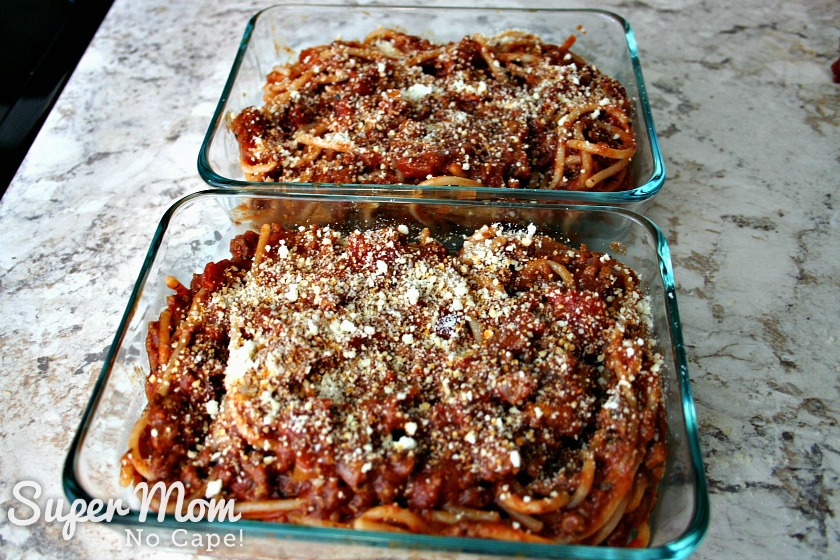
Add the lids, label and freeze.
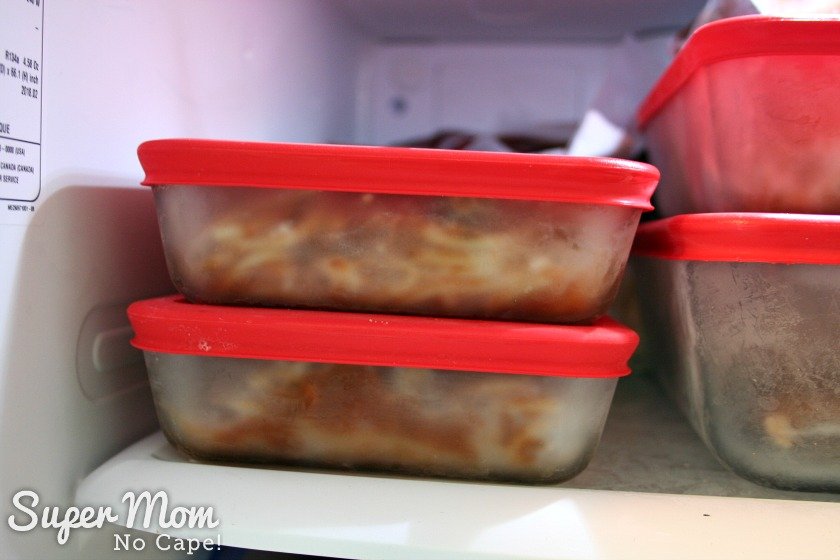
I have a cupboard full of different sizes of these Pyrex freezer dishes. I used 6 cup Pyrex freezer containers for the lasagna rolls up and 3 cup Pyrex freezer container
s for the spaghetti.
Freezing meals ahead of time, whether for yourself or someone else is a great way to make meal times easier on those busy nights when you either don’t have time to cook or just don’t feel like cooking from scratch.
Save this recipe for Easy Lasagna Roll Ups for future reference by clicking on the Pinterest button underneath this post.
And of course, I’d love it if you shared it on Twitter and Facebook as well. 🙂
