Welcome!
Whether you’ve arrived from Pinterest, CraftGossip, Total Tutorials or another of the wonderful sites that have linked to my Thimble Pip Tutorial…
I’m so glad you’re here!
How many times have you been working on a hand sewing project where you need to use your thimble only to search and search and not find it anywhere?
How many times have you removed your thimble to thread a needle only to have it roll away and then the search is on to find it again?
Well, search no more!
These little thimble pips are the perfect place to store your thimbles so that you’ll always know exactly where to find them.
Thimble pips are certainly not a new idea. During my research, I discovered that they go back at least one hundred years, if not more. The original ones were made using cardboard or card stock as a base.
Many were very elaborately embroidered or embellished with beads and lace.
They go by several different names: thimble buds, precious pods, precious buds, pipkins, pinch purse, clam shells and Kai No Kuchi. But as I mentioned in this post, thimble pip is my favorite as it’s such fun to say. Want a downloadable copy of this tutorial complete with the patterns? The PDF can be purchased in my shop for $5.00.
I will provide you with step-by-step instructions to make any size pip you want to make.
Thimble Pip Tutorial
Materials required:
- Fabric scraps for the exterior and the lining
- Quilt batting
- Thread
- Math Compass
- Craft Glue
- Thin plastic for making the thimble pip forms. (This is a great way to upcycle plastic from your recycle bin. Check out my post, Not All Plastic is Created Equal to find out which plastics work the best.)
For the purposes of this tutorial, I’ll be making a 2 ½” pip. It comfortably holds 3 thimbles with room for more.
To make the pattern for the pip:
You’ll need a pencil, paper and a compass.
Don’t worry about having to use a compass! These simple step-by-step instructions make it easy!
Draw two perpendicular lines (lines that intersect at a 90 degree angle) in the middle of a piece of paper.

Divide 2.5 inches in half, giving you a 1.25 or 1 ¼”. (To make a different sized pip… substitute the size you want to make for 2.5″ then divide that in half. For example:
1.5″ ÷ 2 = .75″ (or ¾”)
2″ ÷ 2 = 1″
On the horizontal line mark 1 ¼” on either side of the center point. Label these points as A and B.

Set your compass for 2 ½ inches. Place the needle of the compass on A. Trace an arc that overlaps the vertical line.
In the next several photos my husband agreed to be the hand model so that I could man the camera. He was compensated for those services with hugs and kisses.
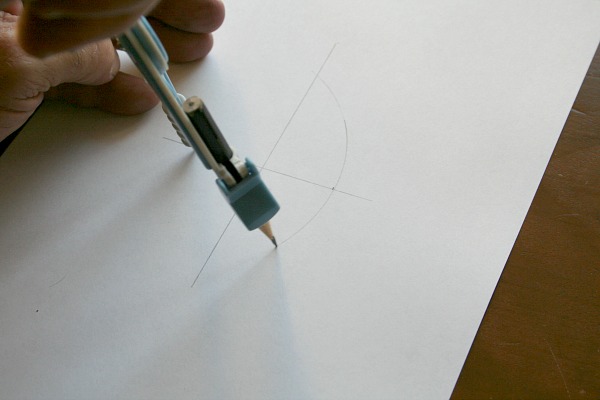
Place the needle of the compass on B. Trace another arc.
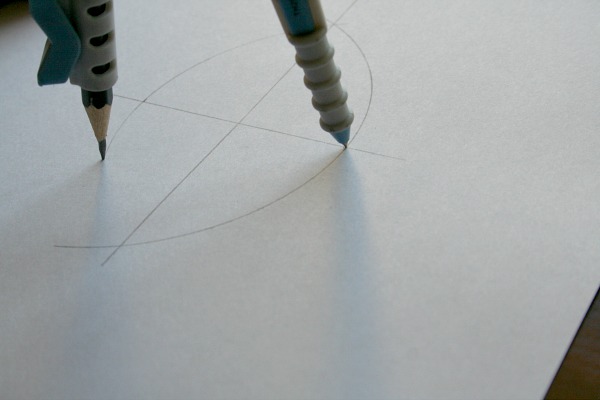
You now have the pattern for the outside of the thimble pip.
To make the pattern for the inside of the thimble pip, decrease the compass setting by 1/8”.
Once again place the needle on A and trace an arc.
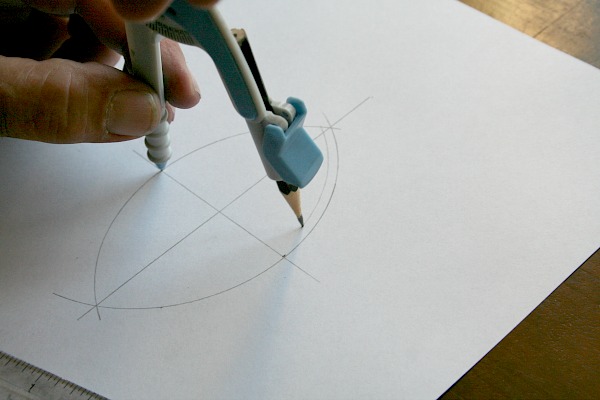
Place the needle on B, trace a second arc.
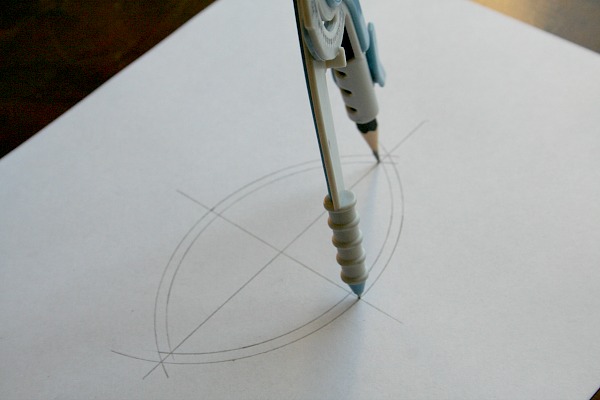
That completes the pattern for the inside of the thimble pip.
Now we’re going to make a plastic template that you’ll be able to use over and over again because trust me, once you’ve made one of these for yourself, you’re going to want to make more!
To make the templates, place the paper pattern under the plastic container you are repurposing and trace.
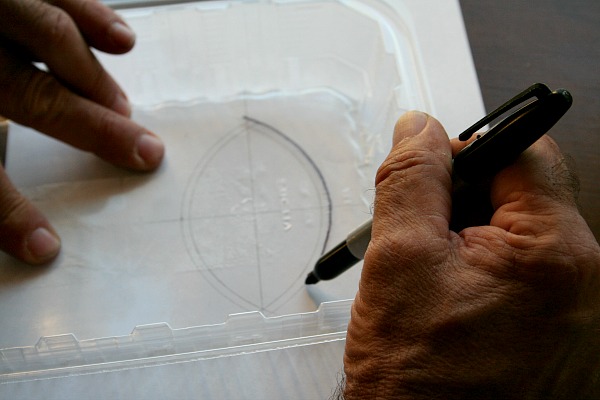
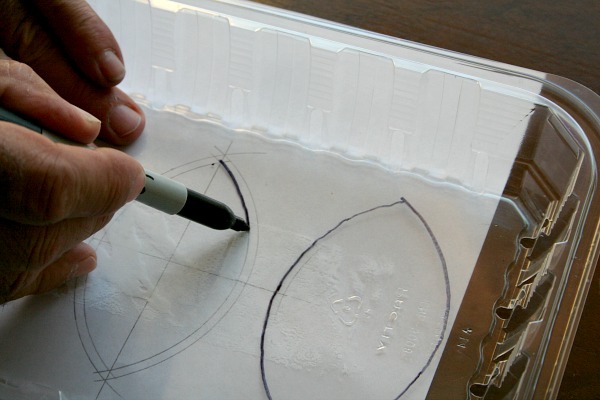
Cut out the plastic templates with a pair of scissors. Label them: large and small.
Next, trace around the templates to make the forms that will be used to make the thimble pips.
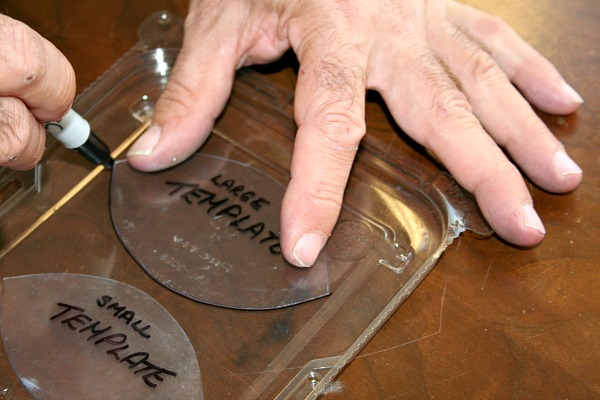
You will need three of the large for the outside of the thimble pip and three of the small for the inside.
Cut them out following the line you’ve traced.
At this point, I like to clean off any of the black marker that may be left on the pip form after cutting them out. The marker wipes right off with a cotton ball dipped in nail polish remover. Dry the form with a piece of paper towel.
Spread glue evenly over each one.
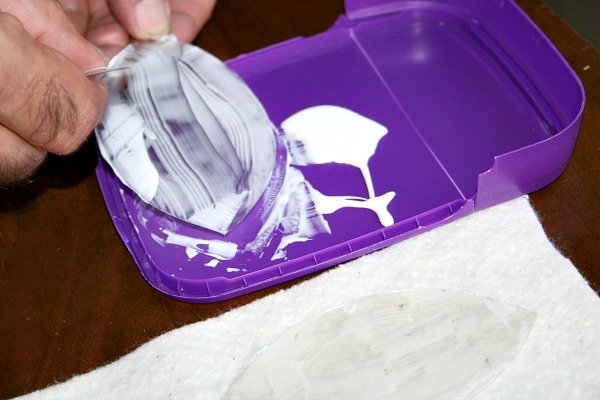
Place them glue side down on a piece of batting.
Do this for each of the 6 plastic forms.
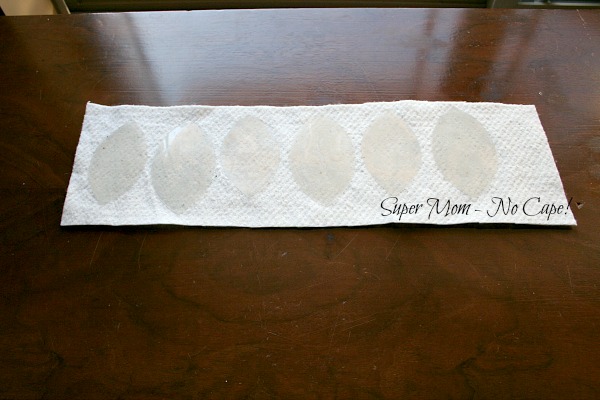
This is a good opportunity to use up some of those batting scraps you’ve been saving.
Allow to dry.
Trim away the excess batting using the edge of the forms as a guide.
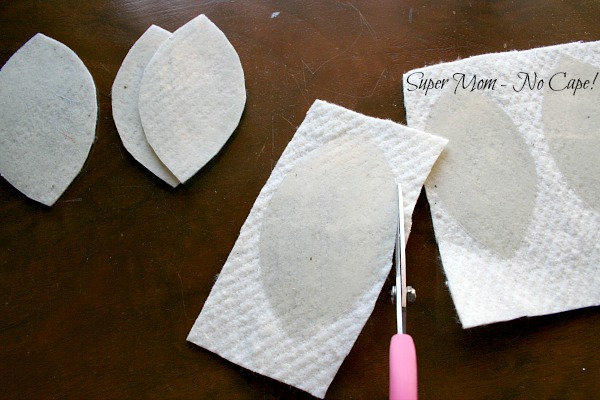
Now that the forms are ready, it’s time to cover them with fabric!
Place the large plastic template on the wrong side of the exterior fabric. Trace around it three times. Make sure to leave at least 1″ between traced patterns.
In the example below, I centered the form over the embroidered fabric.
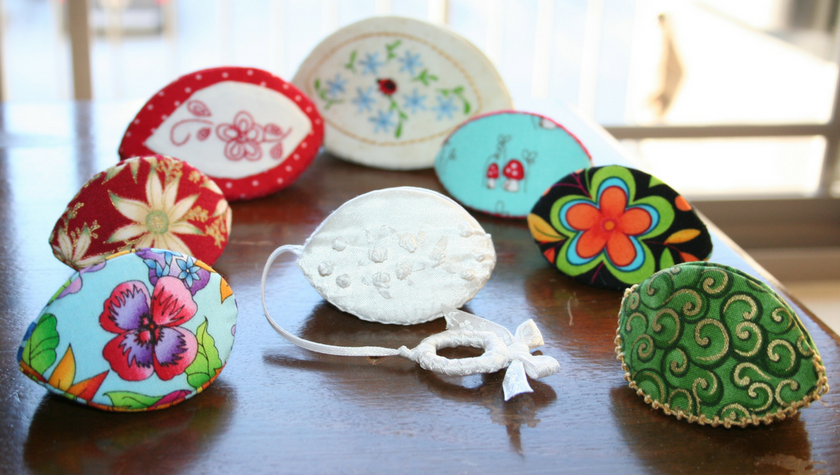
You could also fussy cut fabric as I did on the floral pips pictured in the photo at the top of this post.
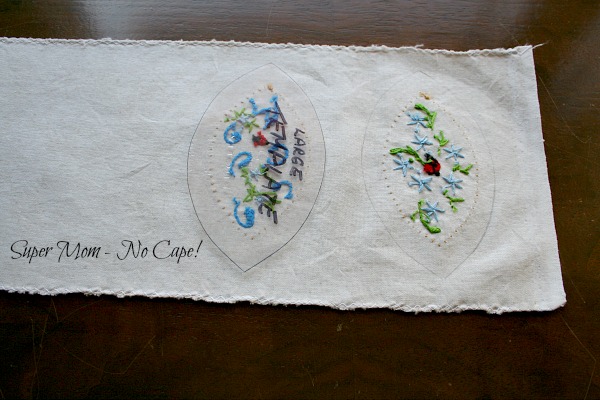
Cut out leaving a ½” seam allowance.
Repeat with the smaller template on the lining fabric.
Next, sew a running stitch approximately 1/8” in from the edge of the fabric that you cut out.
Please note… it is important that you thread the needle with enough thread to go all the way around outer edge of the fabric.
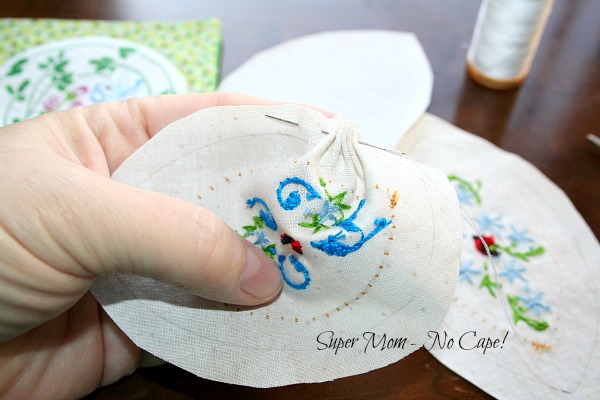
Make a straight stitch across the point as shown in the photo below.
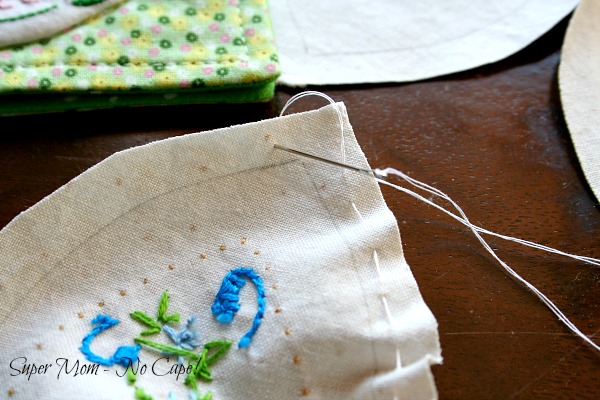
Place one of the large forms, batting side down on the wrong side of the fabric.
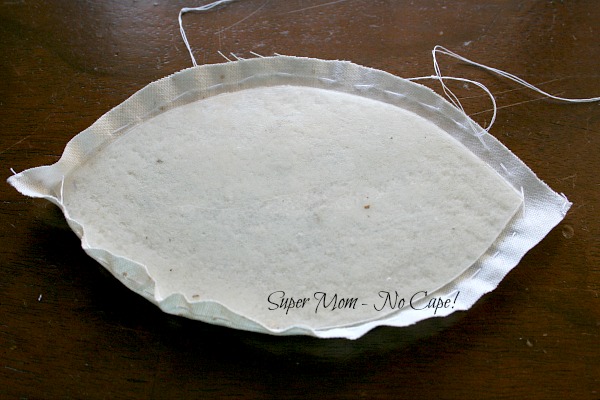
Pull the thread ends until the fabric fits snugly over the form. Tie off the ends.Snip the thread close to the knot leaving ¼” to ½” tail.
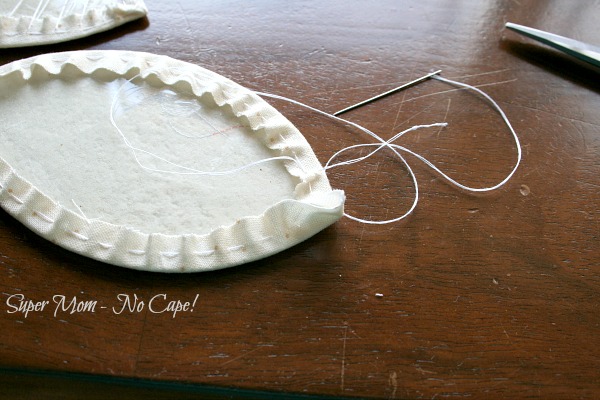
Thread your needle again with a generous amount of thread. Sew in a zig zag back and forth like you’re lacing up a corset.
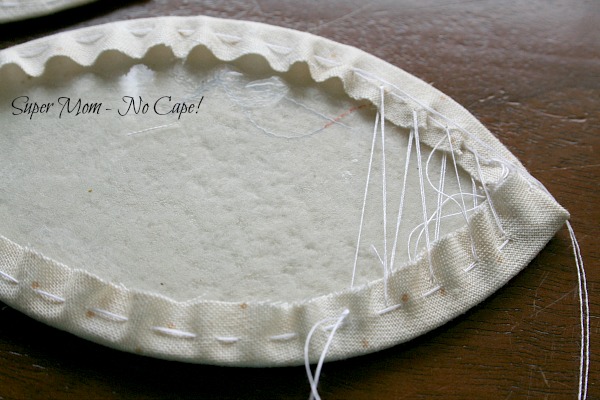
This will help hold the fabric in place.
When you come to the points on each end, fold them neatly and secure with a couple of tiny stitches.
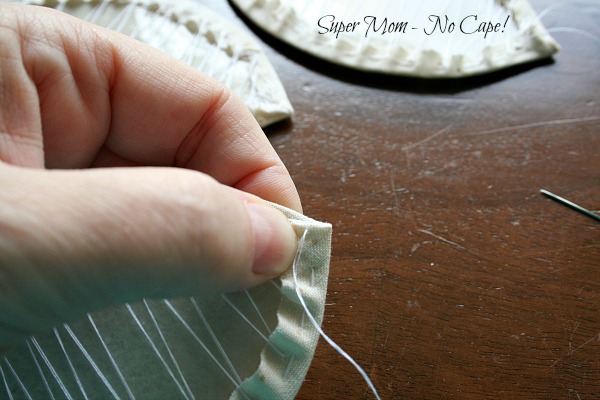
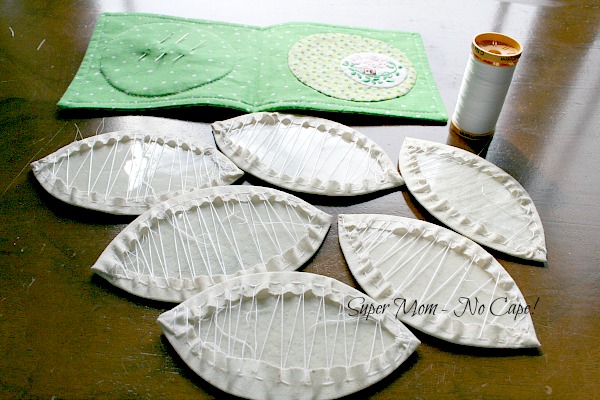
Repeat the above steps until you have all the large and small forms covered.
When finished you will have three large outer and three small inner fabric covered forms.
Sewing the forms together:
Place the outer and inner pieces together, wrong sides facing with the small pieces centered on the larger.
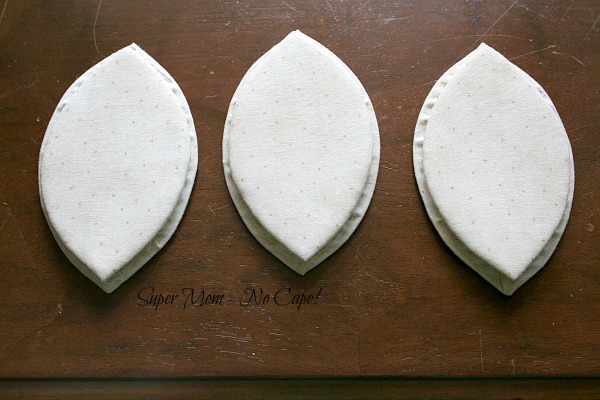
Stitch the small inner form to the large outer one using a ladder/blind stitch.
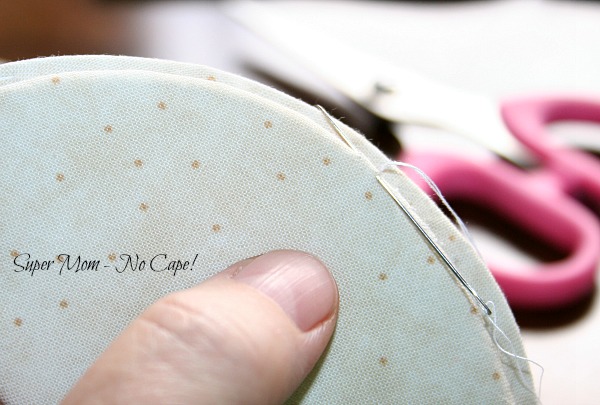
Next, hold two of the forms together with the small forms facing each other. Sew along the edge of the large forms using a ladder/blind stitch from one point of the arc to the other point.
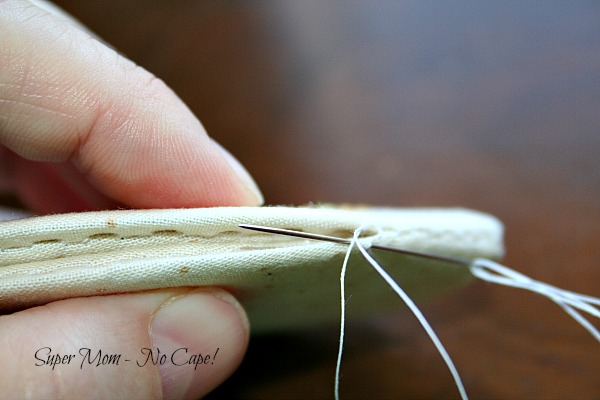
For the next step… holding that third oval in position while sewing it in place can be a little bit tricky.
To make it easier, tack one corner in place like this:
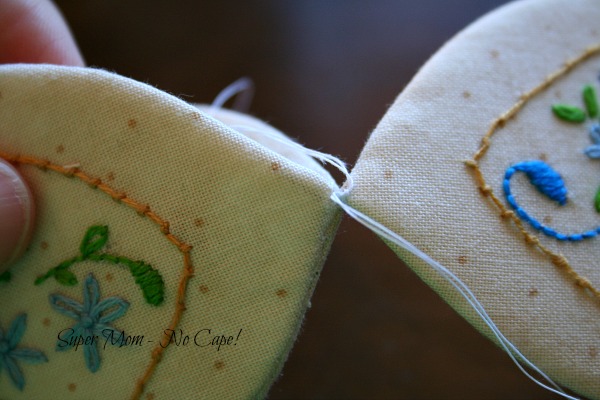
Then start sewing from the opposite end.
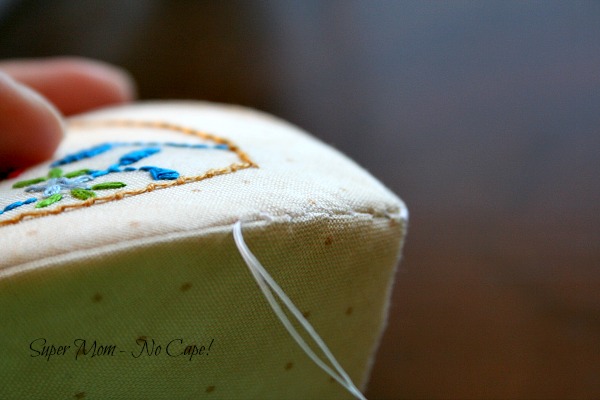
Remove the knot and stitch the corners together securely.
Sew up the open side about ½”. At that point, bar tack it together.
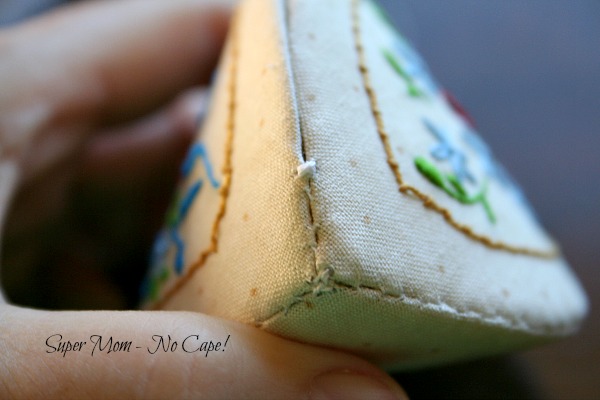
This will help ensure that the stress of opening and closing doesn’t wear the fabric and cause it to tear in the future.
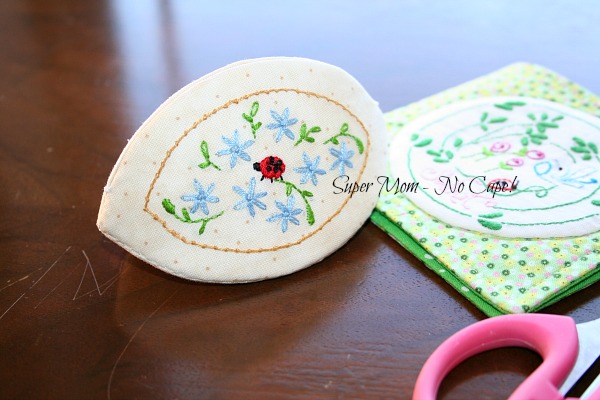
Here’s the completed 2 ½ inch thimble pip:

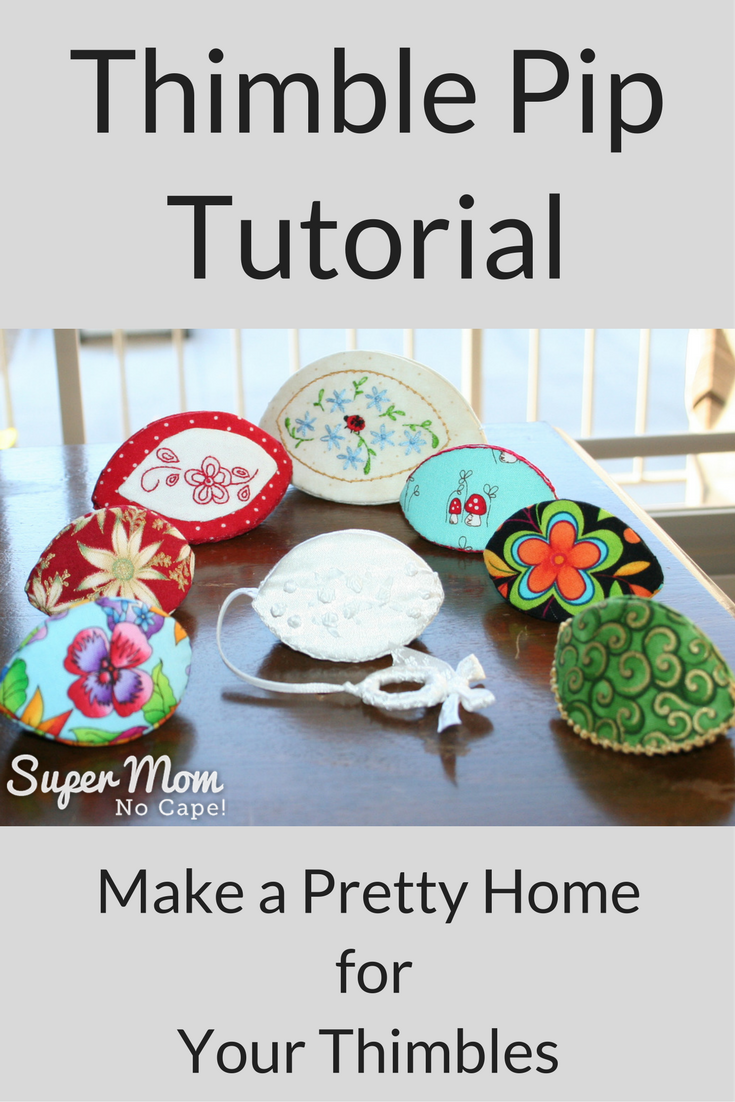
And here’s a close up of the thimble pips pictured on the top of this post.
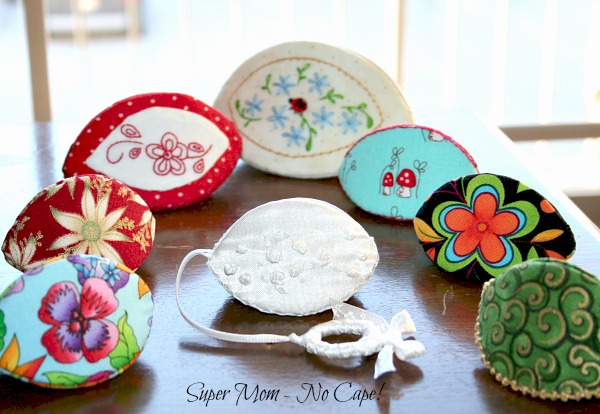
As you can see, I fussy cut the fabric for several of them. Five of them have been embellished with embroidery.
The white thimble pip in the center of the photo has embroidered ribbon roses, leaves and french knots on white satin fabric. I wrapped a plastic ring with satin ribbon, sewed a bow to the top of the ring and attached it to the thimble pip with the same 1/8″ satin ribbon I used to do the ribbon embroidery.
Wouldn’t this make a pretty little container to “wrap” a pair of earrings or a necklace!
Want a downloadable copy of this tutorial complete with the patterns? The PDF can be purchased in my shop for $5.00.
Click the link below to add to your cart and then click checkout:
Once you’ve made one Thimble Pip, you’re going to want to make more.
From this same tutorial, I’ve made Christmas Pips to hang as ornaments and hold small gifts.
These Valentine’s Pips are perfect for holding and gifting small treasures.
Make sure to check out the cutest ever Spring/Easter Pips... as in frogs and bunnies!
As always, if you make something using one of my tutorials, I’d love to see a photo. You can either e-mail me by clicking on the little envelope in the upper left-hand sidebar. Or tag me on instagram @supermomnocape.
This post contains affiliate links. For more information please check my Disclosures and Disclaimers page. It doesn’t cost you any extra, but it does help support this site.





19 Comments
SueC
July 21, 2021 11:37 pmThankyou for showing people the maths so it’s scalable.
I’ve done them with thick felt as the inside instead of using a second set of plastic
Leanna
April 9, 2019 5:55 pmBeautiful craft. I had never heard of a thimble pip, but they look so feminine and useful. Having pretty sewing accessories make its very pleasant to sew.
Lin
February 21, 2018 8:03 pmI can not download the template
to print why wold that be????
help love the pips
Linda Wetzel
Super Mom No Cape
February 21, 2018 11:25 pmHello Lin, in order to receive the email with the link to download the templates you need to sign up through one of the links provided in the post.
If you’ve done that, click on the link in the email that you received. When you get to that page, move your cursor to the top of the page… a menu will drop down where you can choose to download and print the templates.
If you can’t get to the download page for some reason, please try either clearing your cache or using a different browser.
I hope that helps.
I’m also sending you an email, in case you don’t stop back to read my reply. 🙂
Lisa Goetzman
August 11, 2021 8:48 pmHi. I can’t download pattern either. Email said I have to sign up with Grow
Super Mom No Cape
August 11, 2021 11:12 pmHello Lisa…
Lin’s comment on this post was from 2018. The templates are not available at this time.
I’m in the process of creating downloadable patterns of all my tutorials. Unfortunately I haven’t gotten to this one yet.
But the instructions to make your own templates to make Thimble Pips are included in the blog post.
The email you received was simply an invitation by the company that provides my email subscriber forms to sign up with Grow.me. You are under no obligation to do so.
I apologize for any misunderstanding.
Robin Lancaster
January 5, 2018 4:05 pmHi! I just made my “Test Pip.” I did have several false starts, but then that’s why we do “test runs”, right? I wanted to see what contrasting inner and outer fabric looked like so I also did that. I’d love to send you a pic, but I don’t see where I can do that.
Mel
May 11, 2017 8:15 pmHi, love your blog. Please keep it up! Please also send me the 3 templates for thimble pip. Thanks!
Michele Timms
June 2, 2015 5:20 pmThese are so darn cute and your tutorial is very detailed so I don’t think that I could even manage to mess it up if I tried!! Thank you!!!
Vicki Richardson
March 29, 2015 6:33 pmI love these they are sooooooooooo cute. I am here from Sew Many Ways, and being that I absolutely hate Math (currently having to take Algebra and cry every time I open the darn book) would you be willing to print a template of say a 1 and 2 inch shapes? I can handle it from there, LOL.
Thanks so much for sharing,
Vicki
[email protected]
Melanee
March 25, 2015 1:23 pmThank you so much for these! Adorable to say the least! I am going to definitely make these. You have definitely captured my attention. I’m going to let my friends know about these!!
Zona
March 25, 2015 10:09 amGreat tutorial. Never heard of these before but will be making some soon. Thank you
Beautiful work
Brenda Surface
March 24, 2015 2:32 pmI would like to know what these are used for, I know what a Chatelaine is from way back, I have made those. These I am not familiar with.
Thanks
Anne
March 19, 2015 11:20 amWhat a great little pouch! I’ve got a Craft Gossip post scheduled for this evening that links to your tutorial:
http://sewing.craftgossip.com/tutorial-how-to-make-a-thimble-pip-or-clamshell-pinch-purse/2015/03/19/
–Anne
Heather Grow
November 3, 2014 11:23 pmI had to click to find out what a thimble pip is. Great tutorial. They are very pretty.
lori landenburger
November 3, 2014 6:45 pmThis is brilliant, brilliant, brilliant! Beautiful tutorial!
When Katy at The Littlest Thistle asks for tutorials at the end of this Finish Along Q4, you should definitely submit this!!
XX! Lori
Kate
November 2, 2014 11:25 amFabulous tutorial – thank you so much.
Wendy B
November 1, 2014 7:03 pmWow these look great! I’m going to try one of these now….your instructions are amazing! thanks so much…can’t wait! great Christmas gifts!
Lisa
October 31, 2014 11:16 pmThose are impressive! Quit a bit of work went into them, but they’re beautiful.
Comments are closed.