Recovering Lawn Chair Cushions – Part 1
Once I had the back and seat cushion covers sewed and the batting inserted into each, I basted the open end of each cushion to close the cushion and hold the fabric in place.
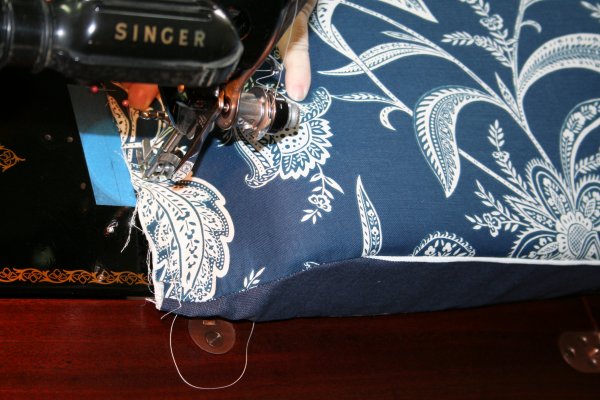
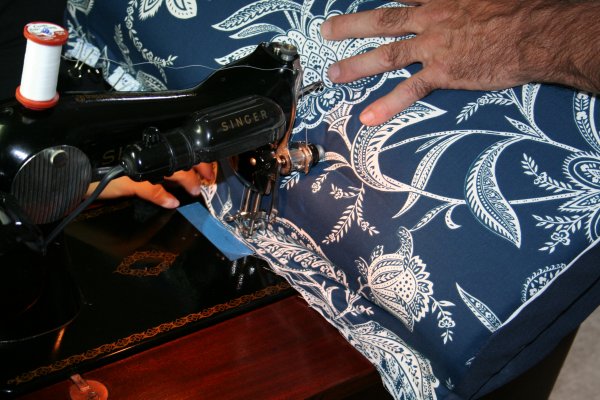
For the next step of sewing the back cushion and the seat cushion together, I switched out the regular presser foot for the zipper foot. Then I pinned the front of the back cushion facing the top of the seat cushion using bulldog clips.
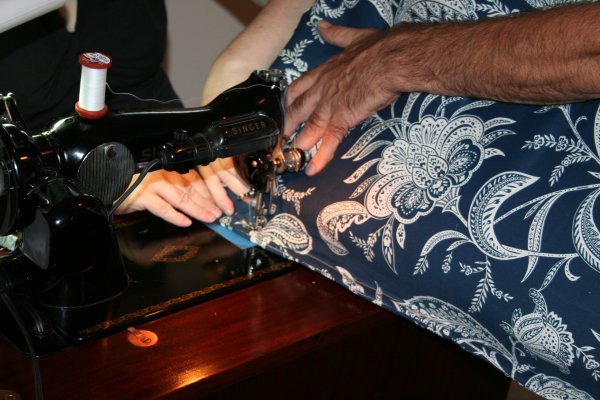
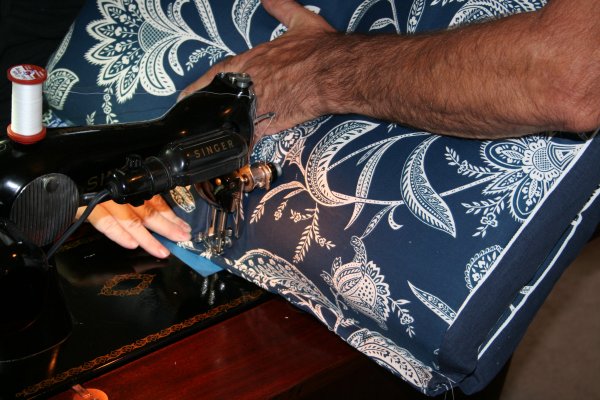
As mentioned in my previous post, this was a two person job. Dave held the two cushions in position, compressing them when needed and helped me as I guided the four layers of fabric through the sewing machine.
To make the enclosed or French seam, we folded the cushions with the back of the back and the bottom of the seat cushion facing each other.
It was during this step of sewing through 8 layers of upholstery fabric that my vintage Singer 15-91 really shone. (To do this on a more modern sewing machine, I would recommend just going slow, using a Size 16 needle and helping the cushions along as much as is needed.)
When the completed lawn chair cushions are placed in the chairs, the seam is folded to the inside.
In my next and final post, I’ll show how I recycled the original buttons to make new matching buttons.
Updated to add:
Part 4 – Making Matching Buttons



2 Comments
Connie
March 4, 2012 5:59 pmI have a 15-91 Singer too and just love it! I use it for my free motion quilting too. Thanks for stopping by my blog and commenting. You are a no-reply blogger so I couldn’t reply.
Cheryl
March 4, 2012 5:00 pmLove that machine! I have an earlier Singer 15 series (and a few other Singer models, too).
Comments are closed.