Refinishing this Singer Art Deco Sewing Machine Cabinet was a labor of love for my husband, Dave. Hours and hours went into disassembling, sanding, reassembling and refinishing to bring her back to her former glory.
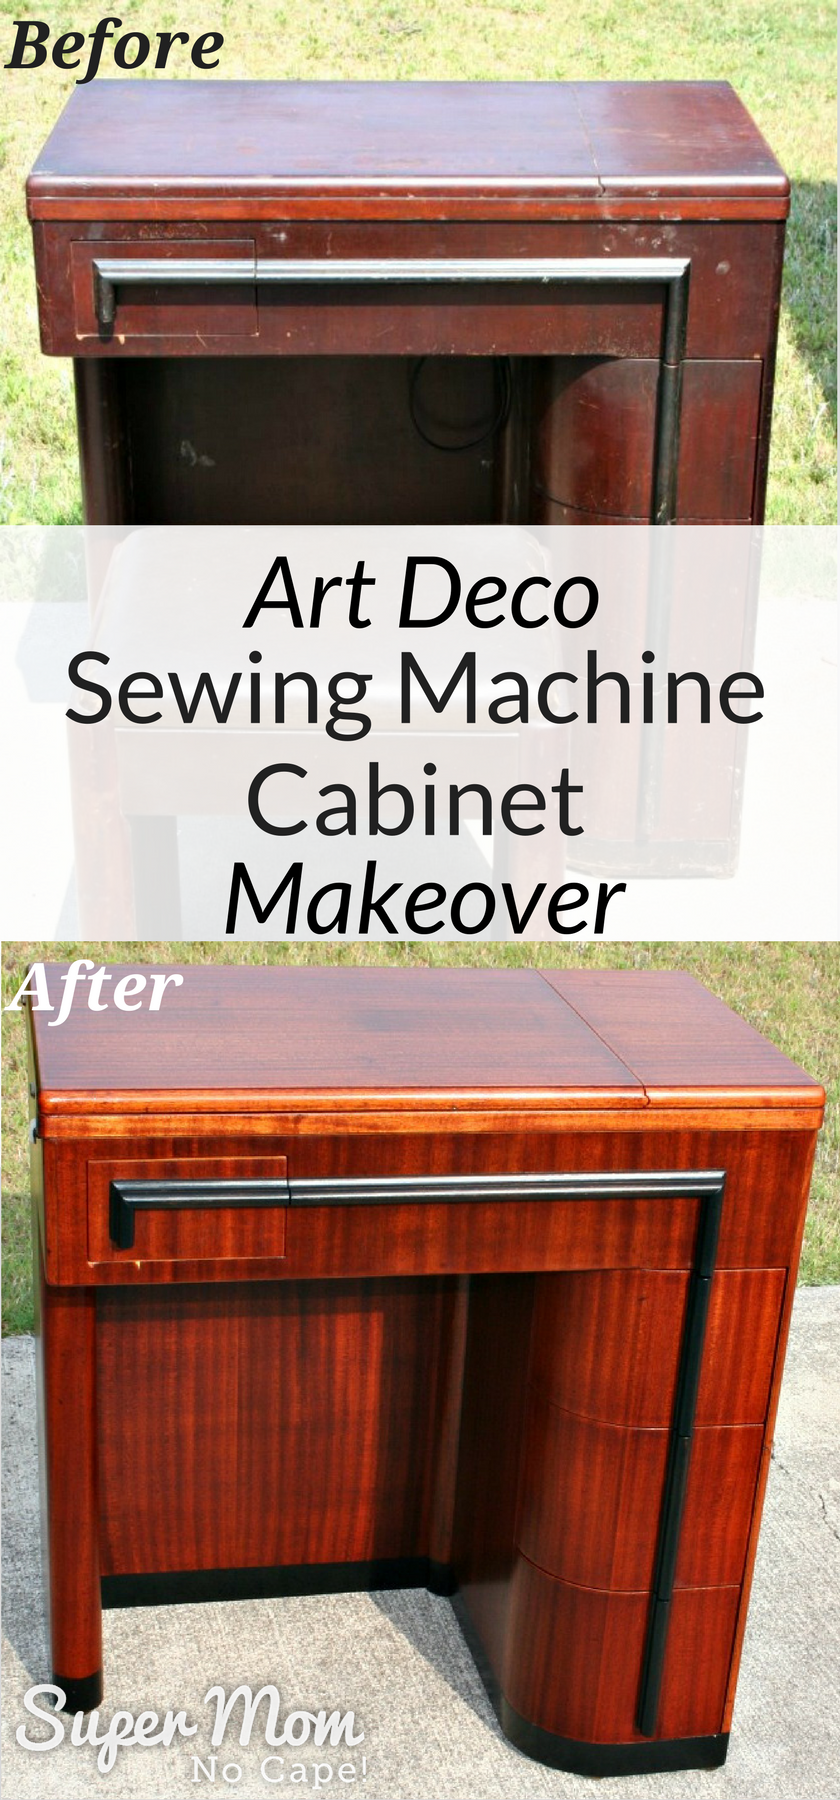
Before I show you how she looks now that he’s finished working his magic, let me show you what it looked like when we brought it home from the yard sale.
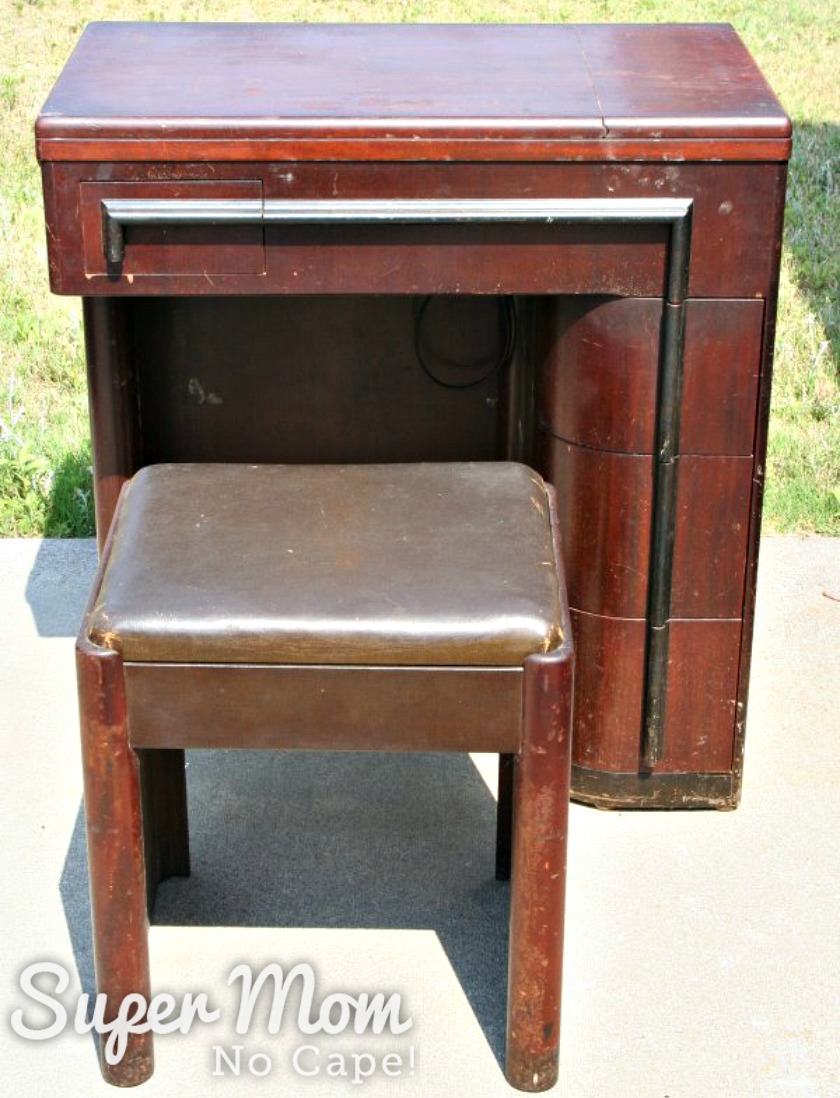
As you can see, she had gone unloved for quite some time. I shared more photos in my original Art Deco cabinet post about where we found the cabinet and how much it cost.
Dave did an amazing refinishing job and the cabinet is absolutely stunning when seen in person. The photos I’m about to share don’t do it justice.I couldn’t be more pleased with how it came out!
There remain a few “imperfections” where the years had taken it’s toll on the cabinet; a chip in the veneer under the left hand drawer, a dent in the wood of the left hand extending leaf where someone had tried to close it while the machine was still in the upright position… small imperfections that Dave decided to leave untouched because to attempt to repair them might have caused irreparable damage to the cabinet itself.
And in their own way, they are a testament to her many, many years of service and only enhance her charm in my eyes.
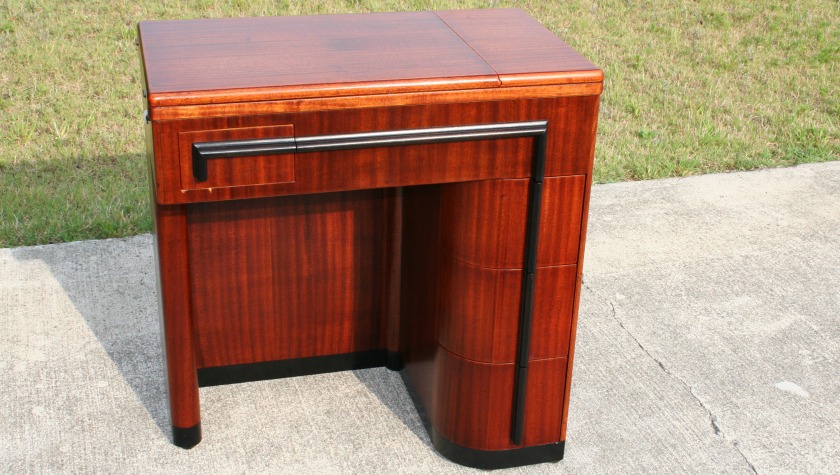
The refinishing was done in the garage so before we took the cabinet into the house, I took some pictures of it out on the driveway to try to catch the early morning sun.
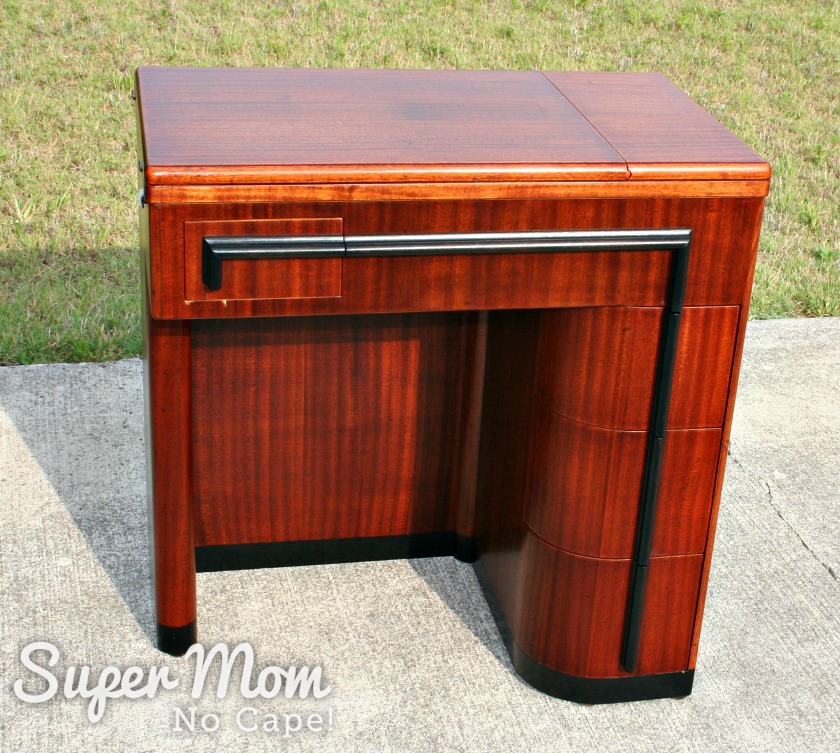
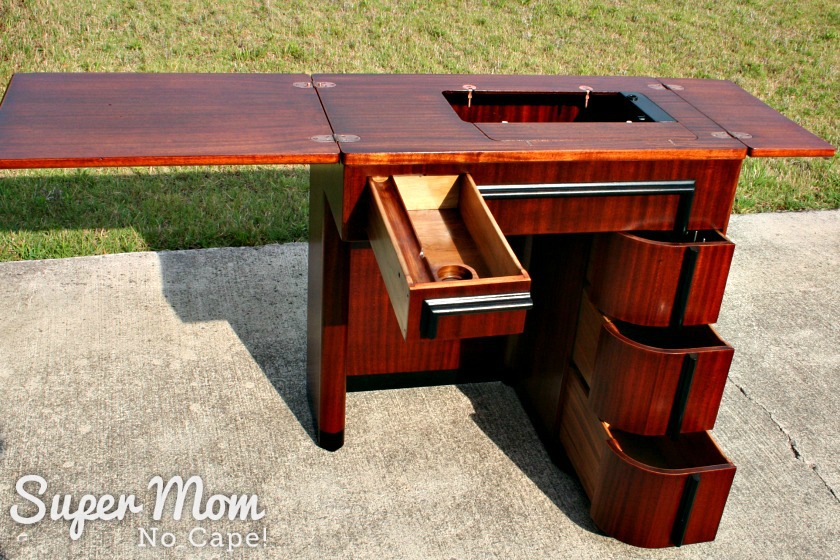
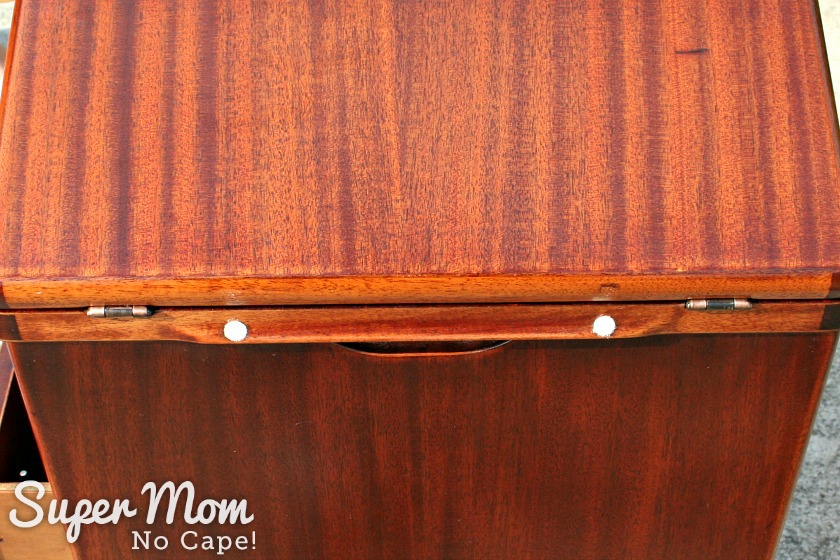
In the photo below, you can see how even the brass hinges have been cleaned and returned to their original beauty.
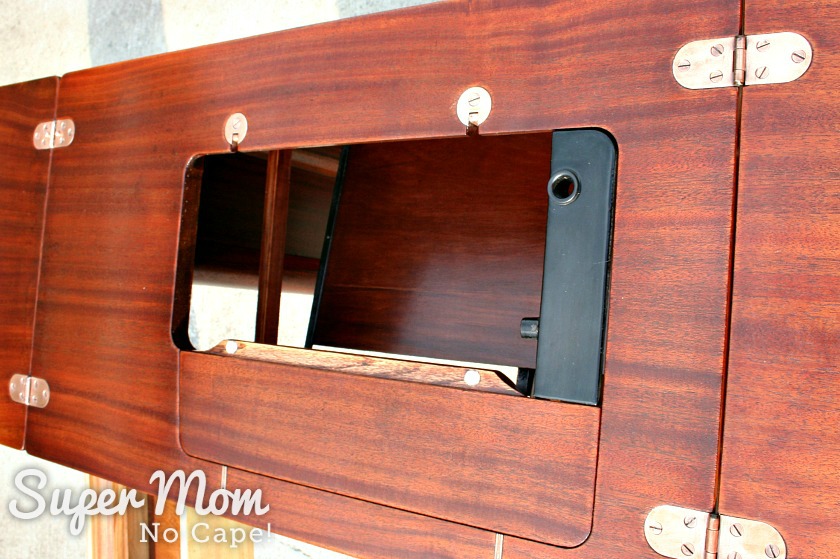
All the felt pads were replaced with new ones as the originals had gotten hard and worn with time and weren’t providing any cushioning when the leafs were open.
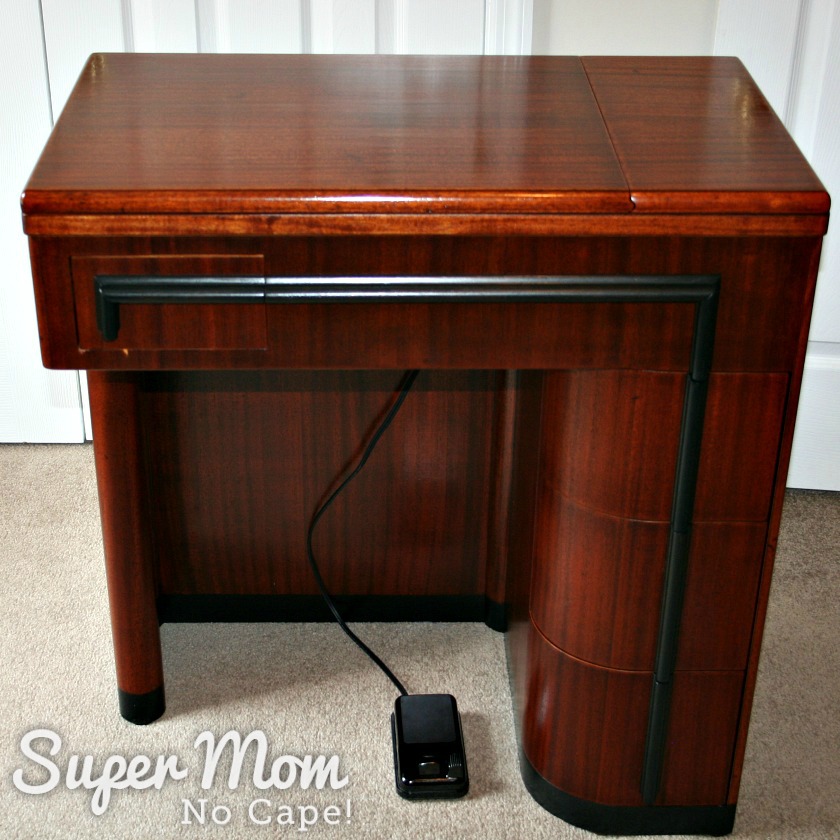
I’ve been using the machine in it’s new cabinet for a week now but we couldn’t get good photos as it was positioned in the room, so Dave moved it temporarily so that we could have the light from the one window in that room.
One thing is for sure, we don’t want to have to move this cabinet too often because with the machine in it, it is really heavy!
Here’s another shot of the front of this lovely old Art Deco sewing machine cabinet.
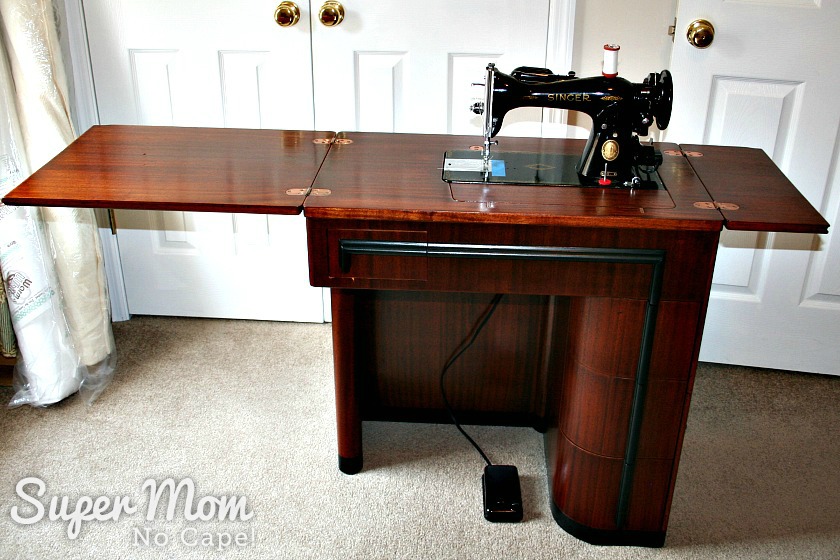
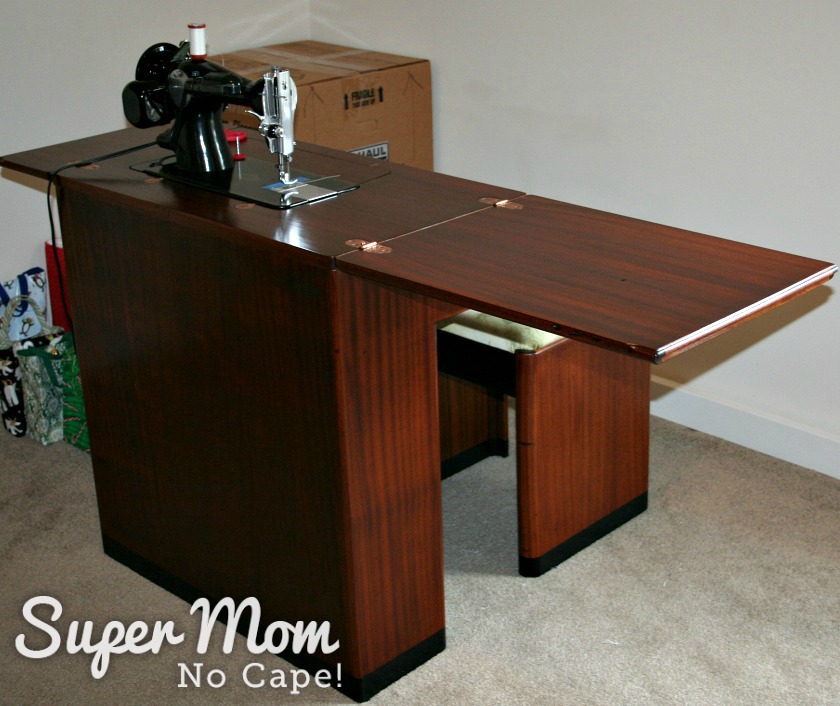
And here is my Singer 15-91 installed in her new home.
If you’ve ever wondered how to remove and reinstall one of these vintage sewing machines in their cabinets, Dave and I have created a step-by-step photo tutorial as well as a video tutorial.
Isn’t this 15-91 Singer sewing machine a beauty!
She is a dream to sew with and has given me back my joy when sewing after struggling for years with a more modern Singer.
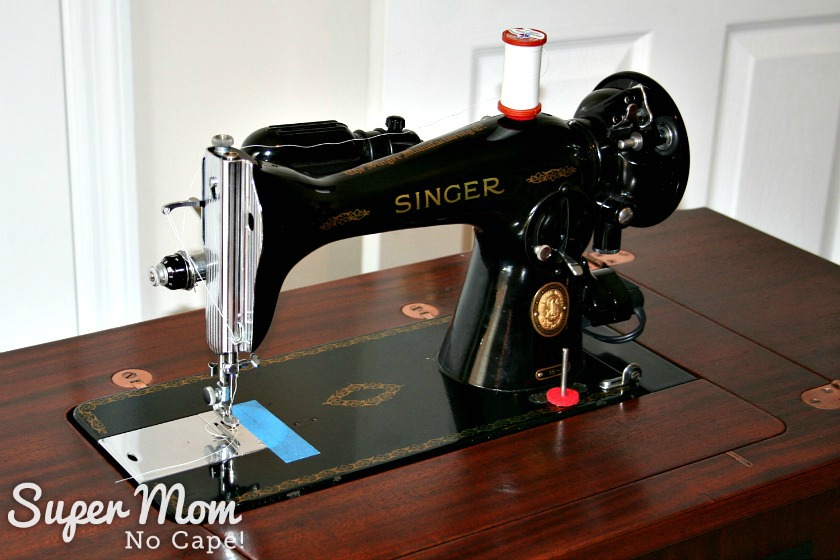
Excuse the blue low tack painters tape you see on the needle plate. It’s being used as a temporary seam guide until the new Adhesive Needle Throat Plate markings arrive from Sew Classic.
I can’t leave out the fact that Dave also refinished the bench seat that came with the cabinet.
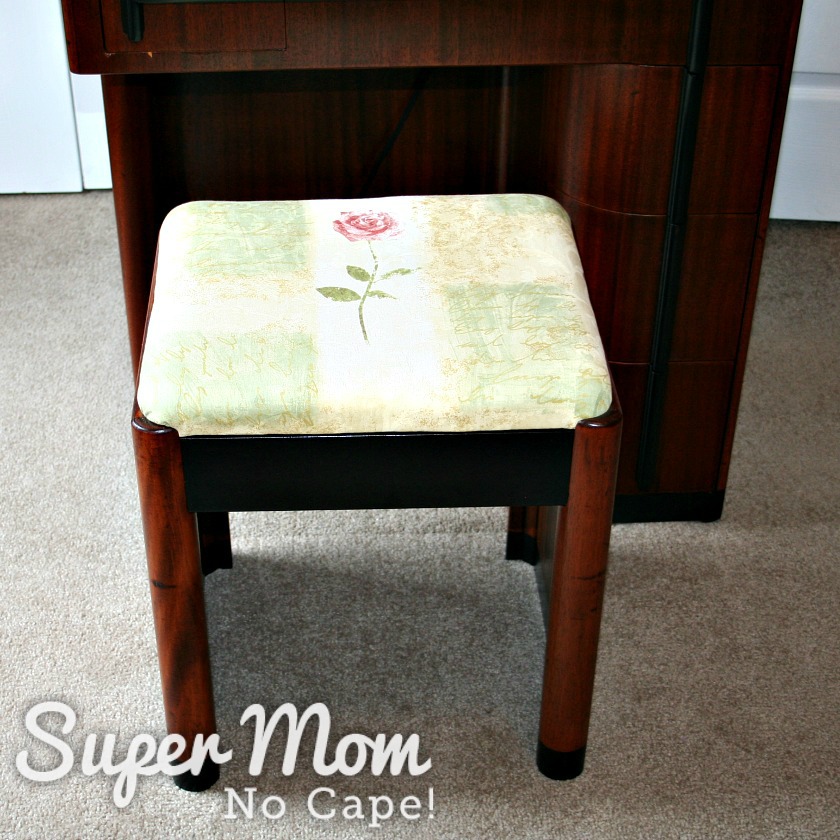
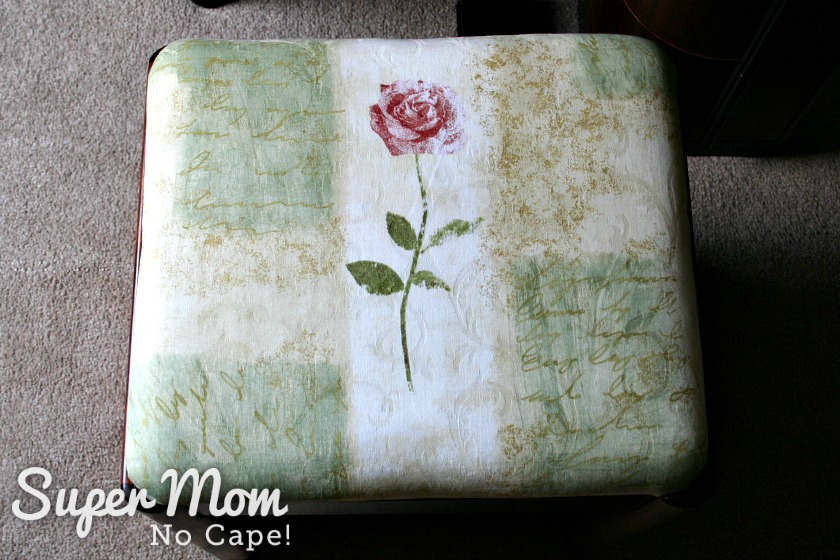
He even reupholstered the cushion with fabric from my stash.
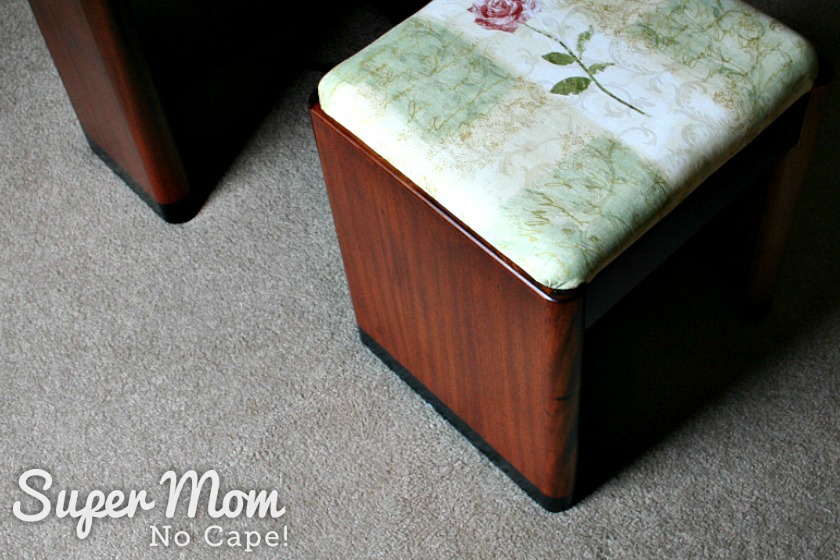
If you look closely you’ll see the ebony strip that Dave added along the bottom edge of both the cabinet and the stool.
Another unique touch that was added, at my request, are the spool holders he inserted into the middle drawer on the right hand side of the cabinet. Each spool rod holds a tall spool with room for its matching bobbin on top.
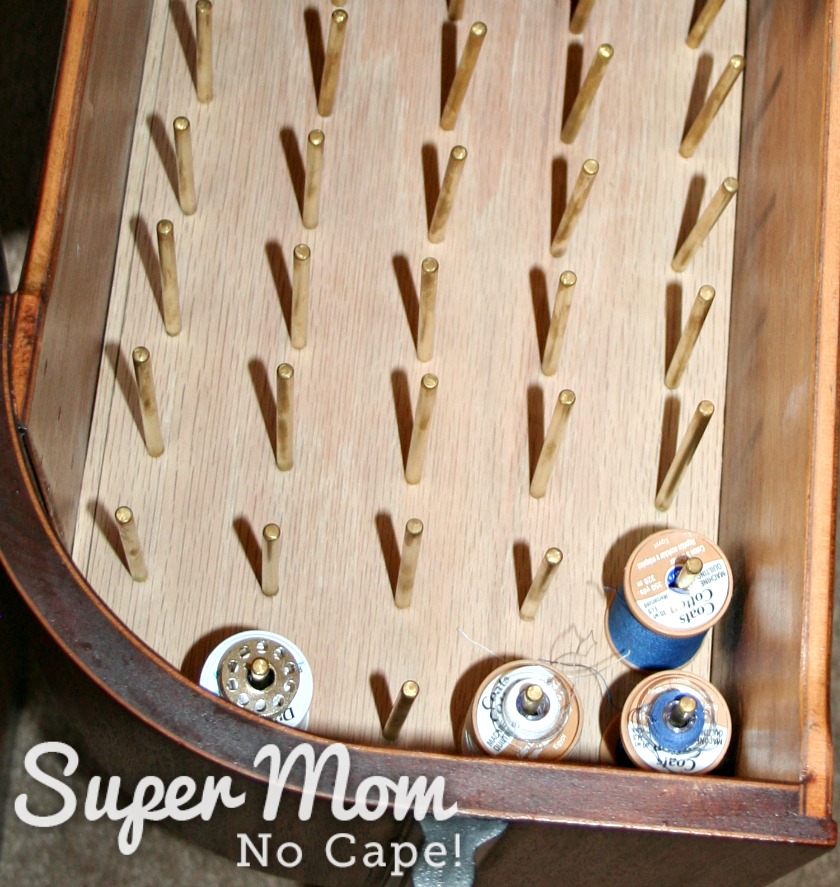
Before someone notices and mentions it, yes, I know that two of the bobbins are plastic bobbins. Those are for my modern Singer sewing machine and won’t be used in the 15-91.
The Simplicity Sidewinder Bobbin Winder that our son gave me for Christmas is going to come in handy for rewinding bobbins as I change thread back and forth between my two machines.
One final picture of the cabinet where it now sits ready for me to finish sewing the lawn chair cushions and countless other projects I have planned for the future.
Before pictures of the cabinet can be seen in my post Art Deco Cabinet for My Singer 15-91.
For an in-progress picture check out Art Deco Cabinet – Some Dis-Assembly Required.
Update: This Art Deco Sewing Machine Cabinet, home to my Singer 15-91 continue to hold pride of place in my sewing room. I sew with her almost exclusive. These old ladies were built to last and well cared for, she will outlast me and probably our children.
If you want to come back to this post sometime in the future, be sure to save it by clicking on the Pinterest button underneath this post.
And of course, I’d love it if you shared it on Twitter and Facebook as well. 🙂




22 Comments
Kent
May 25, 2021 9:53 pmBought this same one today. Hoping to get it to look awesome.
Super Mom No Cape
May 26, 2021 8:54 amHave fun refinishing your cabinet, Kent. I still love mine.
mary e springhorn
January 28, 2021 7:55 pmHi, I have the same cabinet/sewing machine and I am in the midst of disassembling it to refinish it. But….I can’t figure out how to remove the three large right sided drawers. Can you enlighten me? Many thanks.
Julie
June 23, 2020 10:18 pmI just purchased this same cabinet for $25. I don’t know if the sewing machine part works. Can’t wait to refinish it and bring out its beauty.
Super Mom No Cape
June 25, 2020 4:20 pmThat’s awesome Julie! Have fun bringing your new beauty to life.
trinidad
January 20, 2020 10:38 pmSuper Mom no cape? I recived one as a gift. It look like it gut wet some time ago in the in side of the
leaf and new motor but i love it. do you know how old it is. i would like to now.
I don’t now to start
Jessica Hatch
July 21, 2019 10:21 pmHi! I just inherited a very similar cabinet with a 201-2 machine. It’s been well loved and used but I would like to freshen it up. How did your husband do the work? I’m pretty confident as I’ve done many solid wood restorations and refinishing but this is a Mahogany Veneer and I’m scared to ruin and devalue her. Any input?
Super Mom No Cape
July 25, 2019 9:49 amHello Jessica,
My husband sanded my Art Deco cabinet down right to bare wood… cabinet, drawers, leafs… it all was completely sanded down, even inside.
It had lived in a house with a very heavy smoker and it reeked of stale tobacco smoke. He did have to be careful not to sand through the veneer.
After the sanding was complete, he stained it and then sealed it with several coast of polyurethane. If I remember right, he used 3 coats on the main body and 5 coats on the leafs with sanding between coats.
I hope that helps.
Edith
June 26, 2019 8:34 pmHello! The sewing cabinet and machine are beautiful. I inherited an very similar Art Deco cabinet but with a White 77 inside. I feel silly to ask this; but my leaves don’t open. Is there a lock on yours or something that keeps them close? I will like to start using it ?
Super Mom No Cape
July 1, 2019 10:07 amHello Edith,
Mine doesn’t have a lock of any kind. The ends of the two leaves fit into each other when closed, but they don’t lock. When I want to open the leaves, I simply lift them up.
Sorry I couldn’t be more help.
karen
June 1, 2015 3:53 pmI have my grandmother’s and would love to sell to a good home where it will receive lots of use! I have all the original instruction book and everything works. Even has all her supplies still inside the bench and drawyers. At a loss of what to do with it. Sentimental value mostly.
Carla
July 22, 2012 3:50 pmOh my word – it’s a real beaut for sure now!
You’ve probably already done your move (I see your comment is from 6/15) but I’ve found using that packing ‘cling film’ stuff plus old blankets, comforters, drapes etc. is the best ever for protecting furniture when moving. I get the textile stuff at rummage sales and thrift stores and often cut it to fit and/or wrap the piece. Then wrap it every which way with the cling film. If it is something that is awkward/heavy to carry, tie some rope handles on it before the cling film goes on.
mary williams
February 8, 2012 6:25 pmBrings back memories!!!! my mother had that same style cabinet and stool…Oh how I wish I had it now. It is just beautiful. I just picked up a wood sewing cabinet at the Goodwill today for $3.99. More of a 60’s style but still anxious to get this one refinished also. Thanks for sharing….many wonderful memories were stirred.
Robin (rsIslandCrafts)
July 23, 2011 8:09 pmDave did an amazing job! I just went back and looked at the before picture – WOW! What a transformation. Now you have a wonderful cabinet to sew on. I think the thread spools in the drawer is a great idea. Your thread will be nice and close when you need to switch threads. My Daughter bought me a sidewinder a couple Christmases ago. I didn’t think I would use it but I use it all the time. It is very handy.
Beverley Collins
July 16, 2011 12:19 amOh wow! A beautiful restoration job. it’s gorgeous!
Martha
July 15, 2011 4:41 pmI have the same sewing cabinet. Mine came with a Riccar (yellow & green) sewing machine. Bought it at a flea market but it didn’t come with the bench seat. I had wondered what I should be looking for to replace it. Now I know. Thanks.
Home sewing machines
July 15, 2011 3:16 amAfter 35 years of working in the sewing machine industry, i can honestly say that i’ve never seen a cabinet like that before. Its very interesting.
Sandra :)
July 11, 2011 1:16 pmAaaaaaaaaaaaaaaah a most gorgeous home for a most wonderful machine – plus it’s a work of art for your house … and I bet it kept hubby out of your hair for a while – that’s a bonus! 😉
I used my 201 without a seam guide for almost a year before I smartened up and ordered a new plate – what a difference it makes having the guide, lol!
Amy, a redeemed sheep
July 11, 2011 10:02 amIts beautiful! What a treasure you have.
corina
July 10, 2011 7:30 pmWow! You are very lucky! Dave does beautiful work. He must have a lot of patience to refinish a piece like that – the sanding must have taken forever! Looking forward to see what you produce with your new setup!
Katherine
July 10, 2011 3:16 pmIt looks breath-taking, Sue! Dave did a wonderful job refinishing and I love the drawer with all the spool holders. What a clever storage idea! Your 15-91 looks like a dream in her new cabinet, you’ve given her a beautiful setting. Thanks so much for sharing the journey. It’s just amazing to see what a lot of love and TLC will do for vintage treasures. I know you will be enjoying this machine and her gorgeous cabinet for years (and many, many projects) to come!
Comments are closed.