One day last week, I was tracing some embroidery patterns onto muslin with the pattern and fabric taped to the window of the back door. I commented how much easier it would be to trace them if I had a light box and wished there was a way to make one that wouldn’t cost too much.
A few minutes later, I noticed that Dave had disappeared into the garage and then was off for a quick trip to the hardware store. Some more time in the garage and he came in with a new light box for me.
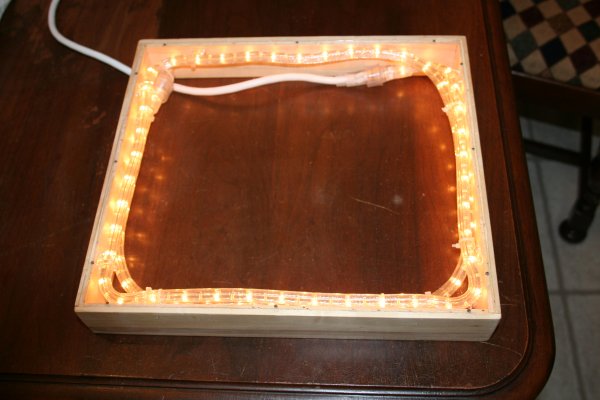
This is what he started out with:
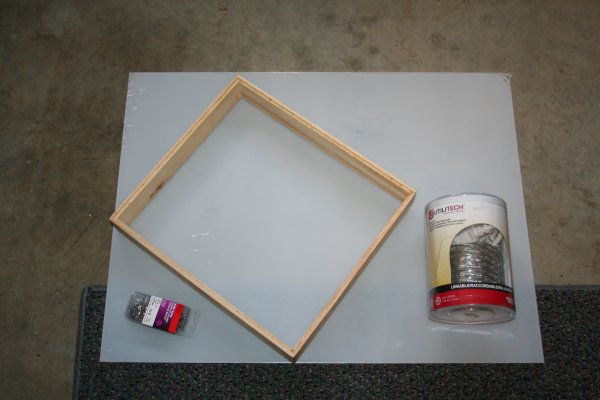
The wood frame is from an extra drawer organizer that was stored in the garage. He removed the dividers and the bottom to give him the frame. The sheet of plexiglass, rope light
and tiny finishing nails he picked up at the hardware store. (<-affiliate links)
He installed the rope light using the clips that came with it.
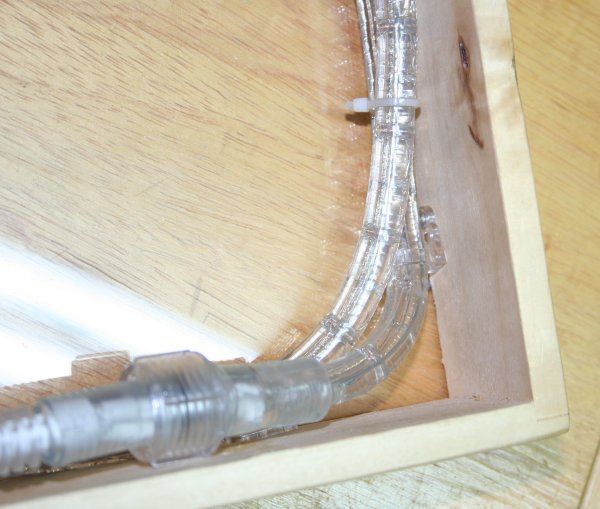
A notch was cut in one corner for the cord to come through.
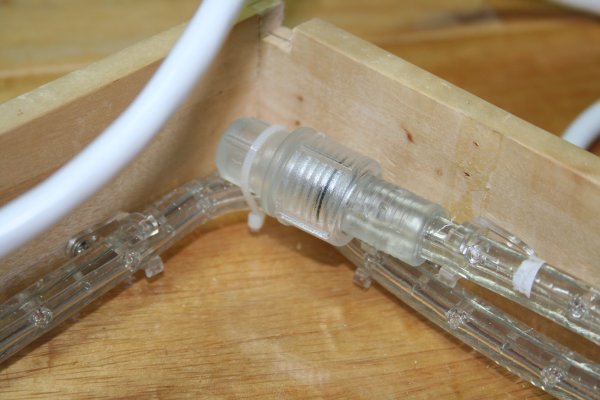
A bit of his time, under $20 in materials and here’s the finished light box. (There’s enough plexiglass left for another project and of course lots of tiny nails for many future projects)
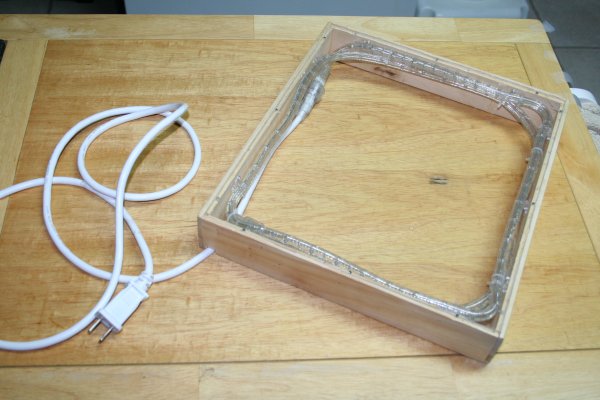
And this is my new light box in action:

One of my next sewing projects will be to make a bag to store it in.
This post contains affiliate links. For more information please check my Disclosures and Disclaimers page. It doesn’t cost you any extra, but it does help support this site.



3 Comments
Pat
March 19, 2015 11:42 pmThis is a great DIY idea. Thanks for sharing … 🙂 Pat
maria wilson
February 28, 2011 2:00 amI think he is a keeper.
My DH made my out of an old draw. I had to have a bigger one to also use for my leadlighting.
SuperMom
February 28, 2011 12:12 pmOh yes, I can see that you would need a bigger light box. I love stained glass and have a few pieces that I’ve bought or traded for over the years.
Comments are closed.