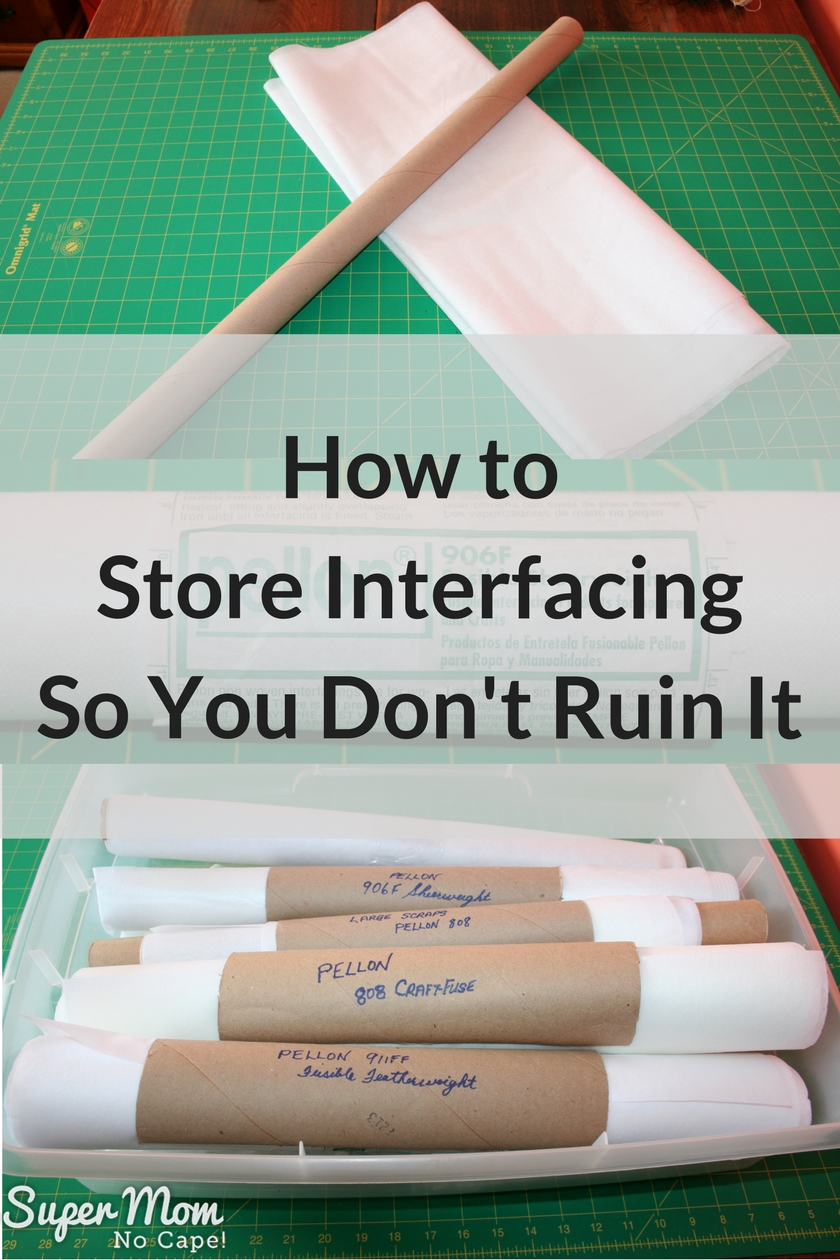
Are you guilty of not storing your interfacing properly? Let me show you how to store interfacing to keep it wrinkle free and ready to use when you need it.
On the weekend, Dave and I made a quick trip across the border so I could use the great coupons that Joanns emailed out last week.
The 40% off coupons allowed me stock up on interfacing that I was running short of.
This morning when I was putting it away, I realized that I’d shown you how I store my fabric, but I’d never shown you how I store interfacing to keep it from getting wrinkled and difficult to use.
How to Store Interfacing
I hope you’ve saved your empty wrapping paper tubes from Christmas.
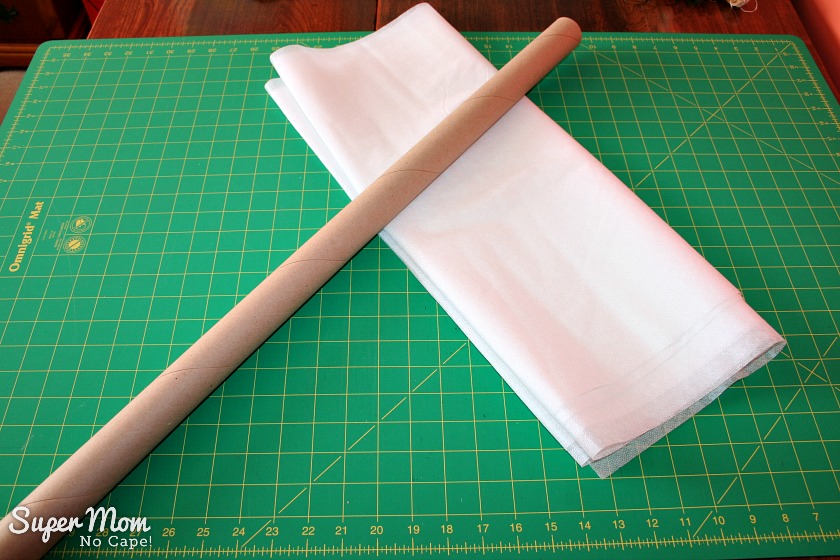
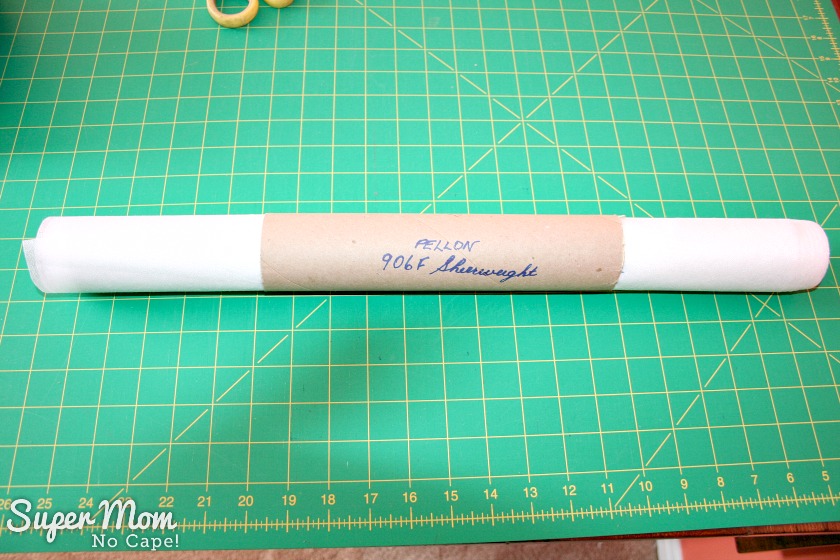
Cut the cardboard tube a little longer than the width of the interfacing. I cut mine down to 21 inches.
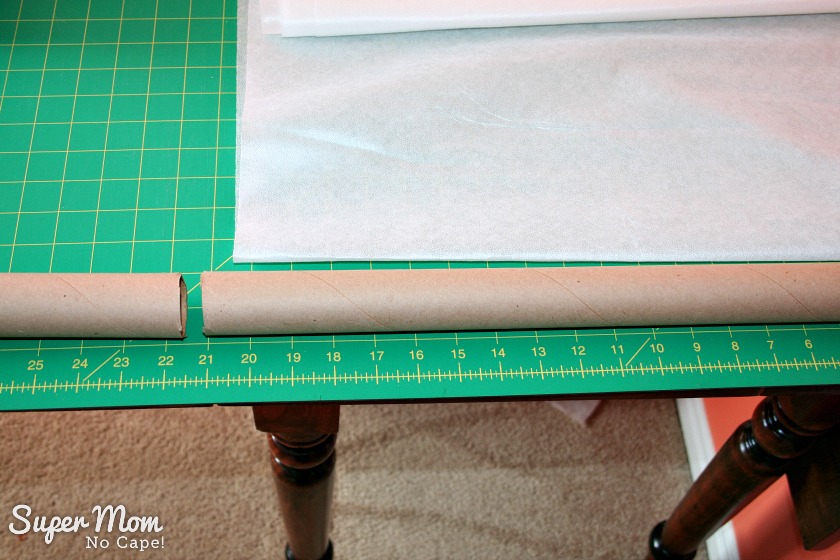
Roll the interfacing around the tube.
Then to keep it from unrolling, wrap a strip of the paper instructions around the tube and tape to hold in place.
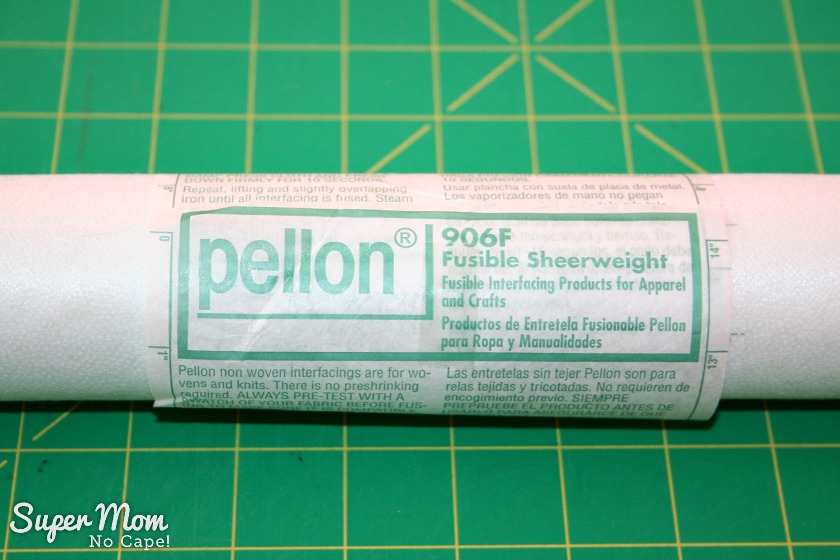
This has the added bonus of telling you what type of interfacing is on that particular roll.
Or you could cut a slit all the way along one side of the leftover piece of cardboard tube…
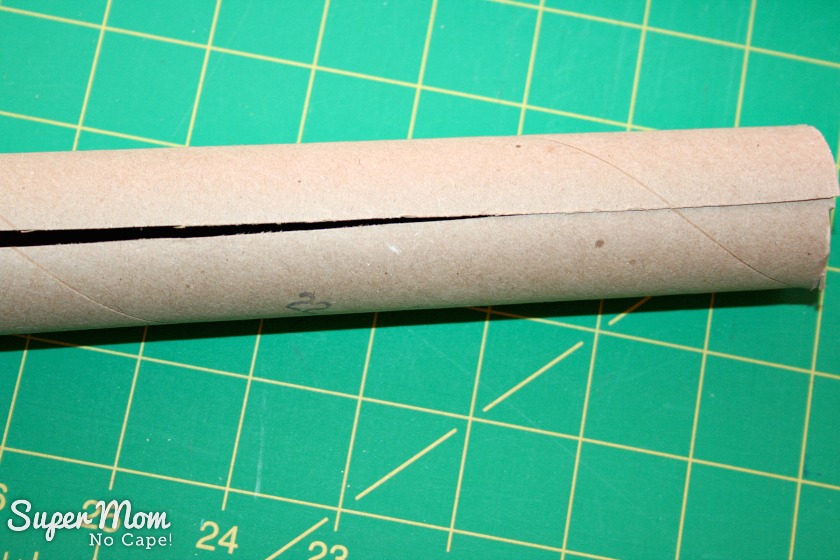
Write the name and weight on it and slip it around the roll of interfacing.
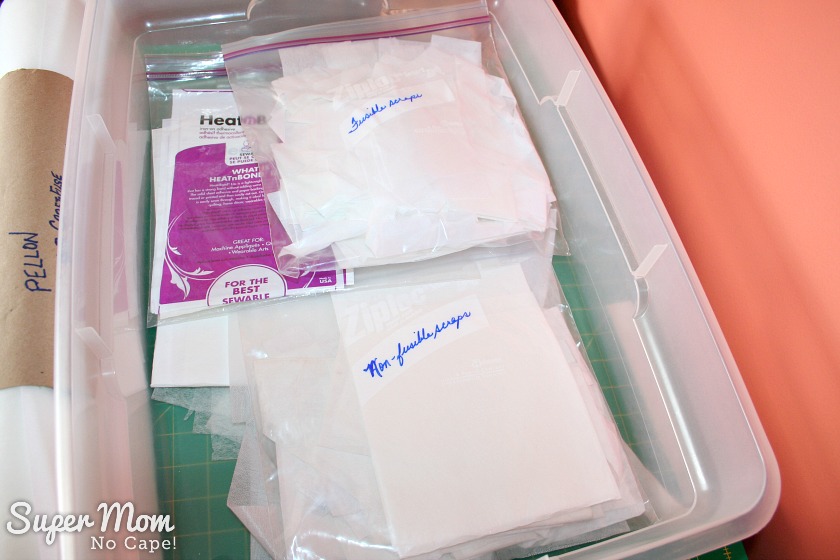
I keep interfacing scraps in labelled Ziploc® bags in the bottom of a Sterilite 28 Qt Storage Bin.
My storage bin measures 23″ X 16.25″ X 6″.
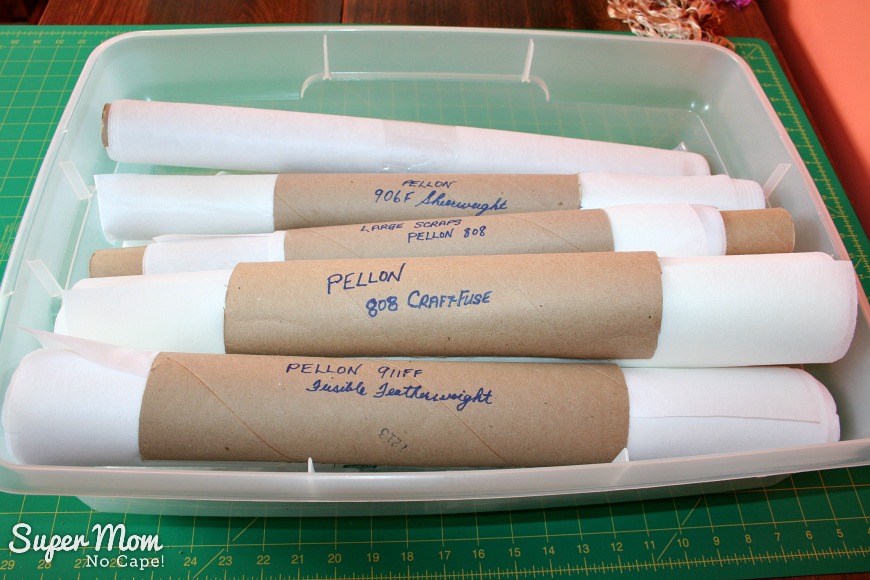
I’m all stocked up on fusible interfacing for a while!
You might also like to check out these posts:
I now have additional thread storage thanks to this vintage stool we upcycled into a Thread Storage Stool.
And did you know that your thread spool is hiding a secret? Find out what secret your thread spool has been keeping from you!
Save How to Storage Interfacing for future reference by clicking on the photo below or by clicking on the Pinterest button underneath this post.
And of course, I’d love it if you shared it on Twitter and Facebook as well. 🙂
This post contains affiliate links. For more information please check my Disclosures and Disclaimers page. It doesn’t cost you any extra, but it does help support this site.






26 Comments
Kelly
August 31, 2018 5:35 amI just ran across your post via FabricMartFabrics.com Pinterest Pins. This is a great idea. The option of using the additional “slit tube” to write on is one of those things that you pop yourself on the forehead about. I’ve seen that done for wrapping paper control, so “why didn’t I think of that?”! I definitely will be keeping the instructions with it. I look forward to browsing around in your website!
Amy
April 28, 2019 12:33 pmFor the outer roll that is holding it together, use slit toilet paper rolls! You will have a new one every week or two!!
Super Mom No Cape
May 29, 2019 11:01 amThat would definitely work as well Amy.
Jennifer Shugart
December 30, 2017 6:25 pmThis is a great idea!
Hilda Chaski Adams
August 16, 2017 10:59 amMay I reprint your article on storing interfacing in the newsletter of the St. Louis Chapter of the American Sewing Guild. Of course, we will attribute the article to you. You have a fabulous site!!!
Thank you
Super Mom No Cape
August 17, 2017 4:10 pmI sent you an email Hilda. 🙂
Christine Suddarth
March 22, 2017 11:10 amExcellent!!!! Thank you for this. I needed a good solution. This is it 😀
Kim Thibodeaux
November 21, 2016 2:37 pmI actually use a similar technique for storing vinyl/faux leather. I wrap it around foam pool noodles that I get for $1 at stores like Dollar Tree and Dollar General (in the U.S.).
Kelly
August 31, 2018 5:28 amThat is a great tip, Kim! Those pool noodles sure have a plethora of uses other than what they were intended for!
Debbie
October 22, 2016 12:33 amWhat a novel idea – thanks! I’ve been looking for a way to keep my interfacings better!
Sandra Williamson
August 25, 2016 3:48 pmAren’t there some interfacings, stabilizers that must be kept from air or they’ll degrade or become unusable? I’d think WSS is one example, especially if it’s high humidity? I’ve heard some stories of tough learning. If that’s true, do large airtight zipbags made that fit over the tubes? What size would be required or would a different wrapping be suggested.
Super Mom No Cape
September 9, 2016 11:10 pmHello Sandra,
I sent you an email but thought I’d respond here as well in case others have the same question.
Thanks so much for stopping by my blog and for your question. Sorry it’s taken so long to respond but I’m doing some research on your question.
For now… as far as I know the only product that I’ve ever been told that should be carefully stored away from exposure to air is WonderUnder fusible web. WonderUnder is a product that I’ve used once and never used again because it was so difficult to get it to released from the paper and often when I did get the paper off, it fray the edges of the fabric applique piece.
I use HeatNBond and just store it in the plastic packaging it comes in. So far I’ve never had any trouble with it deteriorating and I’ve been using it for years.
The Pellon interfacings are stored just as you saw in the post and I have scraps that are years old that when I use them they work just as well as if they were brand new.
I hope that helps. 🙂
Wishing you a wonderful, heart-centered day with much Aloha,
Sue
Shasta
January 12, 2016 7:44 pmI just bought some interfacing, and this is a great tip.
Susan
January 9, 2016 1:16 amThanks for your reply Sue. I will save this valuable info.
Have you ever tried anything on the back of your embroidery projects, to prevent the thread from showing through when you jump from one area to another? I remember a woman from New Zealand telling me there is something she uses- but maybe it wasn’t Pellon?
Kathleen Mary
January 7, 2016 9:02 pmgreat idea. Ill have to start saving my tubes.
Susan
January 6, 2016 10:15 pmthanks for sharing. can you share what you use the various types of interfacing for?
Super Mom No Cape
January 9, 2016 12:41 amHello Susan,
That’s a great question. And one that I should probably write a post about soon.
But for now… the Pellon 808 I use when I’m making totes or zippered bags. It’s a good heavy interfacing that gives them structure. It gets fused to the wrong side of the outer fabric. If I’m also adding fusible fleece to the outer fabric… the 808 is fused on after the fleece.
The featherweight interfacing is also used for totes and bags. I fuse it to the lining. It’s not nearly as heavy as the Pellon 808 but it helps the linings to look better and function better in that they stay put inside the bag rather than shifting around.
I use the featherweight interfacing when sewing clothes as well… for collars, cuffs and facings.
The sheerweight it mostly used in clothing for more delicate fabrics where the featherweight would be too heavy.
Over the years, I’ve learned that using the right interfacing makes a huge difference to the final results.
Rachel
January 6, 2016 4:33 pmHow beautifully organised you are!
Brenda Hulsey
January 6, 2016 3:43 pmWonderful Ideal! I always lose track of what is what and end up buying more. This is a great way to do this and they get labels! Thank you!
Angela Grasse
January 6, 2016 3:34 pmGreat idea! Love it!
QuiltShopGal
January 6, 2016 12:36 pmExcellent tip. Thank you. There have been way too many times I didn’t use an interfacing, as fast as I had thought I would when I bought it and later I’d forget what type it actually is. I definitely want to organize my interfacing, as you do. Thanks.
QuiltShopGal
http://www.quiltshopgal.com
PS – I’m finding it really easy to follow you via mycreativebloglist.blogspot.com, although I still follow you via a variety of tools.
Doris McCarty
January 6, 2016 11:38 amThank you for this idea. I’m going to do this. Wishing you a wonderful day!
Jane
January 5, 2016 11:28 pmLove this tip. Of course all those empty wraps I gave to the grands to play with and they’re long gone. But I will be foraging for them from here on out to be sure! Thanks for a wonderful tip and Happy New Year!
Wendy B
January 5, 2016 11:24 pmgreat ideas there…..mine all stand in the corner wrapped around cardboard tubes, or in plastic bags in drawers or in drawers, or on my sewing table, or under my sewing table……need to organise a bit better I think!
Linda
January 5, 2016 11:08 pmGreat ideas! Now to find a bin and some paper tubes… Vast improvement in my methods …
Patty
January 5, 2016 8:59 pmThat’s a great idea. Mine are all folded in a bin which is messy.
Comments are closed.