Earlier this month, I posted about sewing drawstring bags that I filled with toiletries to donate to the local women’s shelter. As I was sewing them, I took lots and lots of photos so that I could share a tutorial for how I made them. Last Saturday, I finally sat down and went through over 200 photos I had taken, picked out the best, resized them and wrote this tutorial.
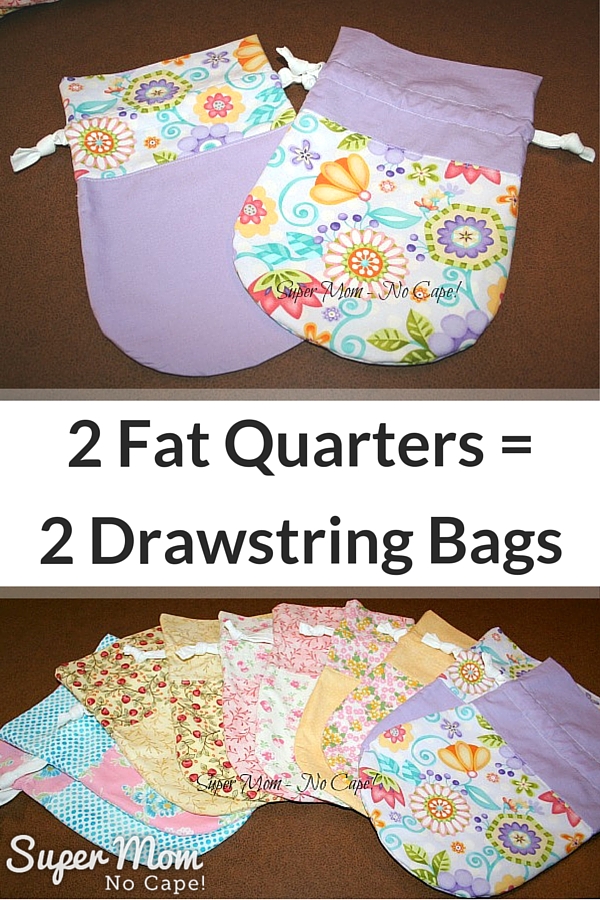
To make two fully lined drawstring bags you will need:
2 coordinating fat quarters
Fabric for lining and strings (I used Kona cotton)
Matching thread if you wish. (I was making 10 bags so I just used white thread for all of them.)
(*note that affiliate links are enclosed in the materials required)
To make the pattern for the bottom of the bag:
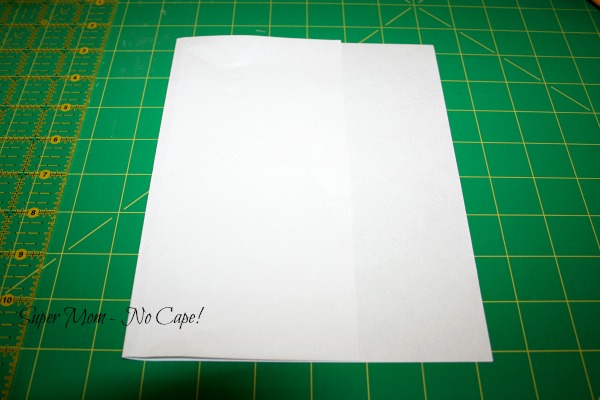
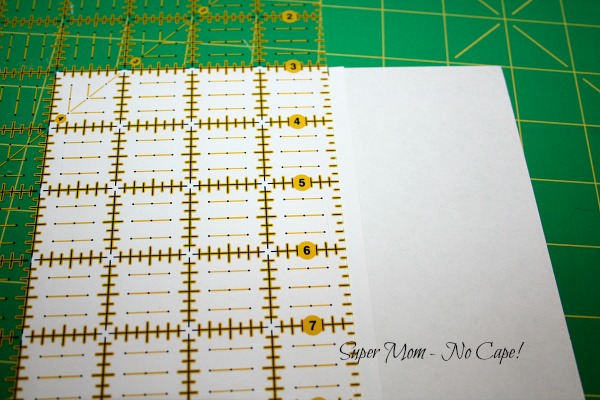
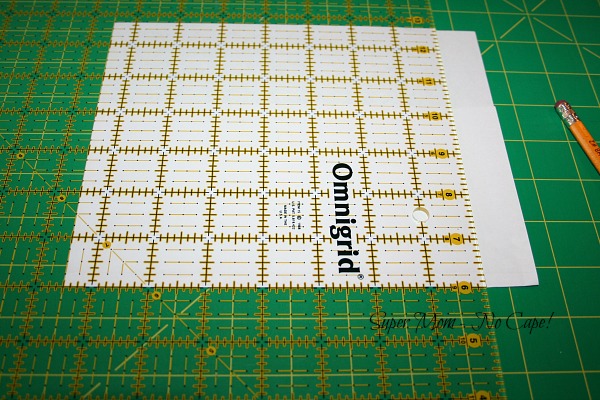
Fold over 4 ¼” of an 8 ½ X 11” piece of paper.
Make a pencil mark at 4” from the fold.
Make another pencil mark at 7 ½” along the folded edge of the paper.
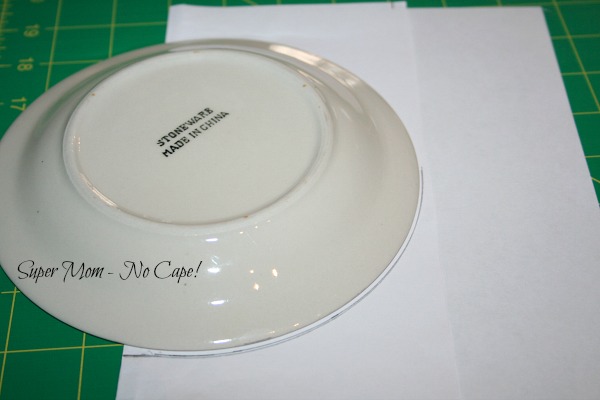
Using something round as a template (I used a small plate), draw a quarter circle from that bottom line.
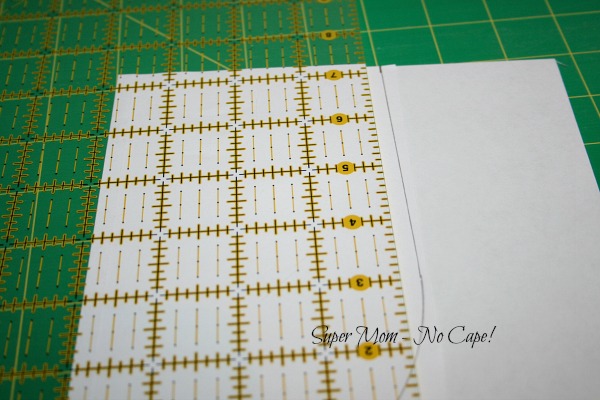
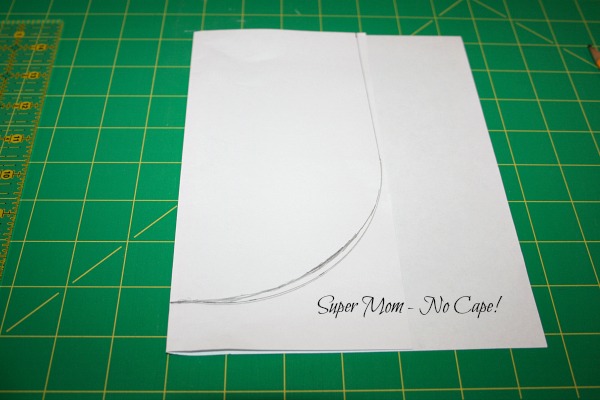
Now extend that line up to the pencil mark at the top of the paper.
Once, I’d finished doing that I adjusted the curve until I liked the way it looked.
Cutting instructions:
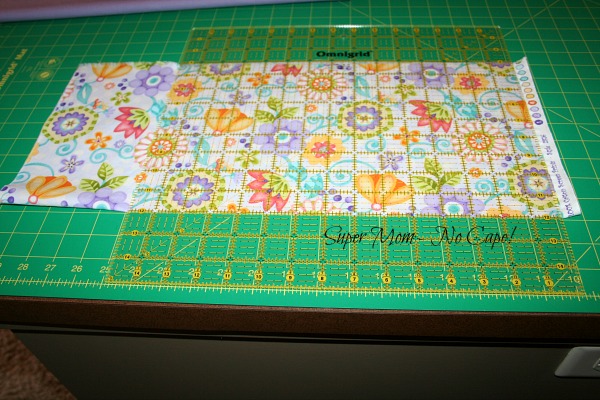
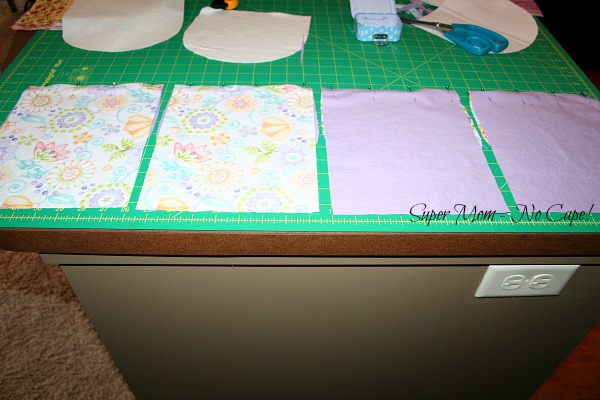
Fold each fat quarter in half so it is 9”x22”. Trim off the selvedge and square up.
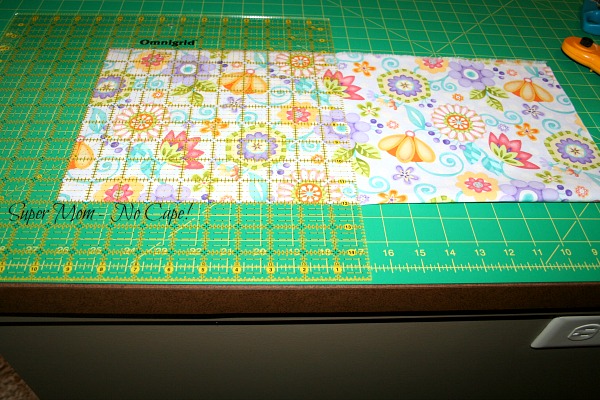
Measure and cut a 10″ strip.
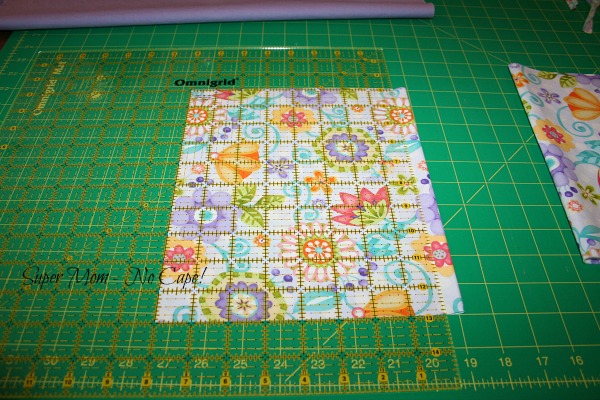
Next, turn the strip, measure 8″ and cut. You will have two 8”x10” pieces of fabric.
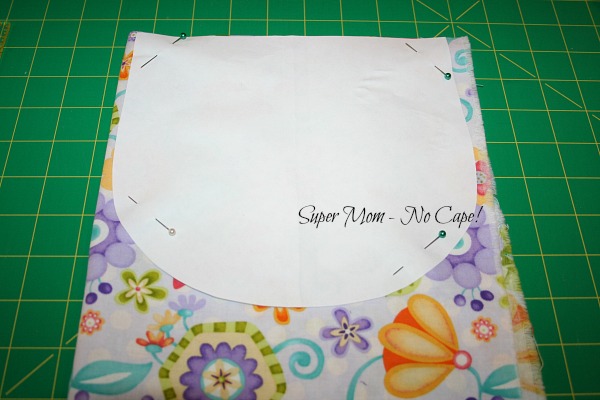
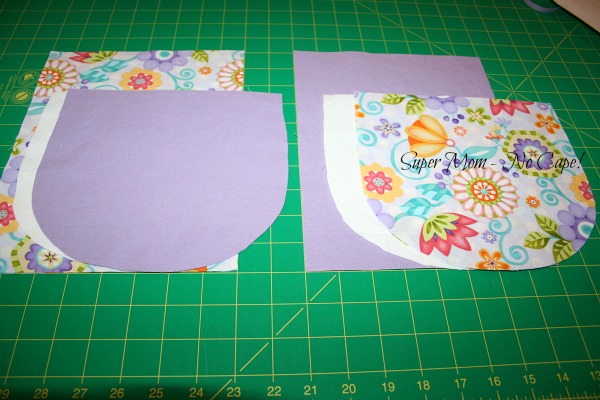
Pin the pattern piece you created to the rest of the folded fat quarter. Cut out.
Repeat the above steps with a second fat quarter in a coordinating fabric.
Using the pattern piece, cut 4 lining pieces.
You will now have the pieces you need to sew two drawstring bags, one the reverse of the other.
To make the drawstring bags:
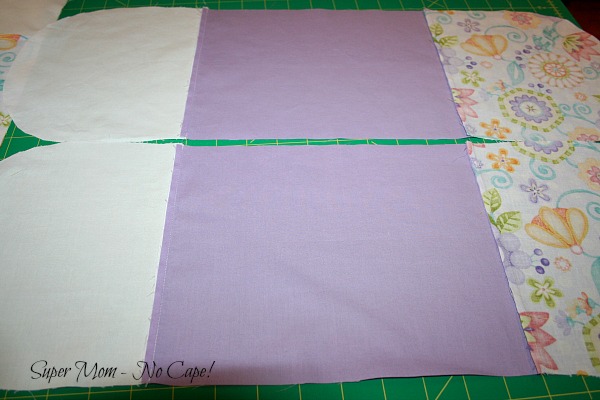
Pin one 8”x10” piece to the coordinating bottom piece.
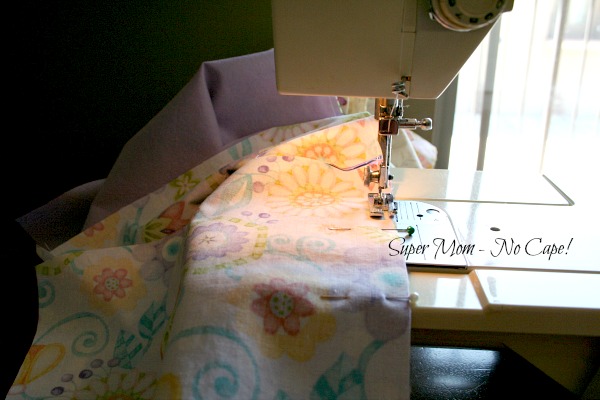
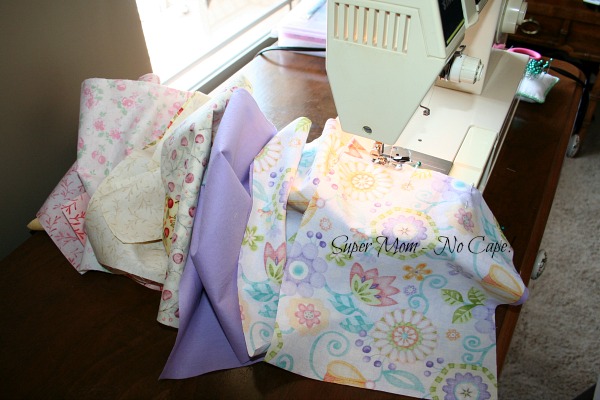
Next, take them all to the sewing machine and chain piece the pinned pieces using a ¼” seam allowance.
Remember those 10 bags I talked about making… here’s a photo of them being chain pieced.
Next, pin a lining piece to each of these and chain piece using a ¼” seam allowance.
Press the seam allowances in the same direction as pictured below.
Pin together, matching seams.
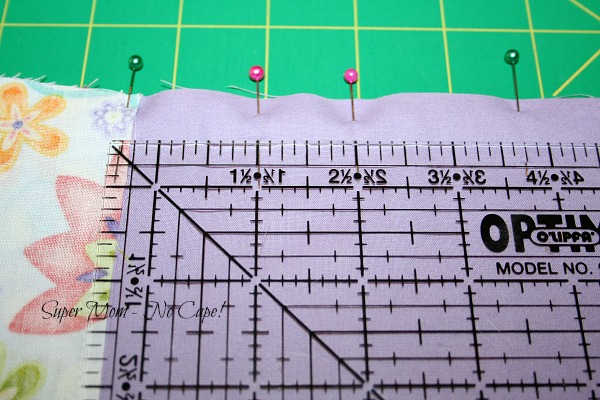
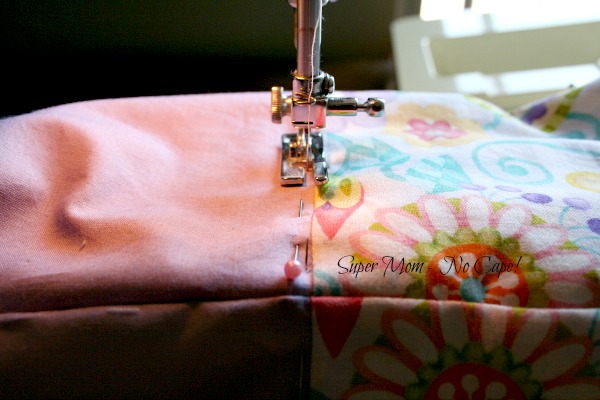
Using pins… mark openings for the casing at 1 1/2″ and again at 2 1/2″ from the seam line as pictured above. (I use pins with different colored heads so that I don’t miss them when I’m sewing.)
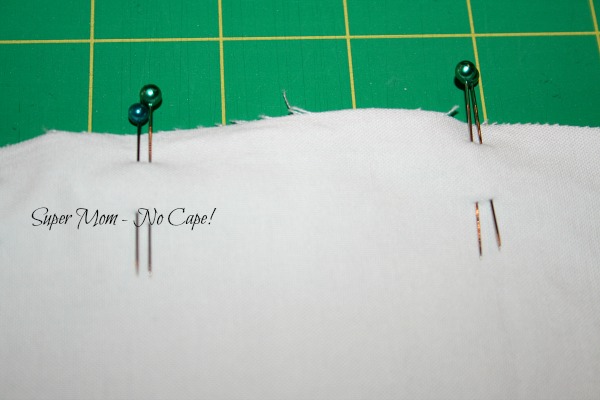
Using two pins… mark opening in the lining for turning.
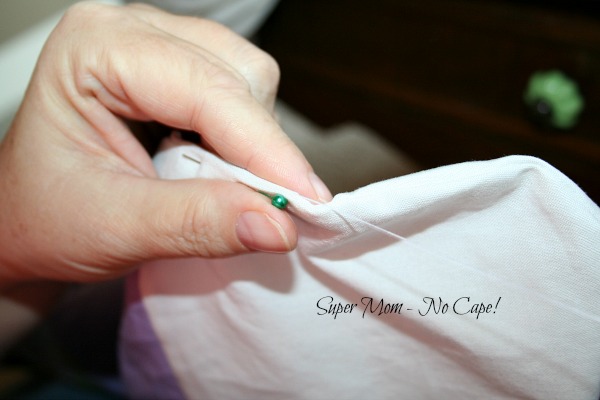
Sew all the way around, stopping and starting at the places marked by the pins, removing pins as you go. Back tack each time you stop and start.
Turn right side out and sew the opening in the lining closed.
Push the lining down into the bag. The seams that you pressed in the same direction should now nest beside each other (one seam pointing towards the top of the bag and one pointing towards the bottom.)
Pin in place and topstitch 1/8” from seam.
Press well.
To form the casing for the string:
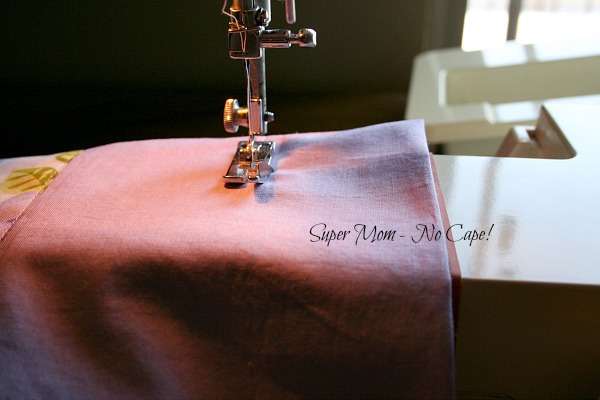
Sew 2.5” from top of bag.
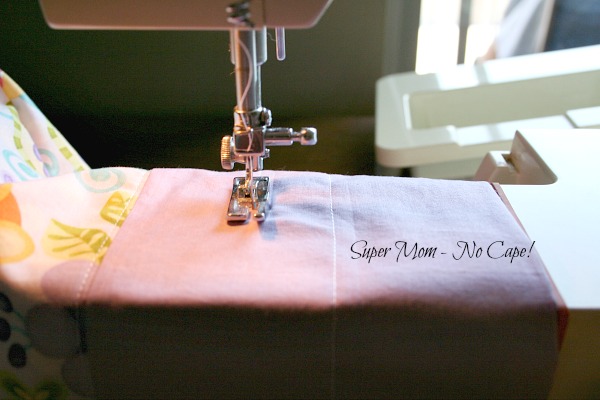
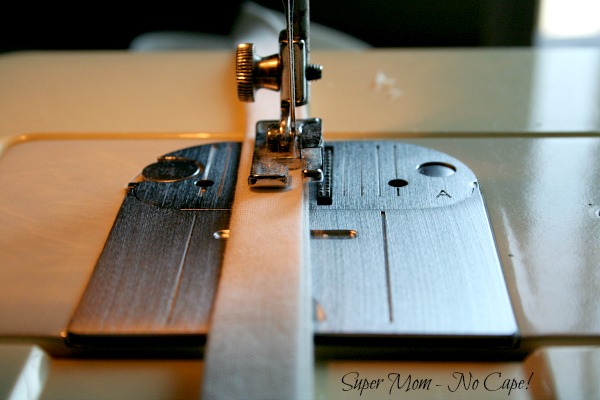
If you look closely at the photo, you can see that I used a thick rubber band to make a seam guide at 2.5” from the needle.
Sew a second seam 3.5” from top of bag. (I moved the rubber band over 1”.)
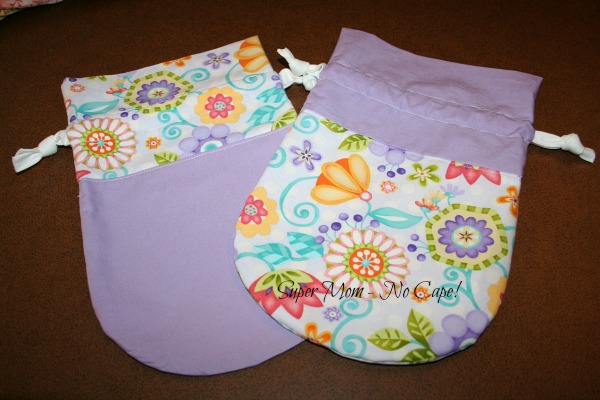
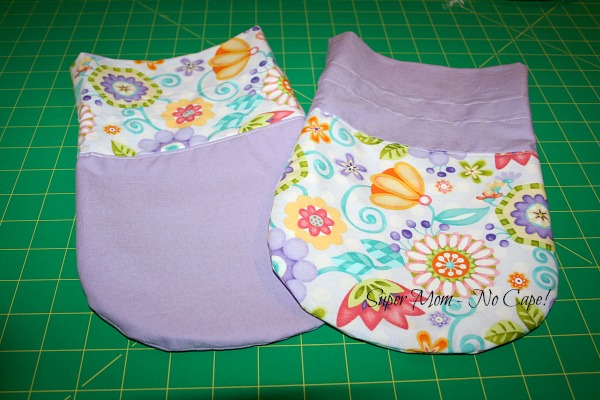
Photo of finished bags:
To make the strings:
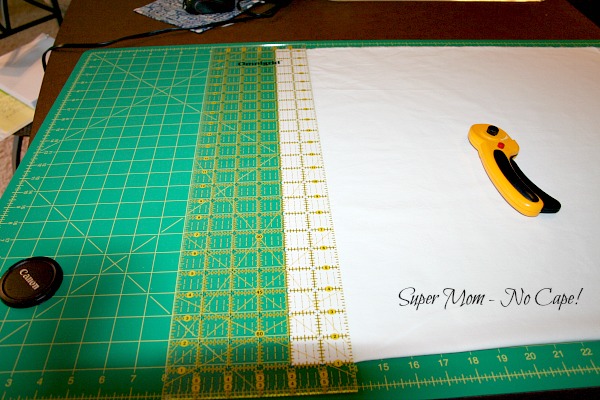
Cut two strips WOF (width of fabric) from Kona cotton (or fabric of your choice.)
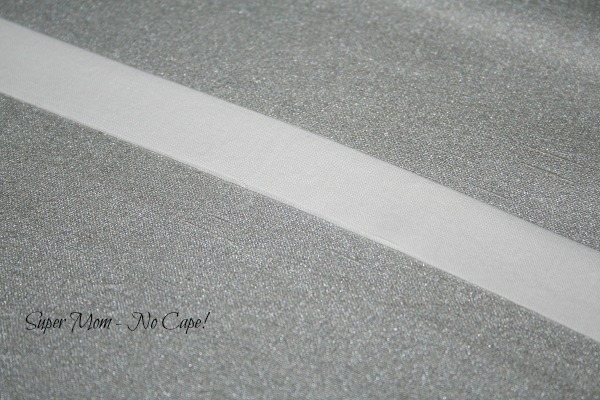
Press in half lengthwise.
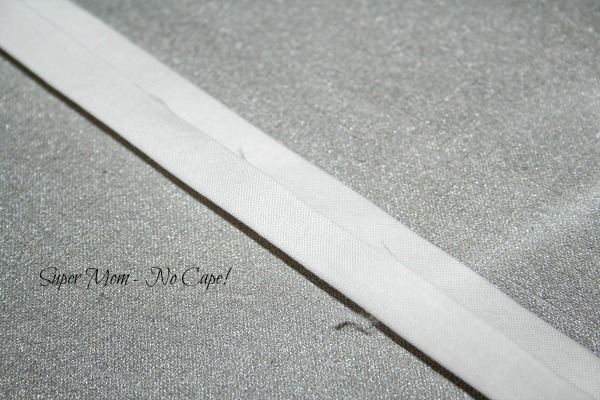
Open up and press each side towards the center crease.
Fold in half and press well.
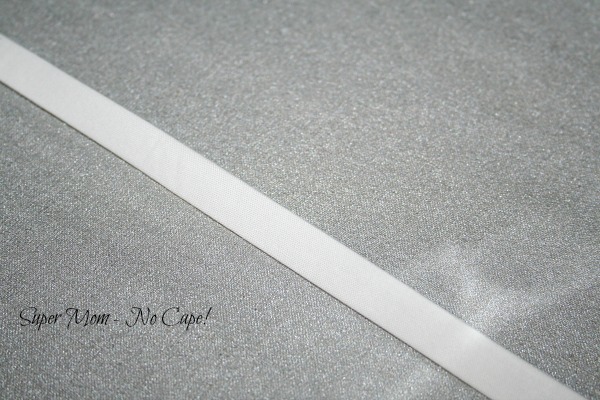
Sew close to the double folded edges.
Next cut each string in half.
Thread the string through the casing starting at one side, all the way around and out the same side.
Next thread the second string through the casing starting on the opposite side, all the way around and out that side.
Knot the ends of the strings together.
Now you have two drawstring bags ready to gift or store treasures in.
Or if you’re sewing for charity like I was… ten drawstring bags which you can see in this post.
Edited to add: I also made some quick, inexpensive Easter gift bags using this tutorial.
This post contains affiliate links. For more information please check my Disclosures and Disclaimers page. It doesn’t cost you any extra, but it does help support this site.





5 Comments
Anna
March 31, 2015 3:59 pmI love how you used a plate to get a perfect curve! I’ve never thought of making drawstring bags with different shaped bottoms before 🙂
Ana Love Craft
March 29, 2015 7:02 pmVery pretty!Thanks for sharing tutorial!
Hope you have a wonderful Easter!
Hugs from Portugal,
Ana Love Craft
http://www.lovecraft2012.blogspot.com
Laney
August 31, 2014 5:55 pmGreat tutorial. These bags look so cute!
Celtic Thistle Stitches
August 29, 2014 6:39 amGreat bags and a great tutorial too! Ten at once seems like a step too far though 🙂
Kelly Jackson
August 28, 2014 11:50 amThanks for the tutorial 🙂 Those bags would be great to use as gift wrap too….gift wrap that can be re-used over and over again.
Kelly
Comments are closed.